This post may contain affiliate links. Please read our disclosure policy.
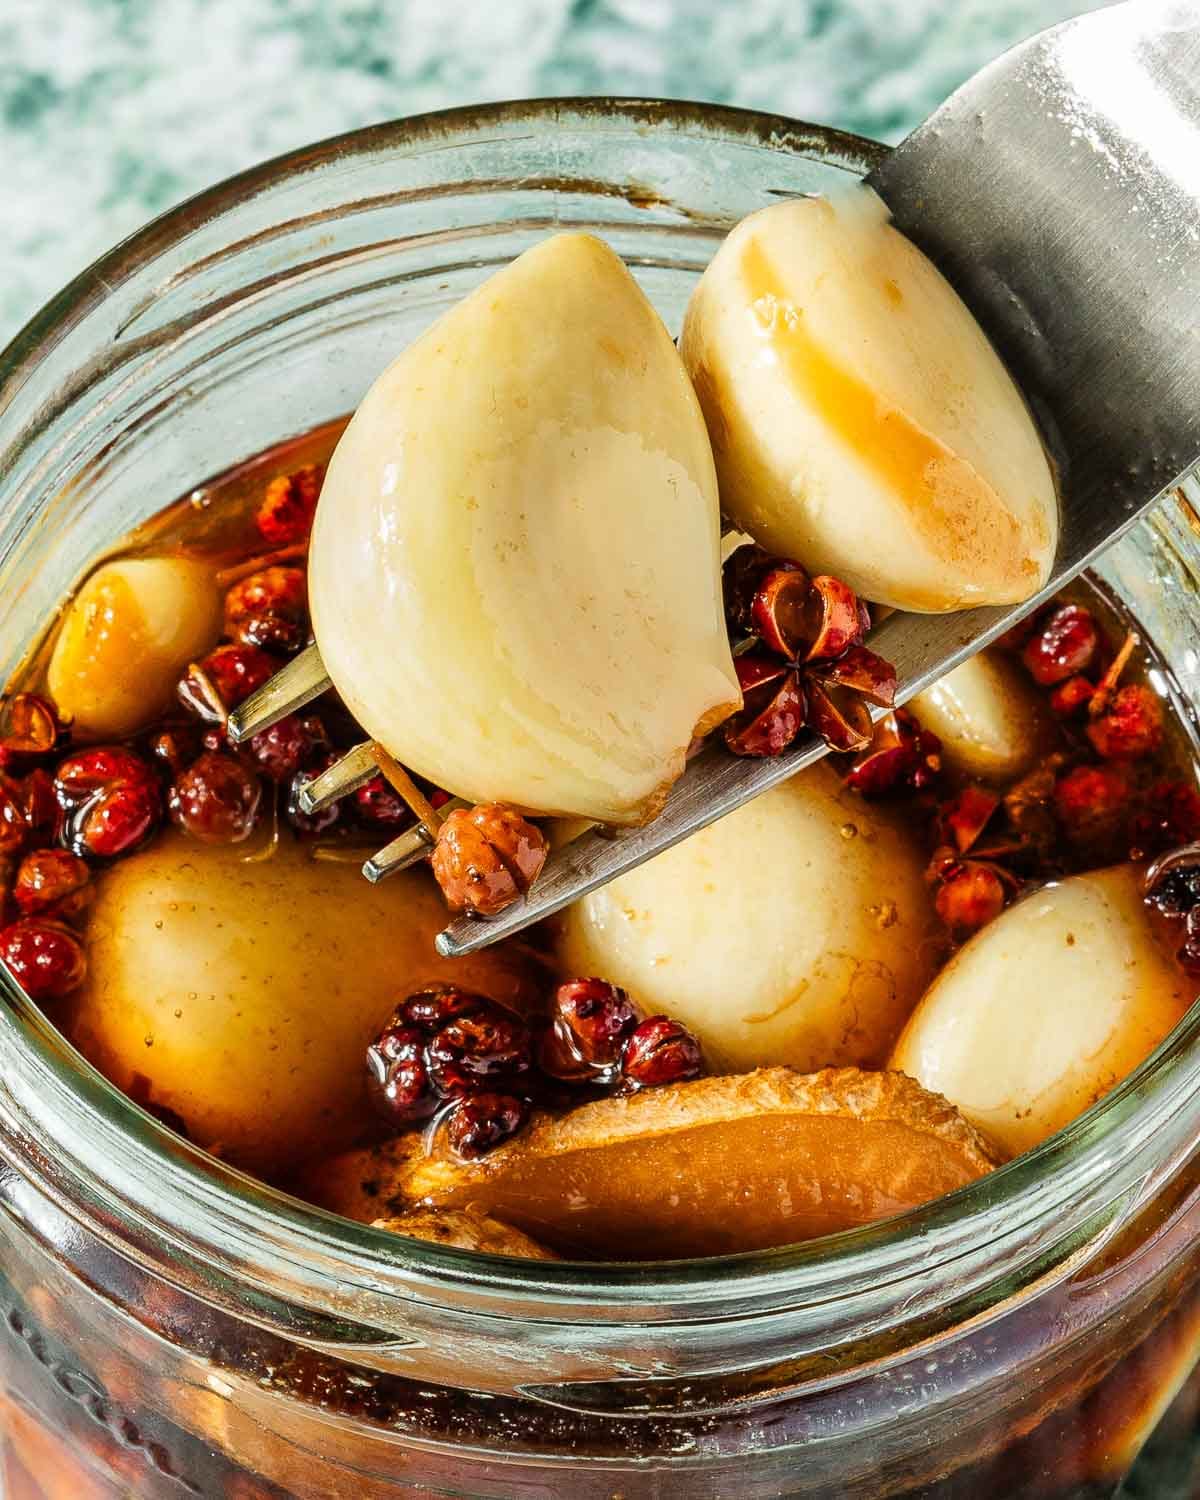
In this post, I’m sharing my family’s easy recipe for pickled garlic! These Chinese-style garlic pickles are tangy and slightly sweet with a deep umami flavor from soy sauce and sesame oil. Whole Sichuan peppercorns add a floral scent and unique tingly flavor I just love.
I share all my tips for choosing the best garlic, building a deep Asian flavor, storage, and ways to use this versatile condiment. Plus, you’ll learn how to keep your pickled whole garlic from turning blue.
My grandfather loved Chinese pickled garlic. Growing up, he would always start a meal with a few cloves, alongside slices of Chinese sausage and a small glass of Chinese rice wine. It was his favorite appetizer.
When I was little, I didn’t find pickled whole garlic appealing at all—but over time, I’ve come to appreciate it. Now, I love how versatile it is in everyday cooking!
This is not a canning recipe—I’m not an expert in canning! Instead, this is a simple and easy way to make garlic clove pickles in the fridge in just a few days.
Ingredients and garlic jar
This Chinese-style pickle of garlic recipe uses simple Asian ingredients to achieve a perfect balance of tangy, salty, and sweet flavor with just a hint of spice—just like Grandpa used to love!
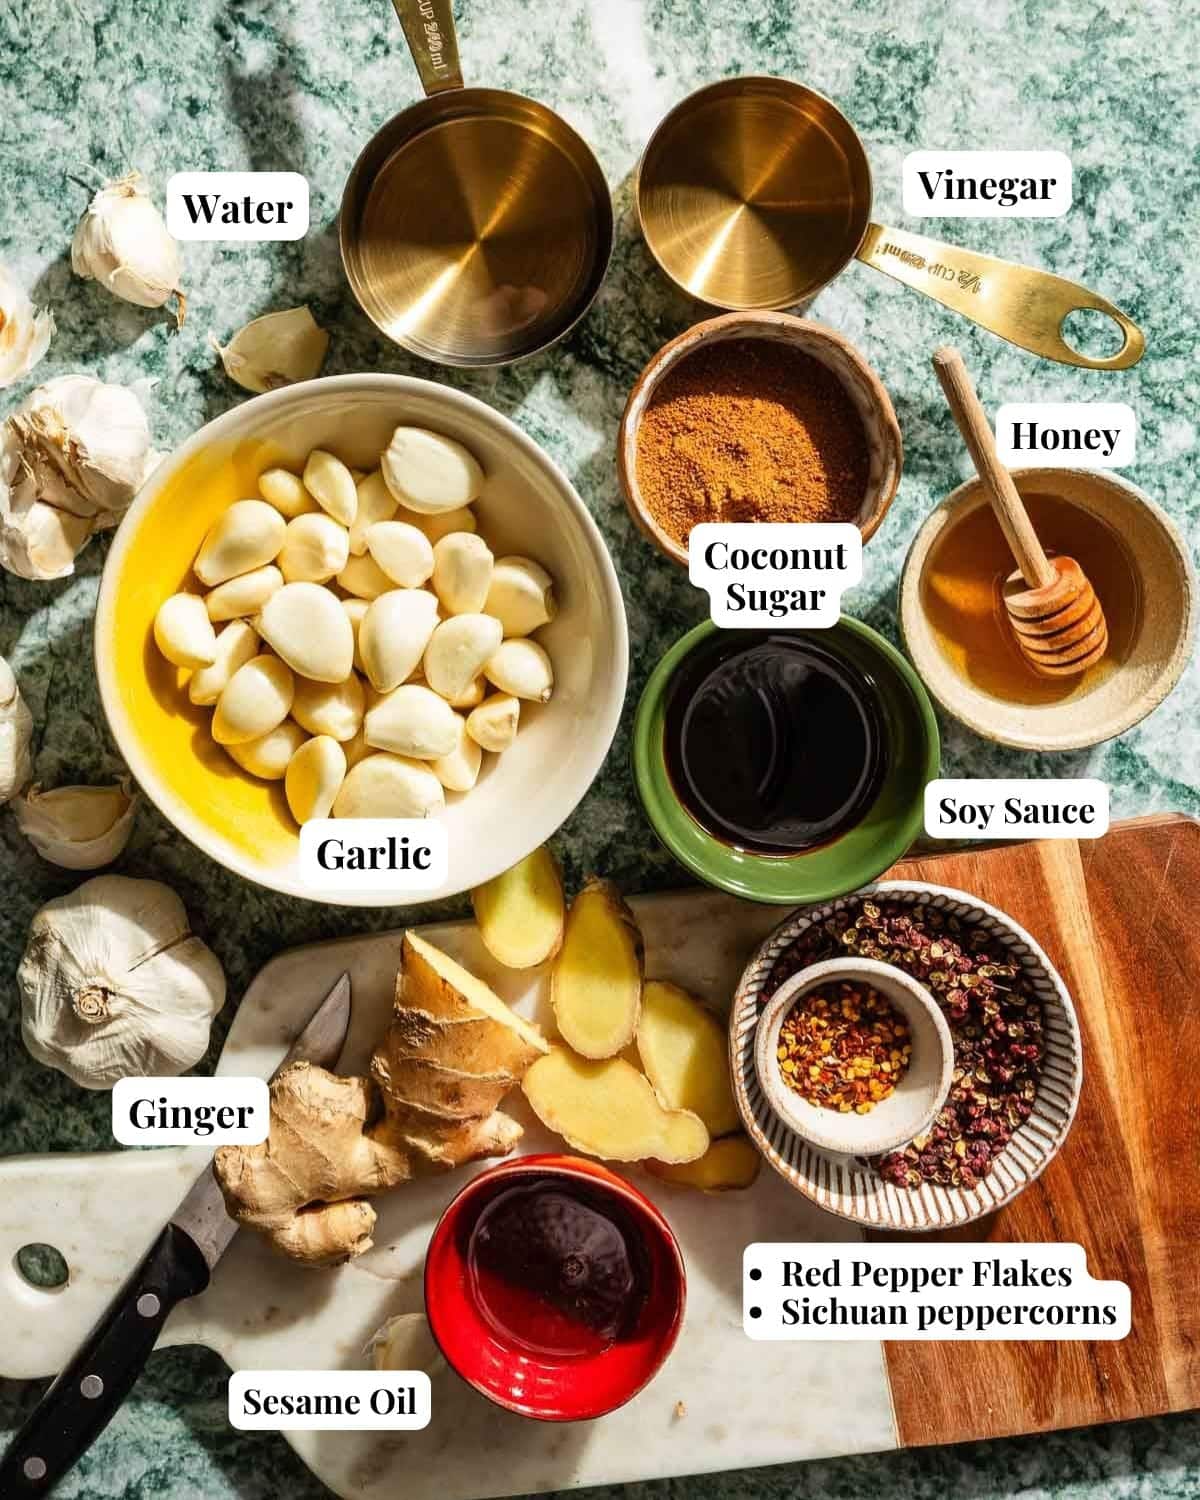
- Fresh Garlic: Peeled, fresh, bright, and firm whole garlic cloves—avoid wet or soggy garlic. More tips below!
- Distilled White Vinegar: I like a stronger tangy flavor when pickling garlic. It helps take the bite out of the garlic.
- Water: Using distilled water is the best—it will help prevent your garlic from turning blue.
- Coconut Sugar: Balances the saltiness and sour flavor of the pickles.
- Substitution: Brown sugar also works.
- Honey: Further sweetens the brine and balances the acidity.
- Soy Sauce: Adds a salty and umami-rich Asian flavor—no need for added salt.
- Substitution: Use tamari to keep these gluten-free.
- Sesame Oil: For a slightly nutty and umami Chinese twist.
- Fresh Ginger
- Red Pepper Flakes: Optional to add some spice.
- Whole Sichuan peppercorns: Optional to add a unique tingly floral flavor. Be sure to buy the whole peppercorns. I used the red kind for these homemade garlic pickles.
Tools
- Glass Jar: You’ll need (2) 500 ml jars for this recipe. I use these Le Parfait glass mason jars with built-in seals.
Can I use pre-peeled garlic cloves?
Yes, but the garlic cloves should be firm, white, and free of dark soft spots. They should also be dry, not soggy. Pre-peeled garlic from Korean or Japanese markets is often in better condition than those from Western markets, which can be too wet. For the best results, buy whole garlic bulbs and select firm, tightly packed ones.
How to make pickled garlic cloves
Quick pickling garlic is a simple way to add flavor and extend the shelf life of garlic. After preparing your garlic and brine, it takes at least 5 days to pickle garlic, though the flavor and color will continue to deepen for weeks.
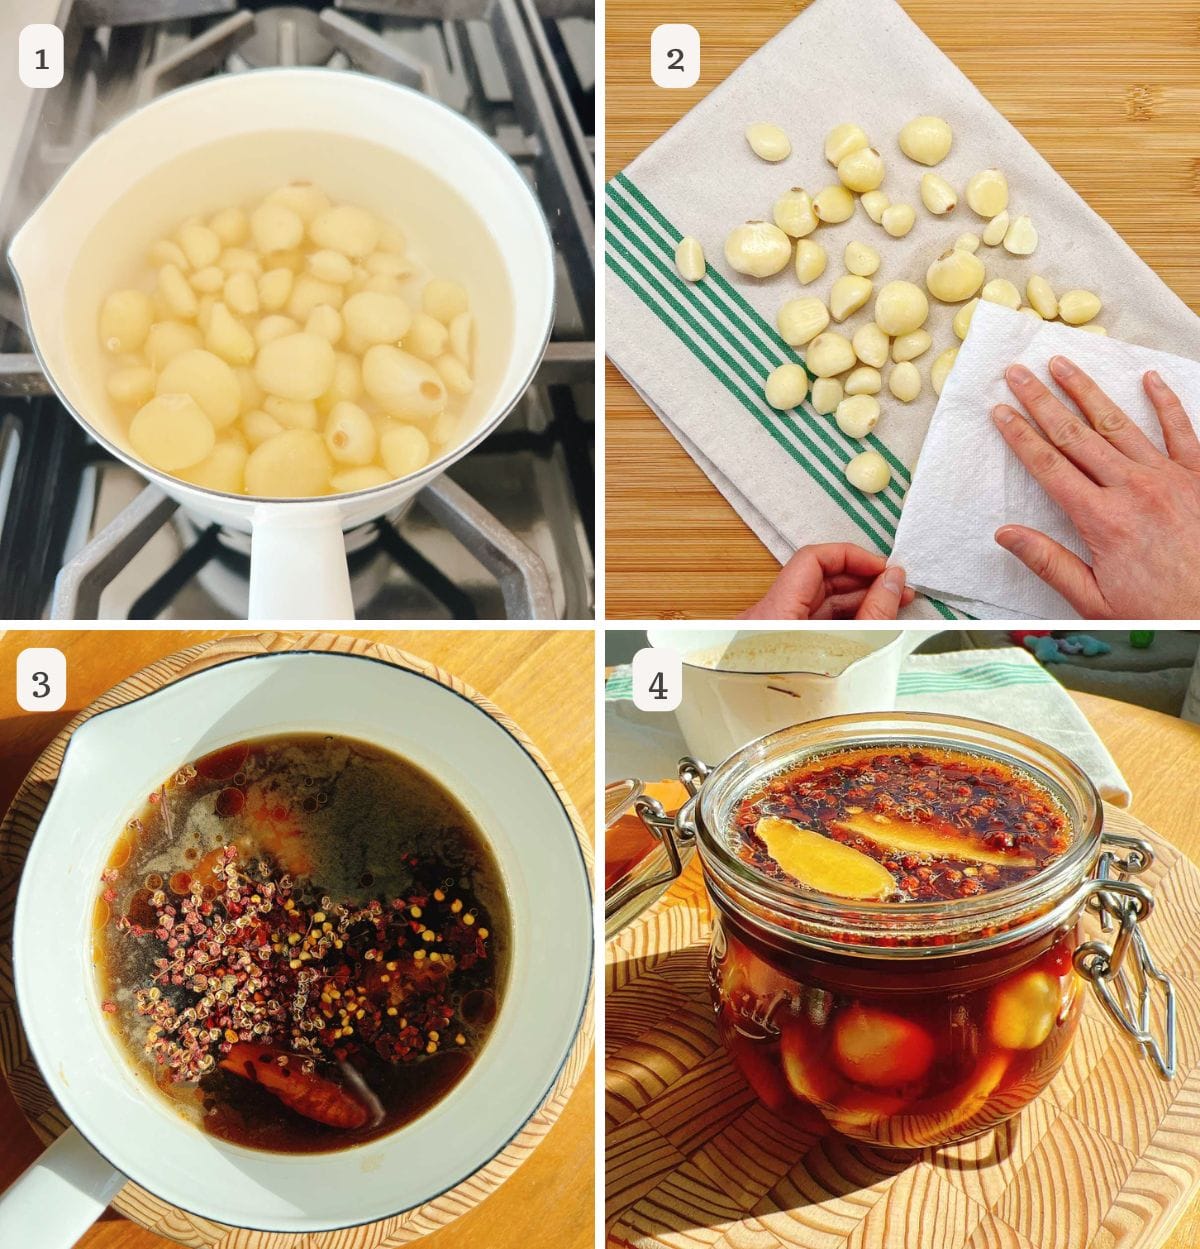
- Blanch the garlic: Boil water and blanch your peeled garlic cloves for 30 seconds to remove that raw edge. Drain well and let them cool completely.
- Pat dry the garlic: Use clean paper towels to thoroughly dry the garlic—this is essential to prevent it from turning blue or green.
- Simmer the brine: Add the brine ingredients from distilled white vinegar to spices to a small saucepan. Simmer for 6 minutes until the sugar and honey dissolve, stirring as needed.
- Transfer to the jars: Place the cooled garlic into your sterilized glass jars. Ladle the hot brine and make sure the cloves are completely submerged.
- Cool: Let the jar sit at room temperature with the lid off for 1-2 hours to cool before sealing it tightly.
- How long to pickle and store: Let the garlic pickle in the sealed jar in the fridge for at least 5 days so the flavors can develop. Properly stored, it will keep for 2-3 months in the fridge.
Troubleshoot
Why did my garlic turn blue?
- Garlic contains natural sulfur compounds that react with acidic vinegar, causing a blue or green tint. Minerals in water or utensils (like copper or aluminum) can also trigger this color change.
How to avoid them from turning green/blue?
- Use mature garlic – Avoid young or “wet” garlic, which has higher enzyme activity. Look for firm, dry bulbs with tight, papery skins—not fresh, soft, or moist garlic.
- Blanch the garlic – A quick 30-second blanch helps deactivate the enzymes that cause discoloration.
- Use distilled water and vinegar – Minerals in tap water can react with garlic’s sulfur compounds.
- Avoid reactive utensils – Stick to glass jars and stainless steel or plastic utensils.
Is it still safe to eat?
- Yes! The color change is purely aesthetic and does not affect taste or safety. The garlic refrigerator pickles are still perfectly fine to eat.
Storage Info
When stored properly, your garlic clove pickles will last up to 2-3 months in the fridge.
- Clean Utensils: Always use a clean utensil to remove garlic from the jar.
- Full Submersion: Keep garlic cloves completely submerged in the brine to prevent mold.
- Refrigerate: These pickles must be stored in the refrigerator!
- Flavor Development: Allow at least 5 days or up to 2-3 weeks for flavors to deepen.
What to do with garlic pickles?
Garlic clove pickles are so versatile! Enjoy them as a garlic snack, use them as a flavor booster in recipes, or add them as a condiment to salads, sandwiches, pizza, and charcuterie boards.
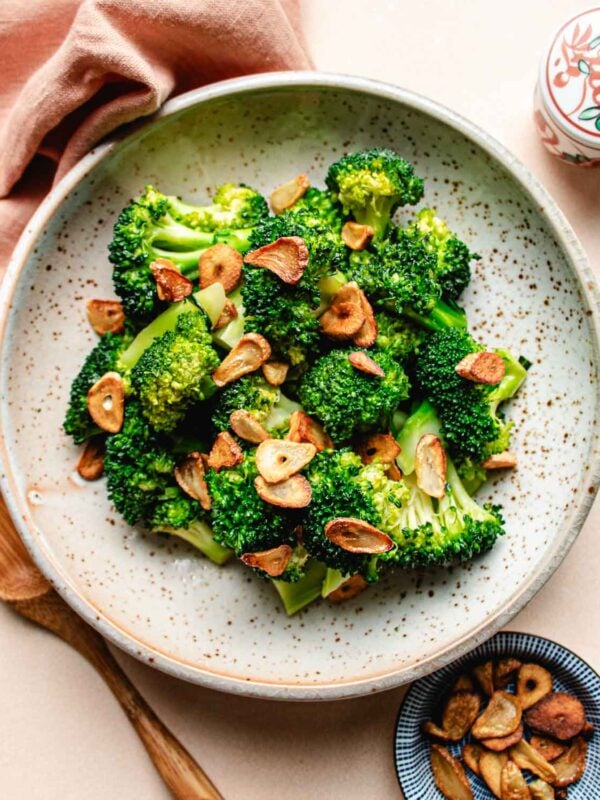
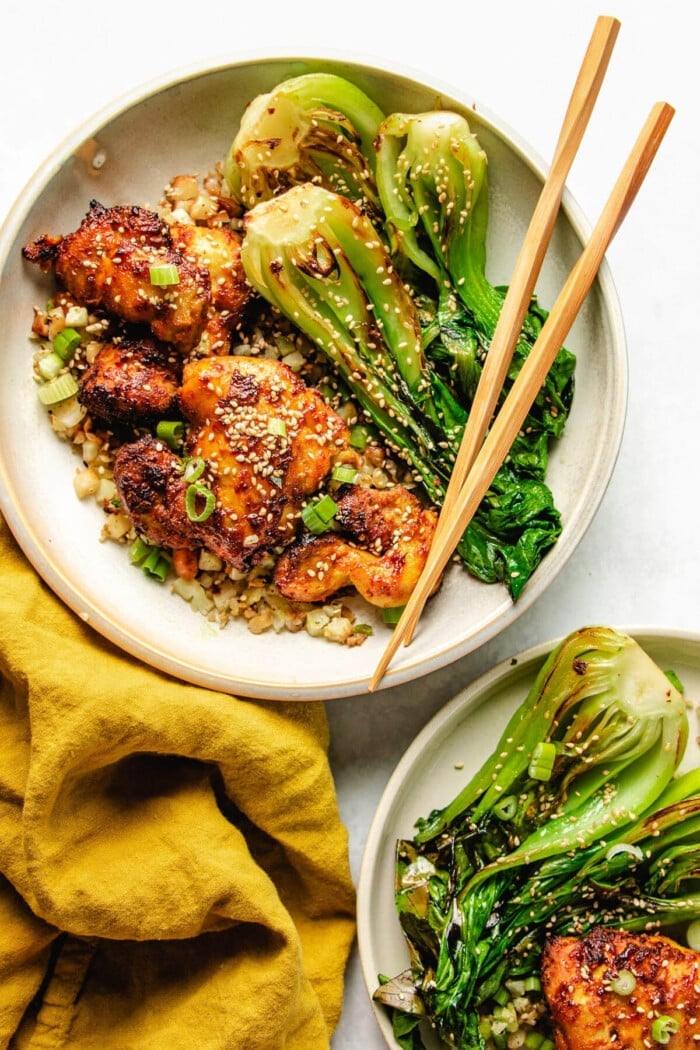
- Grilled meats: Use to balance the rich taste of meat. Add to my marinated beef broccoli kabobs, Kalbi (Korean short ribs), or this sweet and savory Vietnamese lemongrass pork.
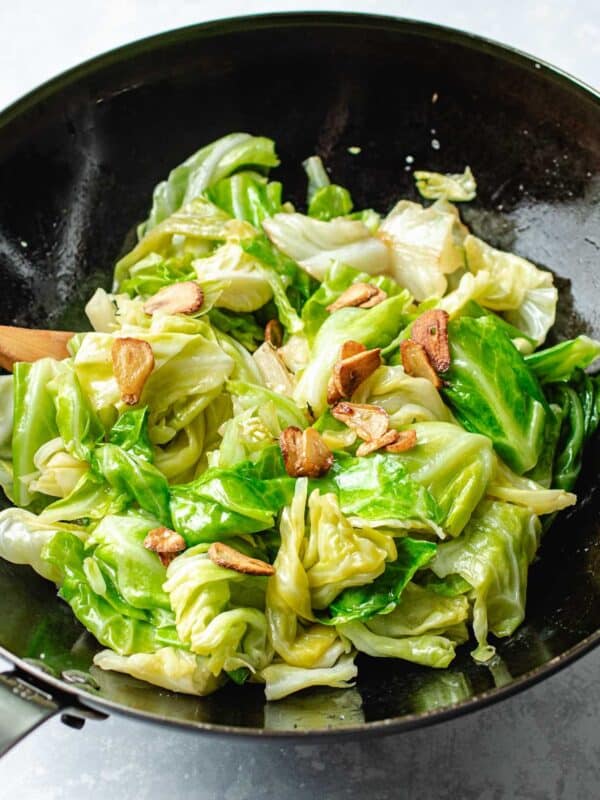
- Add to sautés: – Chop them up and add to sauteed dishes like my steak fried rice, Chinese cabbage stir fry, or even this Korean kimchi cauliflower fried rice with chicken.
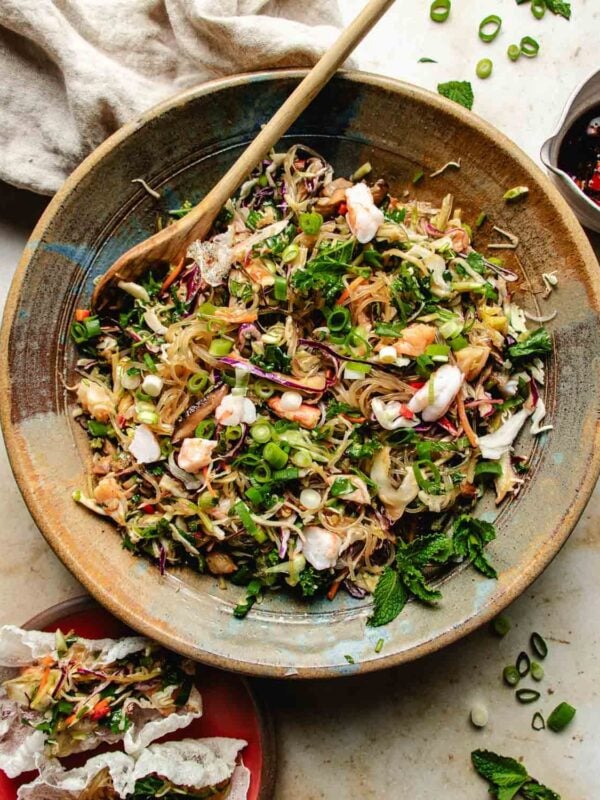
- Pickling Brine: Use the brine in salad dressings in dumpling sauce like my wonton sauce recipe. It’s great in noodles too! Try it in my rice paper noodles or this chili oil ramen.
Tips for Success
- Choose Quality Ingredients. Use fresh, firm garlic and vibrant, whole red Sichuan peppercorns for the best results.
- Blanch and Dry Garlic Thoroughly. Blanch garlic for 30 seconds to remove the raw flavor edge and pat it completely dry to prevent discoloration.
- Balance Your Brine. Simmer the vinegar, water, soy sauce, sugar, honey, and spices until fully dissolved for a balanced flavor.
- Pack with Care. Use sterilized glass jars and make sure the garlic is completely submerged in the hot brine for safe storage. Discard if you see any signs of mold.
More pickled vegetable recipes
Add more freshness and tang to your home cooking with these easy and delicious pickled vegetables!
- Asian pickled cucumbers with garlic and Thai chili in rice vinegar.
- Pickled daikon with carrots for sweetness and color.
- Korean cucumber salad—a quick pickled cucumber recipe with Korean flavor.
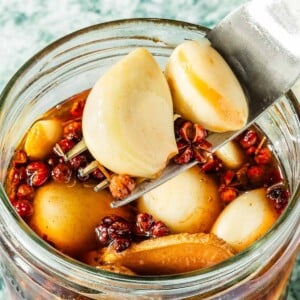
Pickled garlic recipe
Video
Ingredients
- 2 cups garlic cloves peeled, fresh, and firm (8-10 oz | 225-280 g)
- 1 cup distilled white vinegar
- 1/2 cup water (best distilled water)
- 1/3 cup coconut sugar (or brown sugar)
- 1 tbsp honey
- 1/4 cup soy sauce
- 1 tbsp sesame oil
- 3-4 slices fresh ginger 0.5 oz (15 g)
- 1 tsp red pepper flakes optional, for spice
- 1 tsp whole Sichuan peppercorns for tingly flavor
Equipment
- Two Glass mason jars 500 ml
Instructions
- Blanch the garlic: Bring a pot of water to a boil. Blanch the peeled garlic cloves for 30 seconds to remove the raw edge. Drain and let them cool completely.
- Pat dry the garlic: Use clean paper towels to pat the garlic cloves dry. It’s important to do this step well—wet garlic is more likely to turn blue or green after pickling.
- Prepare the brine: In a small saucepan, combine distilled white vinegar, water, soy sauce, sugar, honey, sesame oil, ginger slices, and optional spices like red pepper flakes and Sichuan peppercorns.
- Bring the mixture to a simmer over medium heat for 6 minutes, stirring until the sugar and honey dissolve. Remove from heat.
- Pack the garlic: Place the cooled garlic cloves into a sterilized glass jar. Pour the hot brine over the garlic, making sure the cloves are completely submerged.
- Cool: Let the jar cool to room temperature (about 1-2 hours) before sealing it tightly.
- Storage: Store the jar in the refrigerator for at least 5 days before eating to allow the flavors to develop. The pickled garlic will keep for 2-3 months in the fridge.
Notes
- Ingredient selections:
- Garlic buying tips: Buy fresh, firm garlic cloves that are bright and free of soft spots and no visible sprouts.. Avoid wet or soggy garlic.
- Sichuan peppercorns: Use whole, red-colored peppercorns in vibrant dark red. Avoid black and brown ones that look dry and moldy.
- Storage Tips
- Always use a clean, non-reactive utensil (e.g., stainless steel, plastic, or wood) to remove garlic from the jar to avoid contamination.
- Ensure the garlic cloves are fully submerged in the brine to maintain freshness and prevent mold or spoilage.
- Let it Cool First: After pouring the hot brine over the garlic, allow the jar to cool to room temperature. This typically takes 1 to 2 hours, depending on the environment. This step prevents rapid temperature changes that could crack the glass jar and also stabilizes the pickling process.
- Store in the refrigerator: Once the jar has cooled completely, place it in the refrigerator to stop any microbial activity and ensure food safety.
- Refrigerated Shelf Life: Pickled garlic stored in the refrigerator can last up to 2 to 3 months, thanks to the high acidity of the vinegar acting as a preservative.
- Flavor Development: For the best flavor, let the garlic sit in the brine for at least 5 days, though 2 to 3 weeks is even better for deeper flavor infusion.
- Why Garlic Turns Blue/Green
- Natural Enzymatic Reaction: Fresh garlic contains sulfur compounds and natural enzymes. When exposed to acidic environments like vinegar, these compounds can react to form pigments, resulting in blue or green hues.
- Type of Garlic: Younger or fresher garlic, especially if it’s not fully cured, is more prone to turning blue/green due to higher enzyme activity.
- Minerals in Water or Utensils: Trace minerals like copper or iron in water or reactive utensils (e.g., copper or aluminum) can trigger discoloration.
- Is It Safe to Eat?
- Yes! The blue/green color is purely aesthetic and does not affect the safety or taste of the garlic. It’s perfectly fine to eat pickled garlic with this discoloration.
- How to Prevent Blue/Green Garlic
- Use Mature Garlic: Choose garlic that’s well-cured and firm, avoiding younger, “wet” garlic for pickling.
- Blanch the Garlic: Blanching garlic cloves for 30 seconds helps deactivate the enzymes responsible for color changes.
- Use Distilled Water and Vinegar: Opt for distilled water and vinegar to minimize mineral content that can contribute to discoloration.
- Avoid Reactive Utensils: Use glass jars and non-reactive utensils (e.g., stainless steel or plastic) instead of copper or aluminum during preparation and storage.
Nutrition
Nutrition information is automatically calculated, so should only be used as an approximation.


So flavorful and delicious! I pair these pickled garlic with the scallion oil noodles (also from this blog) and my husband absolutely loves it! In my opinion, the peppercorns are a must. Surprisingly easy to make. Some of my cloves did turn a bit green/blue-ish but that doesn’t affect the taste. Yum!
Thank you!