This post may contain affiliate links. Please read our disclosure policy.
If your chicken stir-fry turns out dry, tough, or just not as tender as your favorite takeout, you’re not alone. Getting that soft, silky texture at home can feel surprisingly tricky.
The good news is, there’s a simple technique that makes a big difference—velveting chicken. When done right, it keeps chicken juicy, tender, and full of flavor—even with quick, high-heat cooking.
In this guide, I’ll show you exactly how to velvet chicken step by step, using a method that’s easy to do at home. I’ll also walk you through two versions—one with baking soda and one without—so you can choose what works best for you.
Why This Velveting Method Works

Velveting is a fundamental technique in Chinese cooking that keeps chicken tender and juicy in stir-fries. It’s not just marinating—it’s a simple combination of ingredients and steps that improve both texture and flavor.
Once you understand it, you can use it for any chicken stir-fry and get consistent results every time.
- Hydration + seasoning: A small amount of liquid (soy sauce and water) helps rehydrate the chicken while lightly seasoning it, so it stays juicy instead of drying out.
- Tenderizing (with or without baking soda): Baking soda helps create a softer, silkier texture and a more neutral flavor. If you prefer not to use it, the method still works— we tested both versions so you can choose what works best.
- Starch + oil coating: The starch and oil form a light coating that locks in moisture and gives the chicken that smooth, velvety finish.
- Quick searing: Cooking over high heat seals the surface quickly, so the inside stays tender while the outside gets lightly golden.
Ingredients for Velveting Chicken (and Why They Work)

- Chicken breast (boneless, skinless): Use boneless and skinless chicken breast. This lean cut benefits the most from velveting, helping it stay tender and juicy instead of dry.
- Light soy sauce (seasoning + moisture): Adds savory depth and lightly seasons the chicken. Because it’s a liquid, it also helps the meat retain moisture as it cooks.
- Water (rehydration): Water helps rehydrate the chicken so it stays juicy instead of drying out. The meat will absorb the liquid as it rests, so it won’t feel watery. This step is especially important if you’re not using baking soda.
- Sugar (balance + color): Used in a small amount, sugar balances the saltiness and adds depth so the flavor isn’t flat. It also helps the chicken develop a light golden color when cooked.
- Baking soda (optional tenderizer): Baking soda relaxes the proteins in the chicken, resulting in a softer, silkier texture. This is what gives the chicken that classic takeout-style tenderness.
- Olive oil (moisture lock): Coats the chicken and helps lock in moisture. It also gives the meat a smooth, velvety finish.
- Starch (tapioca or potato): Creates a thin coating that seals in moisture and protects the chicken from drying out during cooking.
- Salt and white pepper (or black pepper): Simple seasoning to enhance the overall flavor. Use a light hand since the soy sauce already adds saltiness.
How to velvet chicken
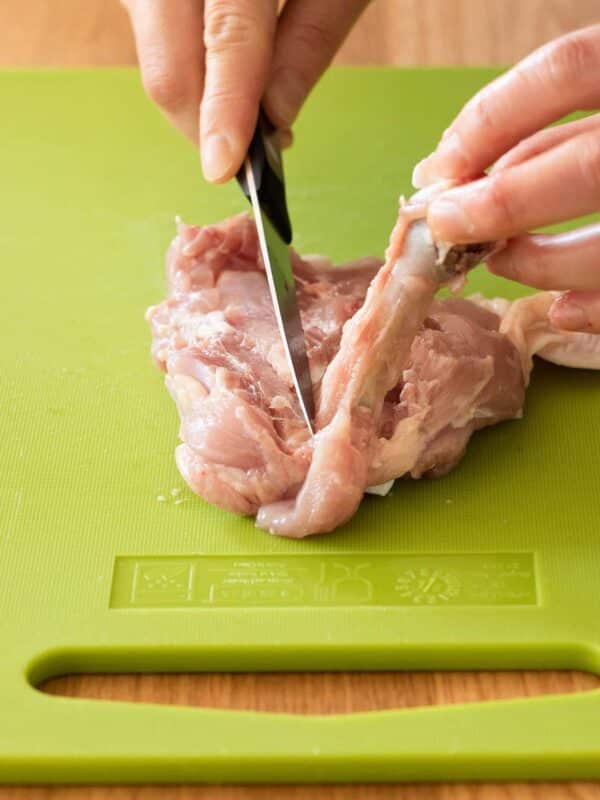
Step 1: Slice the chicken
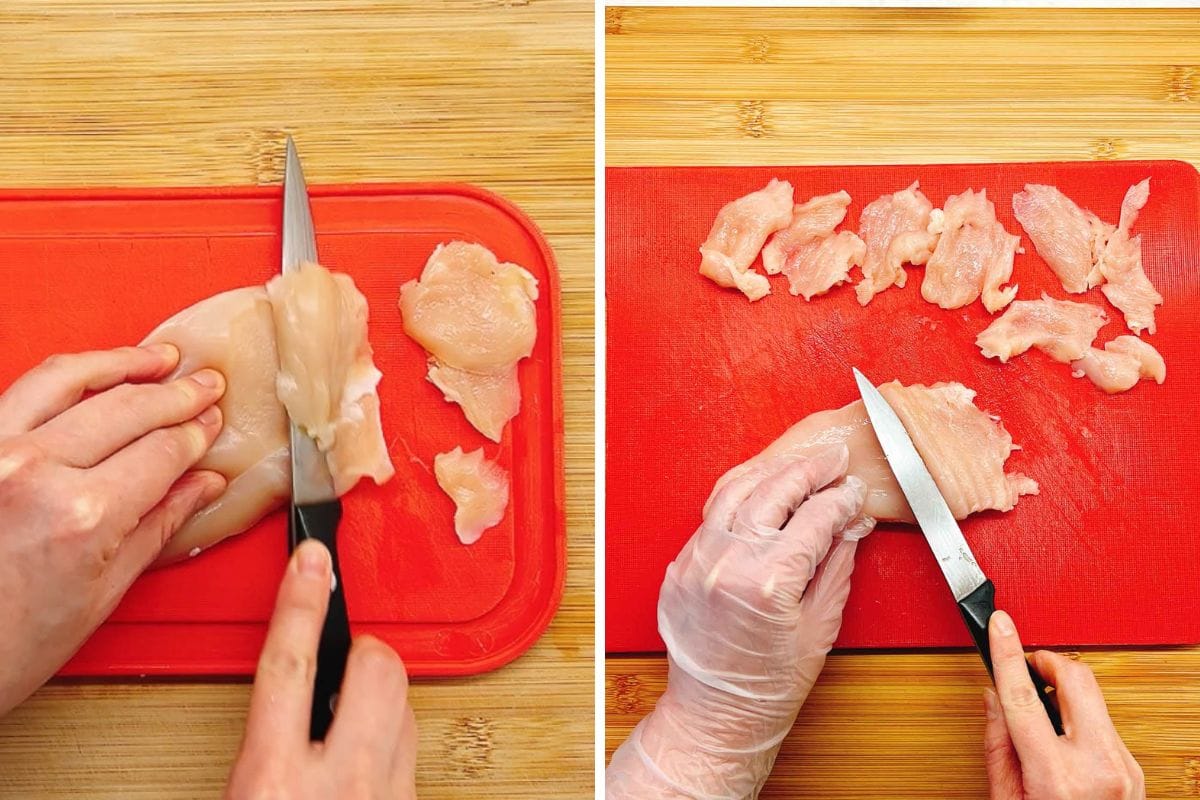
Start with boneless, skinless chicken breast and slice it against the grain into thin pieces, about ⅛-inch thick. Hold your knife at a slight 45° angle so the slices come out wider and flatter, not narrow strips.
This angled, thin cut is key. It creates more surface area, so the chicken absorbs the marinade faster and cooks more quickly. This gives you chicken that’s more tender and better seasoned, not chewy or bland.
A thinner, narrow knife (like a boning or fillet knife) is easier to control for this type of slicing.It glides through the meat more cleanly than a larger chef’s knife.
If the chicken feels too soft to slice neatly, place it in the freezer for about 15 minutes to firm it up.
Step 2: Season and tenderize
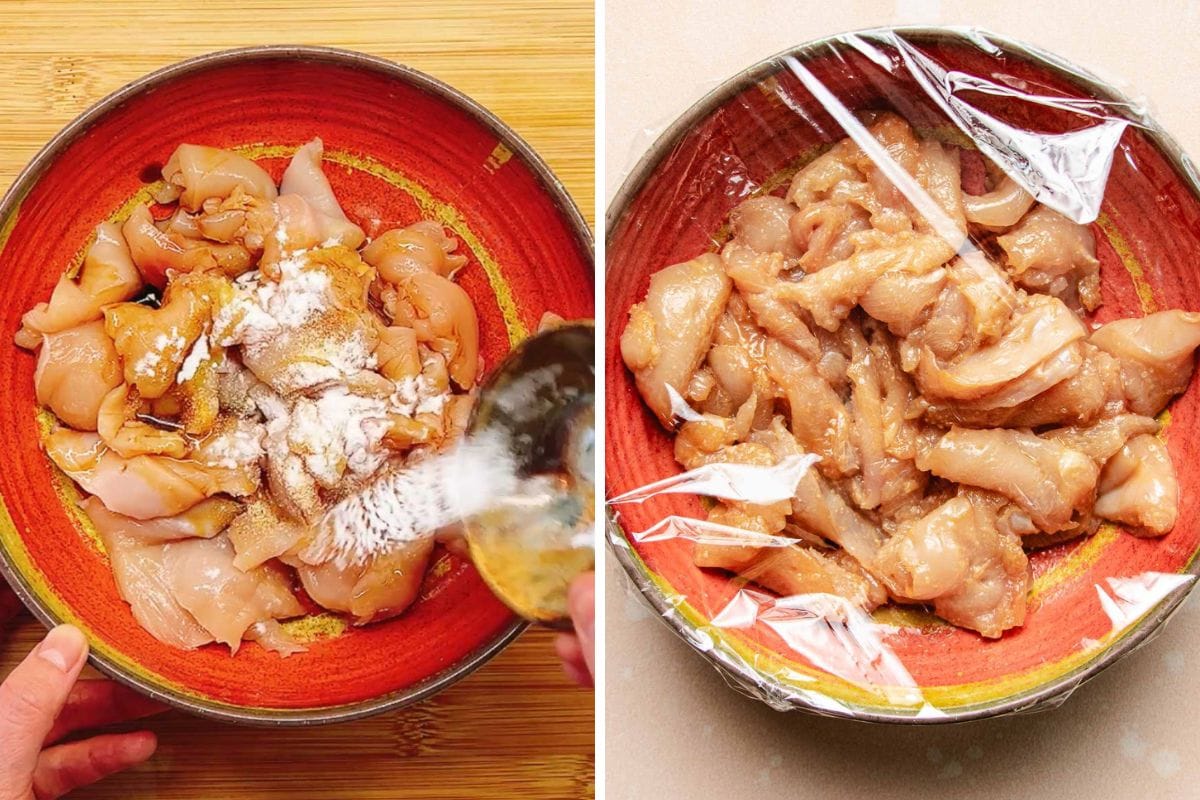
Add the soy sauce, water, sugar, baking soda, salt, oil, and white pepper directly to the chicken. (More on when to use baking soda in the next section.) Gently mix and massage the pieces until the liquid is mostly absorbed.
As you mix, the chicken will start to look slightly plumper and more hydrated. It should feel moist but not sitting in liquid. This shows the meat is absorbing the marinade properly.
This step is where the tender texture begins. The liquid rehydrates the chicken, while the baking soda helps relax the proteins so the meat stays soft during cooking. If you’re not using baking soda, we’ll cover how that affects the texture in more detail below.
Step 3: Add starch
Once the liquid is absorbed, sprinkle the starch over the chicken and mix again to coat evenly.
The chicken should feel lightly sticky with a thin coating on each piece. This layer helps seal in moisture and protects the meat during cooking, so it stays tender instead of drying out.
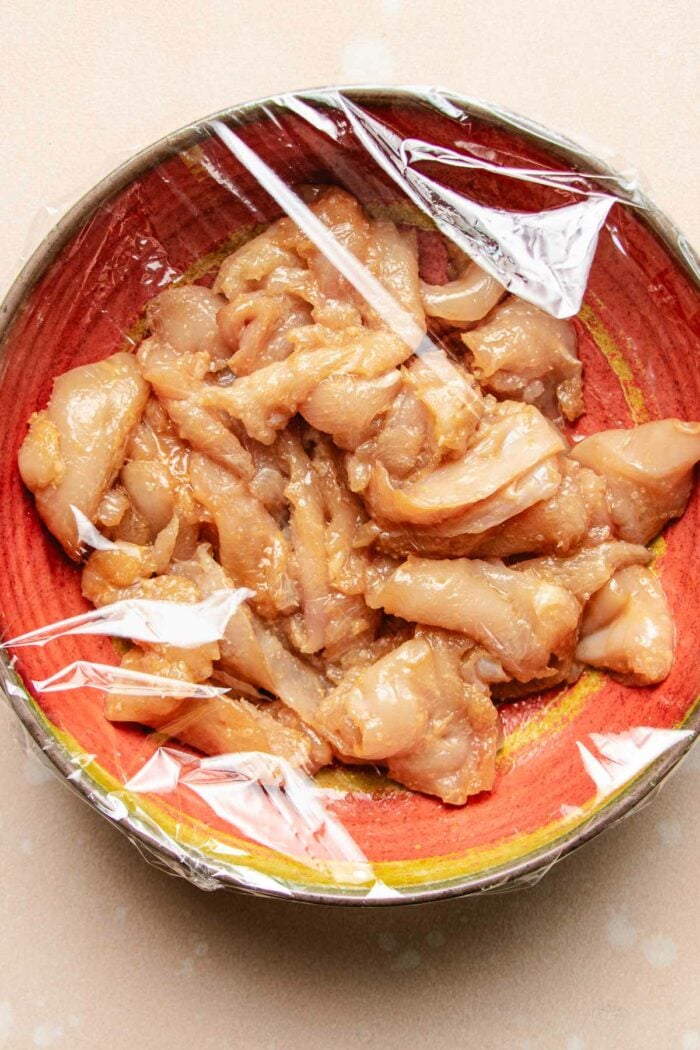
TIP: If making ahead, this is the point where you can stop. Store the chicken raw after velveting and cook it later.
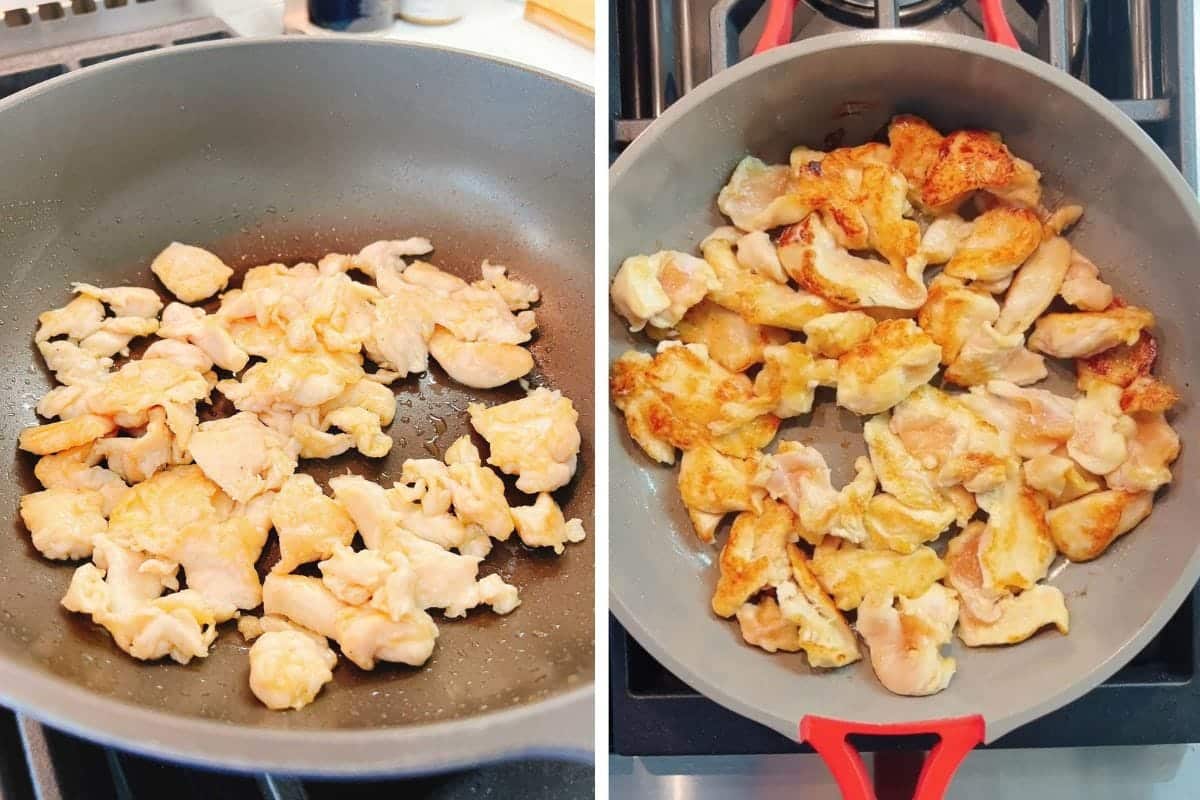
Step 4: Cook the chicken
Heat a large pan or wok over medium heat until hot. An easy way to check is to hold your palm a few inches above the surface—if you can clearly feel the heat, it’s ready.
Add the oil and swirl to coat. The oil should look lightly shimmering, not smoking or burning. If it starts to smoke, the pan is too hot—simply take it off the heat for a few seconds to let it cool slightly.
Add the chicken and spread it out into a single layer right away. You should hear an immediate, gentle sizzling sound. That means your pan is properly preheated and the chicken is searing, not steaming.
Let the chicken cook undisturbed for about 2 to 3 minutes. This helps form a light golden crust and lock in moisture. You should hear a steady, gentle sizzle the whole time.
Use a firm spatula to flip the chicken, then cook the other side for about 30 seconds to 1 minute. The second side cooks much faster.
The chicken should be just cooked through. At this stage, it’s ready to be combined with vegetables and sauce without needing extra cooking time later. Be careful not to overcook, as that’s what makes the chicken dry instead of tender.
Step 5: Remove and use
Transfer the chicken out of the pan as soon as it’s cooked through. Don’t leave it sitting in the hot pan, as the residual heat can quickly overcook it and dry it out.
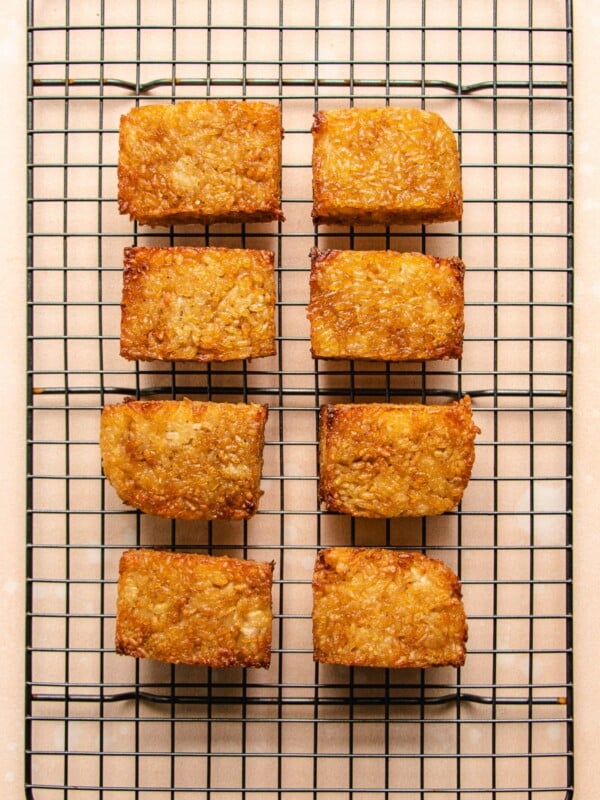
At this stage, the chicken should be lightly golden on the outside, tender, and juicy inside. It’s now ready to be combined with vegetables and sauce to finish your stir-fry.
Baking soda vs no baking soda
Over the years, one of the most common questions I get is: Do you have to use baking soda?
To answer that clearly, I tested both versions side by side using the same method and ingredients.
Here’s how they compare.

With baking soda
The texture is noticeably more velvety and soft, similar to what you’d get from a good Chinese restaurant. It’s more tender with that signature silky bite.
Flavor-wise, because we’re using such a small amount, there’s no strange or metallic taste. You don’t need to rinse it. In fact, the chicken tastes more neutral and clean, without that slightly “meaty” or raw aftertaste that chicken can sometimes have when it’s simply cooked on its own.
Without baking soda
The chicken is still tender, but the texture is slightly firmer and a bit more mealy. It’s also a touch drier compared to the baking soda version, and not as silky overall.
Flavor-wise, the chicken has a slightly stronger natural “chicken” taste. You may not notice it at first, but side by side, it can come across as a faintly sour or meaty aftertaste, especially when the chicken is tasted on its own without sauce.
Do you need to rinse the chicken?
No. Because this method uses a small amount of baking soda, there’s no need to rinse it off.
In some recipes, a larger amount of baking soda is used, which is why rinsing is required to remove any excess residue or taste. In this method, the quantity is low enough that it won’t affect the flavor, so you can skip that step entirely.
The bottom line
At first glance, both versions look similar—both versions look almost identical once cooked. But when you taste them side by side, especially without sauce, the baking soda version is softer, silkier, and more neutral in flavor.
That said, both methods work. If you prefer not to use baking soda, you can still get good results—just expect a slightly firmer texture.
Which version should you use?
- Use baking soda if you want the most tender, restaurant-style texture
- Skip it if you prefer a more natural texture or are sensitive to it
Recipes to use velveted chicken
Main Course
Main Course
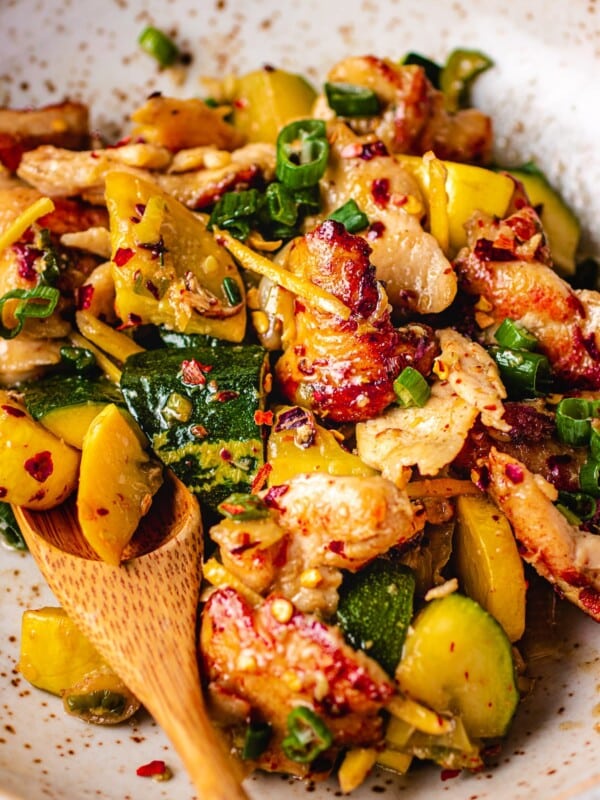
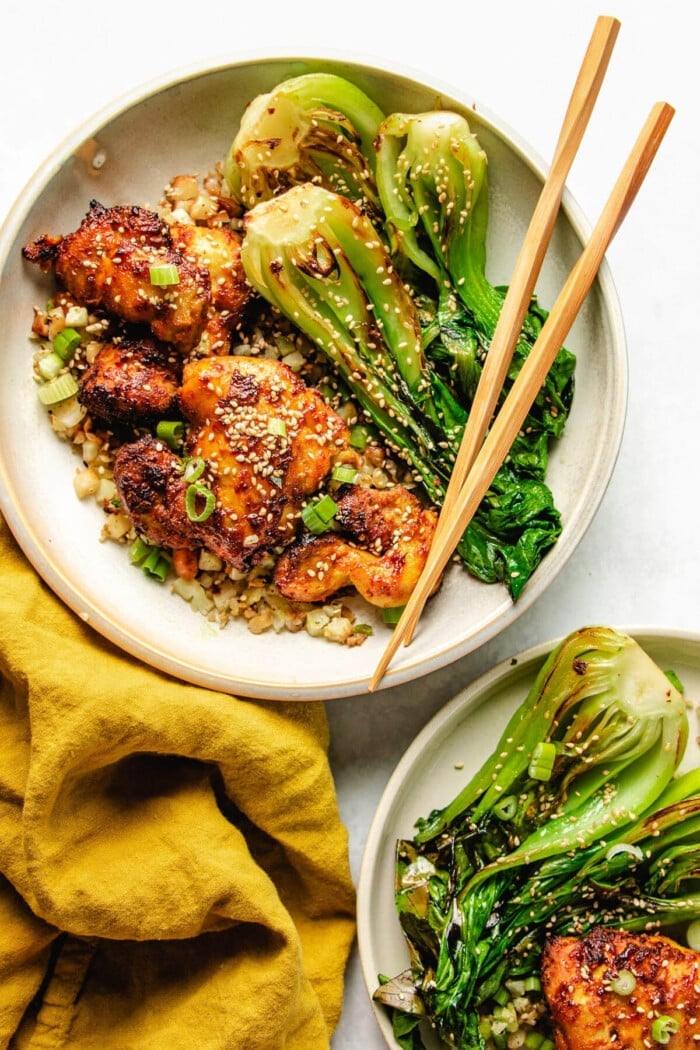
Once your chicken is velveted, you can use it in just about any stir-fry. The technique keeps the chicken tender and juicy, so it works especially well with quick-cooking dishes and simple sauces.
Here are a few of my go-to recipes to try:
- Moo Goo Gai Pan – light, savory, and packed with vegetables.
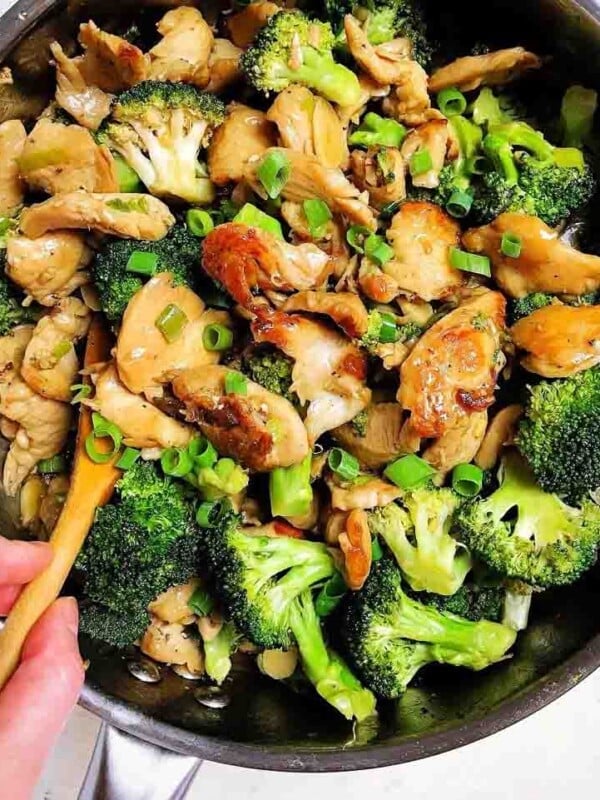
- Chicken and Broccoli Stir Fry – a classic takeout favorite with a simple garlic sauce.
- Oyster Sauce Chicken Stir Fry – rich, savory, and full of umami.
- Ginger Chicken Stir Fry – fresh and aromatic with a clean flavor.
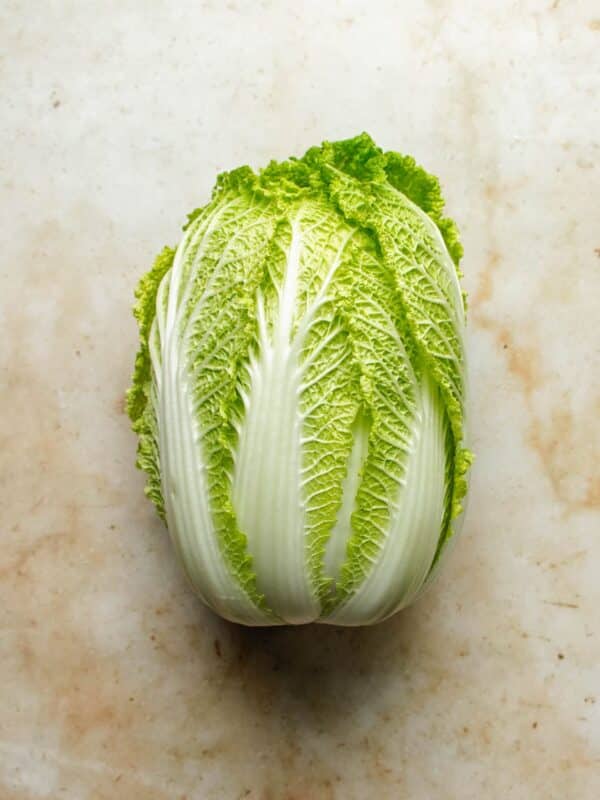
- Chicken Napa Cabbage Stir Fry – soft, comforting, and quick to make.
How to velvet chicken

Video
Ingredients
Method 1: With baking soda (most tender, restaurant-style)
- 1 lb chicken breast thinly sliced
- 2 tsp light soy sauce
- 1 tsp water
- ¼ tsp sugar
- ½ tsp baking soda
- ¼ tsp coarse sea salt slightly scant
- 2 tbsp olive oil
- ⅛ tsp white pepper
- 1½ tsp starch tapioca, potato starch
Method 2: Without baking soda
- 1 lb chicken breast thinly sliced
- 2 tsp light soy sauce
- 1 tbsp water
- ½ tsp sugar
- ¼ tsp coarse sea salt
- 2 tbsp olive oil
- ⅛ tsp white pepper
- 2 tsp starch
For cooking:
- 1-1.5 tbsp avocado oil or any neutral-flavored oil
Instructions
Slice the chicken:
- Hold your knife at a slight angle (about 45°) to create wider, flatter slices. Slice against the grain into thin pieces (about ⅛-inch thick).
- Transfer to a mixing bowl.
Season and tenderize:
- Add soy sauce, water, sugar, baking soda (if using), salt, oil, and white pepper.
- Gently mix and massage until the chicken absorbs the liquid and looks slightly glossy and sticky.
Add starch:
- Sprinkle in the starch and mix again until evenly coated. The chicken should feel lightly tacky, not watery.
- Let it rest for 10–15 minutes at room temperature, or refrigerate while you prep other ingredients.
Stir-fry the chicken:
- Heat a large pan or wok (12-inch) over medium heat until hot (you should feel heat when holding your hand 2–3 inches above the surface).
- Add oil and swirl to coat. The oil should shimmer but not smoke.
- Add the chicken and turn heat to medium-high. Spread into a single layer. Cook undisturbed for 2–3 minutes, until lightly golden on one side.
- Flip and cook for another 1 minute or so, until just cooked through.
Remove and use:
- Transfer out immediately. The chicken should be tender, juicy, and lightly seasoned. Ready to combine with vegetables or sauce.
Notes
- Make-ahead: Velvet the chicken and store it raw in an airtight container in the fridge for up to 2 days.
- Freeze: Velvet the chicken and store it raw in a freezer-safe bag in a flat layer. Freeze for up to 2 months.
- Defrost: Thaw the chicken overnight in the refrigerator before cooking.
The version without baking soda uses a bit more water to help rehydrate the chicken, slightly more sugar to support browning, and a little extra starch to lock in that added moisture. - If using coconut aminos, here is the ratio:
- 1 lb. chicken breast, thinly sliced
- 1 tbsp coconut aminos
- ½ tsp baking soda
- ¼ tsp coarse sea salt
- 2 tbsp olive oil
- ⅛ tsp white pepper, or black pepper
- 1.5 tsp tapioca starch, or potato starch, or cornstarch
Nutrition
Nutrition information is automatically calculated, so should only be used as an approximation.
FAQs
You can marinate the chicken for as little as 10 to 15 minutes, or up to 1 to 2 days in advance without affecting the texture. If you need to store it longer, it’s best to freeze it instead.
Yes, you can use chicken thighs. They are naturally more tender and juicy, so you don’t need baking soda. You can still use the same seasoning for flavor. Since chicken thighs have more moisture, you may need a bit more starch to help absorb the liquid so the chicken can sear and crisp up better.
How to velvet other proteins
Once you understand how to velvet chicken, you can apply the same technique to other proteins commonly used in Chinese cooking. Each one has slight differences, but the goal is the same—keeping the meat tender, juicy, and well-seasoned.
- Beef stir-fry marinade – learn how to tenderize beef so it stays soft and not chewy
- How to velvet pork – a similar method adapted for pork to keep it tender and flavorful
Made a dish and loved it? Please rate the recipe and leave a comment in the section below! It helps my blog grow organically, allowing me to continue sharing free and awesome content with you. Thank you!


I made chicken stir fry tonight using this method and it blew my socks off. The chicken just melts in your mouth. I want to try it with beef too. Amazing!
Yay! So happy to hear. Wonderful!
We absolutely love this recipe, and it is lower in carbs too! I serve this with roasted broccoli both are yummy with the bang bang sauce. Thank you so much for sharing your recipes with us, as we also love the low-carb dumpling recipes. We found that a few years ago and fell in love! Appreciate you sharing with us!
Thank you so much, Gary. So glad you’ve found my blog again!
Thank you for sharing this post. I’ve always been wondering how Chinese restaurants make their chicken breast stir fry so tender and now I know how to make it at home. It’s quite simple and straightforward. Also thanks for the meal prep and make-ahead tips. Super helpful post. Thanks again!
Wanted to say this is a great recipe / technique. I hate skinless chicken breast and was initially skeptical;. I followed instructions for home cook style exactly and then stir fried it in my wok. I also air fried some in my Cuisinart Air fryer 5 min 400F and it was delicious.
Thank you so much for sharing! I’m so happy to hear that and thanks for sharing the air fryer tips with us. Super helpful. 🙂
Thank you for this wonderful post! I always struggle to do chicken stir fry especially with chicken breasts and this post completely changed the way how I make stir fries. The chicken is so flavorful and tender. It doesn’t even need any sauce at all. I’ll be checking out your beef velvet technique as well!
You are welcome!
In stead of Tapioca Starch – could Arrowroot be an adequate substitute? You never mention it.
Yes you can also use arrowroot STARCH. It’s mentioned under the How-To section.