This post may contain affiliate links. Please read our disclosure policy.
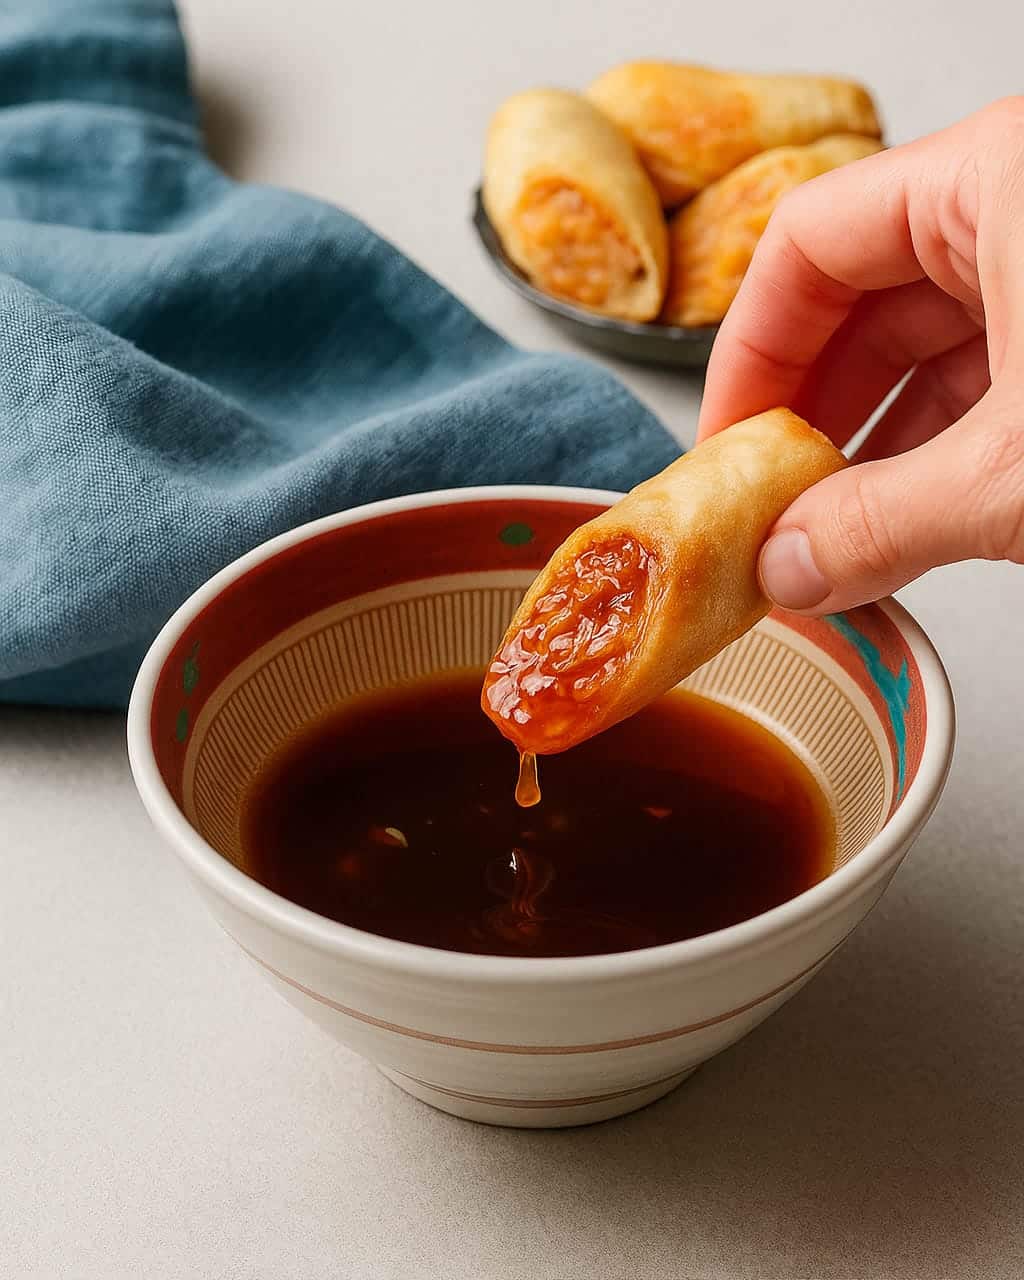
This sweet and sour dipping sauce was made for my Crispy Eggplant Bites, but it’s so good you’ll want to drizzle or dip it on everything. It’s tangy, fruity, and naturally glossy—no cornstarch needed.
Unlike other versions, mine is sweetened with pineapple (mango) jam for a deeper flavor and smoother texture. It’s quick to make, pantry-friendly, and perfectly balanced.
Looking for a Sweet and sour stir-fry sauce? That version is coming soon!
Key ingredients
For the full list of ingredients and exact measurements, scroll down to the recipe card.
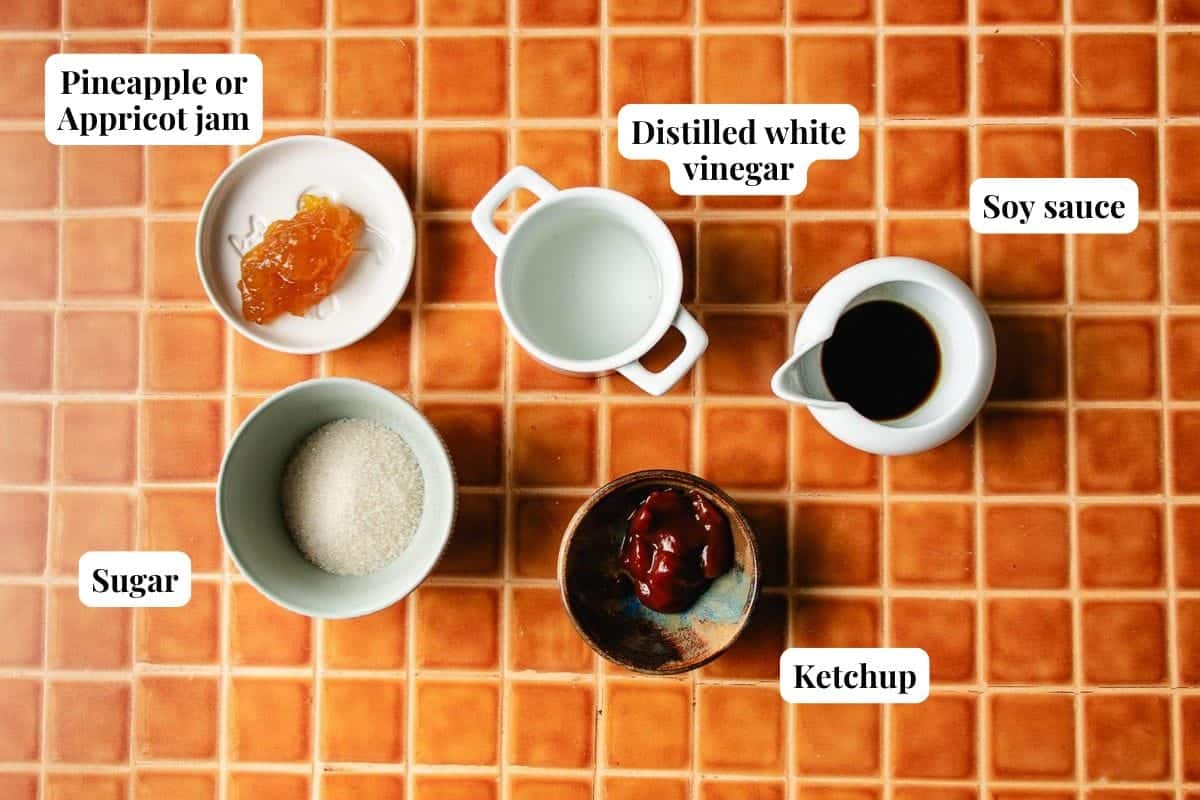
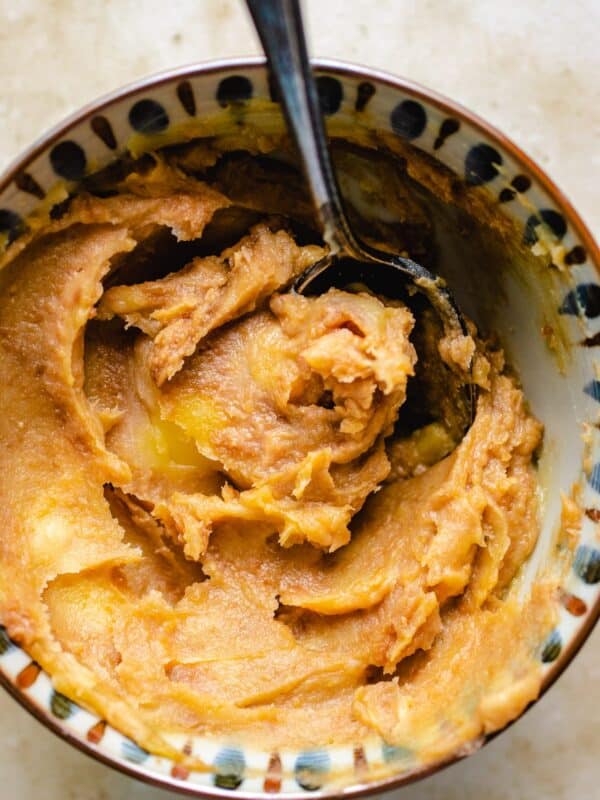
- Pineapple mango jam – I use the St. Dalfour brand. The jam gives the sauce body and a fruity tang without needing cornstarch, thanks to its natural pectin. Plain pineapple jam works well too. You can also use apricot jam as a 1:1 substitute.
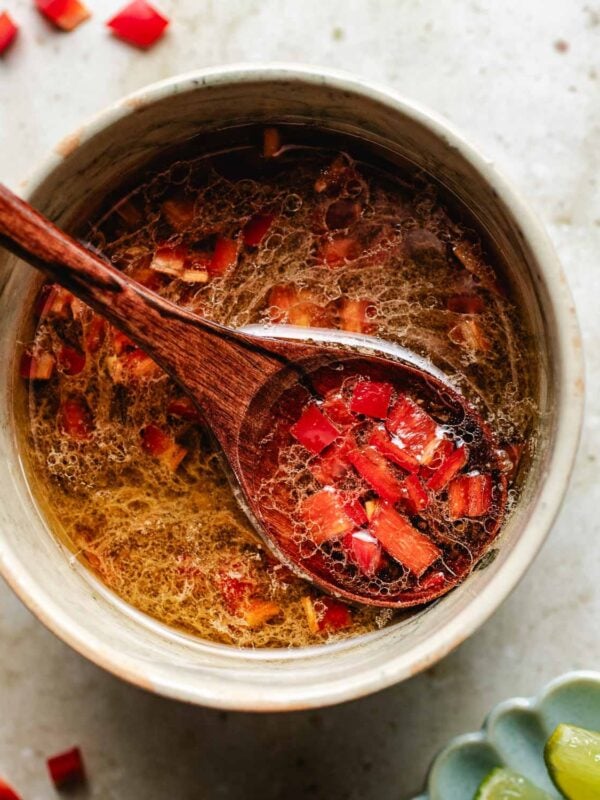
- Distilled white vinegar – For that sharp, clean tang. I don’t recommend apple cider vinegar here—it makes the sauce too fruity.
- Ketchup – Adds a pop of red color and helps balance the sharpness with just a hint of sweetness.
How to make sweet and sour dipping sauce
This sweet & sour dip comes together fast, but each step matters to get that glossy, tangy finish. Here’s how to make it just right.
Step 1: Start with everything in one pot for the fastest prep
Add all the ingredients—vinegar, sugar, ketchup, jam, soy sauce, and water—into a small saucepan.
No need to premix or dissolve anything beforehand. Keeping everything in one pot makes cleanup easier and lets the flavors blend right from the start.
Step 2: Stir as it heats so the jam melts and nothing scorches
Bring the sauce to a gentle boil over medium heat, stirring the whole time. This helps the sugar and jam dissolve evenly and keeps the bottom from burning. Don’t walk away—this only takes a few minutes, and constant stirring is the key to a smooth sauce.
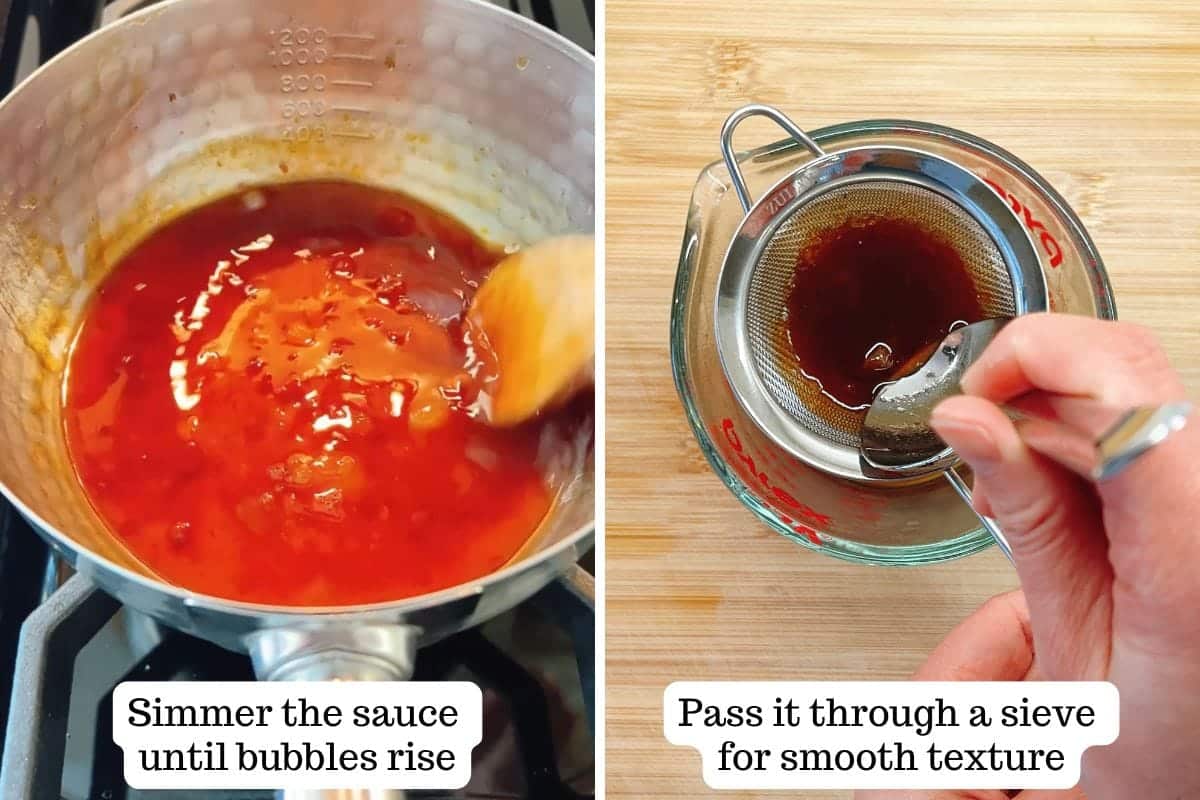
Step 3: Watch for big bubbles and a glossy sheen—then turn off the heat
You’ll know it’s ready when big bubbles start to rise and the sauce turns shiny and slightly thicker—about 5 minutes in. Don’t keep boiling past this point or it can over-reduce and get too sharp.
Tip: Glossy but slightly runny is exactly what you want—it’ll thicken as it cools.
Step 4: Strain while it’s hot for a smoother dipping experience
Pour the sauce through a fine mesh strainer to remove the jam bits. It’s optional, but straining gives you a cleaner finish, especially if you’re serving it with crispier foods like egg rolls or air fryer bites.
Note: Straining is easiest when the sauce is still warm—just set a bowl underneath and use a silicone spatula to help push it through.
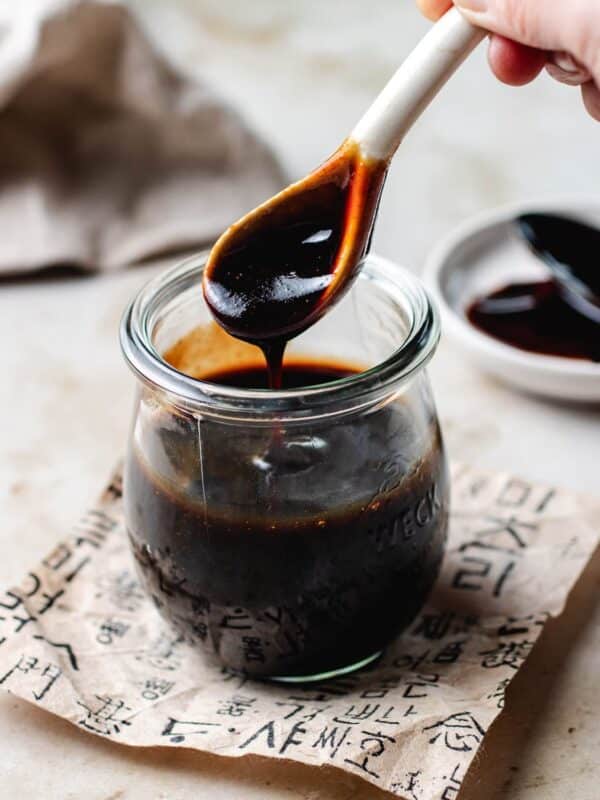
Step 5: Let it cool so the sauce sets and thickens naturally
The sauce will look a bit thin at first—that’s normal. As it cools, it will thicken slightly and get that perfect dipping texture. It should cling lightly to a spoon, not coat it like syrup.
Tip: If serving from the fridge, let it sit on the counter for a few minutes to remove the chill before using.
Ways to serve with the dipping sauce
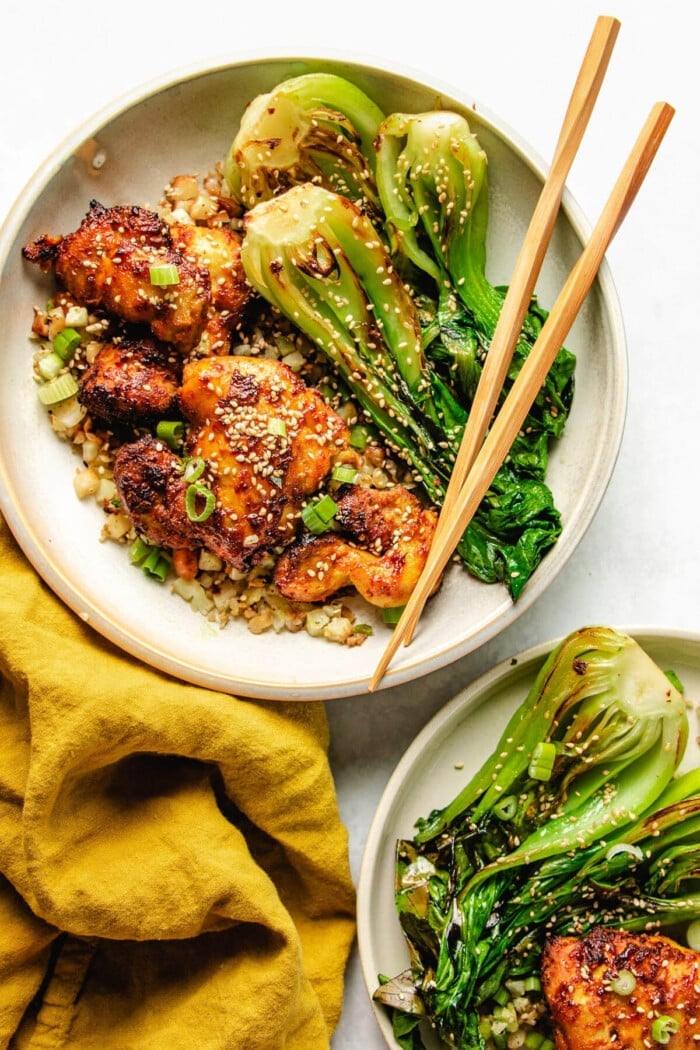
This sweet Asian sauce goes with all kinds of crisp or rich, savory bites. It adds a refreshing, bright finish that balances out the heavier flavors. Here are a few favorite ways to enjoy it:
- Wontons, Chips & Crispy Dippers: Use it like a sweet-and-tangy salsa! Try it with juicy chicken wontons or serve it as a dip for wonton chips—perfect for snack boards or party apps.
- Meatballs & Wings: This sauce makes a great side for juicy paleo chicken meatballs or an oven fried Chinese chicken wings.
- Egg Rolls & Dumplings: Pair it with rice paper egg rolls or rice paper dumplings for that classic sweet-and-sour contrast.
- Fresh Spring Rolls: Even fresh rolls like my shrimp summer rolls work here. The fruity tang of the sauce pairs surprisingly well with herbs and chilled shrimp.
Troubleshoot
Yes! You can scale it up directly—just use a slightly larger saucepan and keep stirring so the jam and sugar dissolve evenly. The cook time may be a minute or two longer, but the method stays the same.
Yes—as long as you use a gluten-free soy sauce, the sauce will be naturally gluten-free.
Absolutely. For a tangier finish, add an extra splash of vinegar. For more sweetness, stir in a little more jam or sugar. Taste as you go—the sauce settles as it cools, so wait a few minutes before adjusting.
Try these Asian sauces next!
If you’re into homemade flavorful sauces, here are a few more to check out:
- Orange Sauce – Sweet, tangy, and citrusy—perfect for air fryer orange chicken.
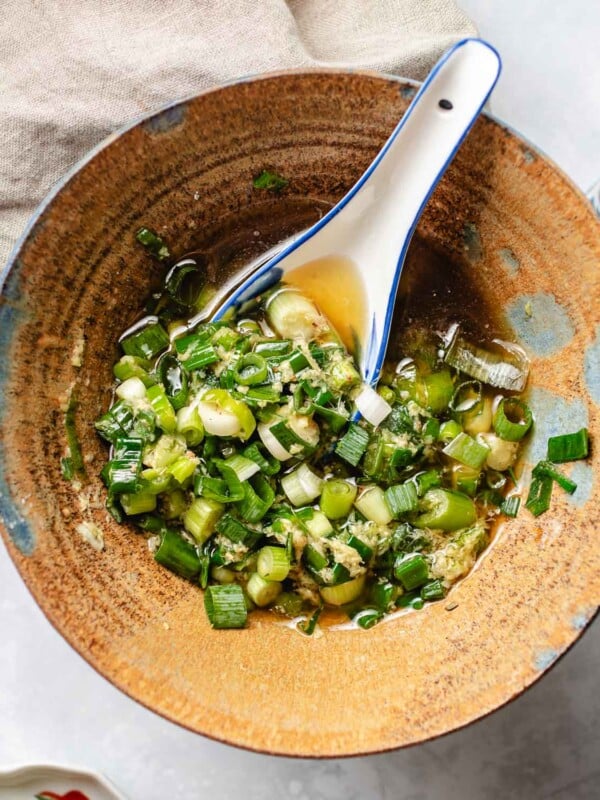
- Ginger Scallion Sauce – Fresh, aromatic, and full of umami. Great with rice, noodles, or crispy scallion chicken.
- Egg Roll Dipping Sauce – A savory-sweet sauce made just for egg rolls. Totally different from this one, but equally addictive.
Sweet and sour dipping sauce

Ingredients
- 3 tbsp distilled white vinegar
- 2 tbsp white sugar
- 1 tbsp ketchup for color
- 1 to 1.5 tbsp pineapple mango jam or pineapple jam; apricot jam also works
- 2 tsp light soy sauce
- 2 tbsp water
Instructions
- Combine all ingredients in a small saucepan.
- Bring to a gentle boil over medium heat, stirring continuously until the sugar and jam are fully dissolved.
- Look for big bubbles starting to rise and the sauce turning glossy, about 5 minutes. Remove from heat.
- Pass the sauce through a fine mesh strainer to remove the pineapple jam bits.
- The sauce consistency will be on the thinner side. It will thicken further and turn glossy as it cools.
Notes
- About the sweet and sour dipping sauce: I use pineapple mango jam, but pineapple jam also works well. If needed, apricot jam is a great substitute—use a 1:1 ratio.
- Dipping sauce consistency: You don’t want the sauce to be too thick or gloopy—it should have a nice shine and light viscosity so it coats the fried food well.
- Storage: Store in a sealed container in the fridge for up to 5 days. When ready to use, let it sit at room temperature for a few minutes to take the chill off—it’ll regain its optimal shine and pourable consistency. No reheating necessary.
- Scale up the quantity: This recipe can be easily doubled or tripled—just use a larger saucepan and increase the cook time slightly.
- Use the same for rice paper egg rolls, crispy eggplant bites, wonton chips, or more!
Nutrition
Nutrition information is automatically calculated, so should only be used as an approximation.
Made a dish and loved it? Please rate the recipe and leave a comment in the section below! It helps my blog grow organically, allowing me to continue sharing free and awesome content with you. Thank you!