This post may contain affiliate links. Please read our disclosure policy.
Making sticky rice in a rice cooker is simpler than you might think. It’s easy, convenient, and requires no soaking—just set it and forget it. This guide will take you through every step, ensuring you end up with perfectly sticky, delicious rice every time.
Love glutinous rice but don’t have a rice cooker? No worries! We’ve got a fantastic method for microwave sticky rice that’s just as good and convenient! Whether you’re pairing it with savory dishes or enjoying it as a standalone treat, this technique will change the way you cook sticky rice.
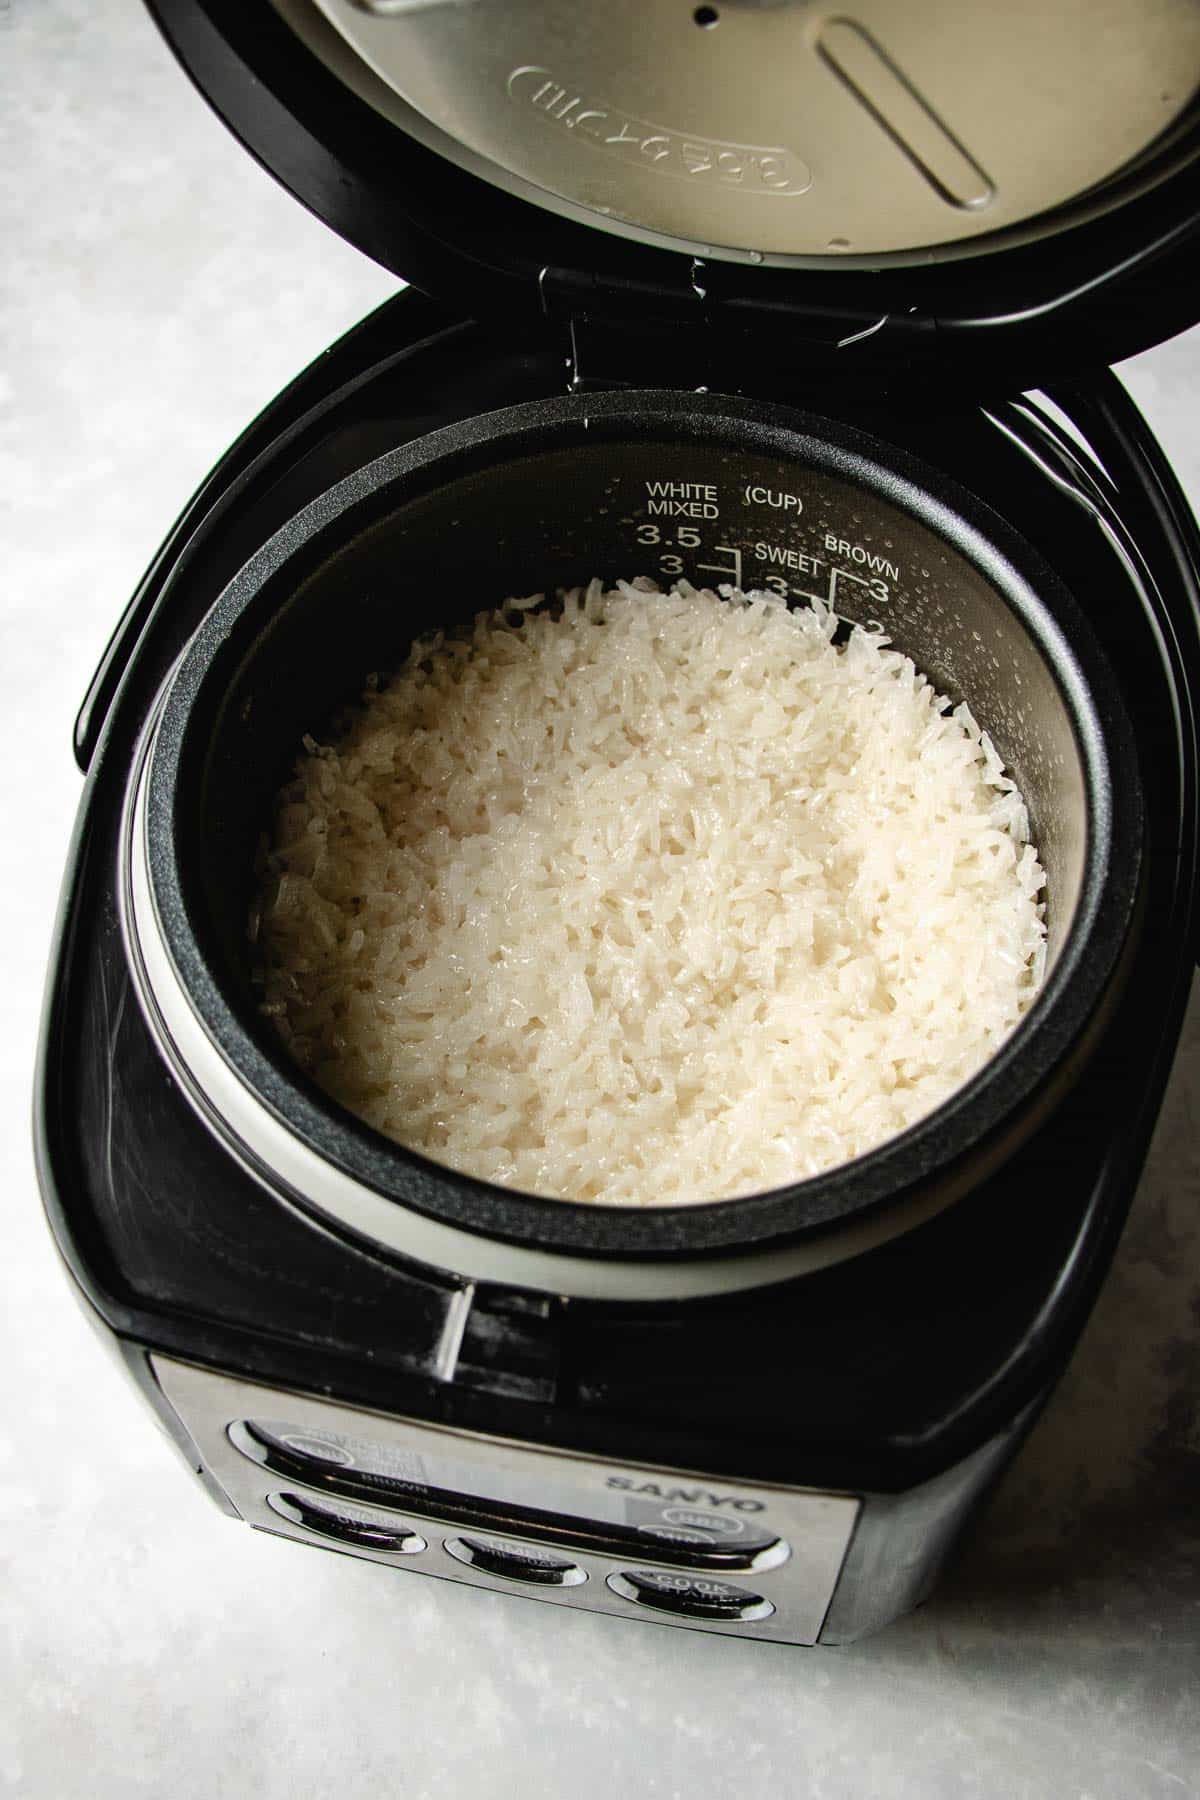
Table of Contents
What is sticky rice?
Sticky rice, a key ingredient in many Asian and Southeast Asian dishes, is known for its unique, chewy texture. It’s different from other types of rice due to its high content of amylopectin, a type of starch that makes it stick together when cooked.
After cooking, sticky white rice reveals a sweeter and chewier (sticky) texture compared to regular white rice. In Thai and Lao cuisine, it plays a pivotal role, often served with both savory and sweet dishes.
People traditionally use their hands to grab and shape the rice, then dip it into their food. It acts not only as a utensil but also soaks up delicious sauces.
Is Sushi Rice the Same as Sticky Rice?
While both sushi rice and sticky rice have a sticky texture, they’re not the same. Sushi rice, used specifically for sushi, has a slightly different preparation, including a seasoning of vinegar, sugar, and salt, which sweet rice does not require.
Sticky rice, also called glutinous rice or sweet rice, is primarily used in dishes like desserts, dumplings, and savory meals across Asia. Long grain stickyrice is common in Thai and Lao regions whereas short grain glutinous rice is more popular in Chinese and Korean cuisines.
Is Sticky Rice Gluten-Free?
Despite its misleading name, sticky rice is indeed gluten-free. The term “glutinous” refers to the glue-like, sticky texture of the rice, not to gluten content. So, if you’re avoiding gluten, short grain sweet rice is a safe and delicious choice to include in your meals.
Ingredients and tools
Before we dive into making the perfect batch of sweet rice, let’s get familiar with the ingredients and tools you’ll need for the recipe.
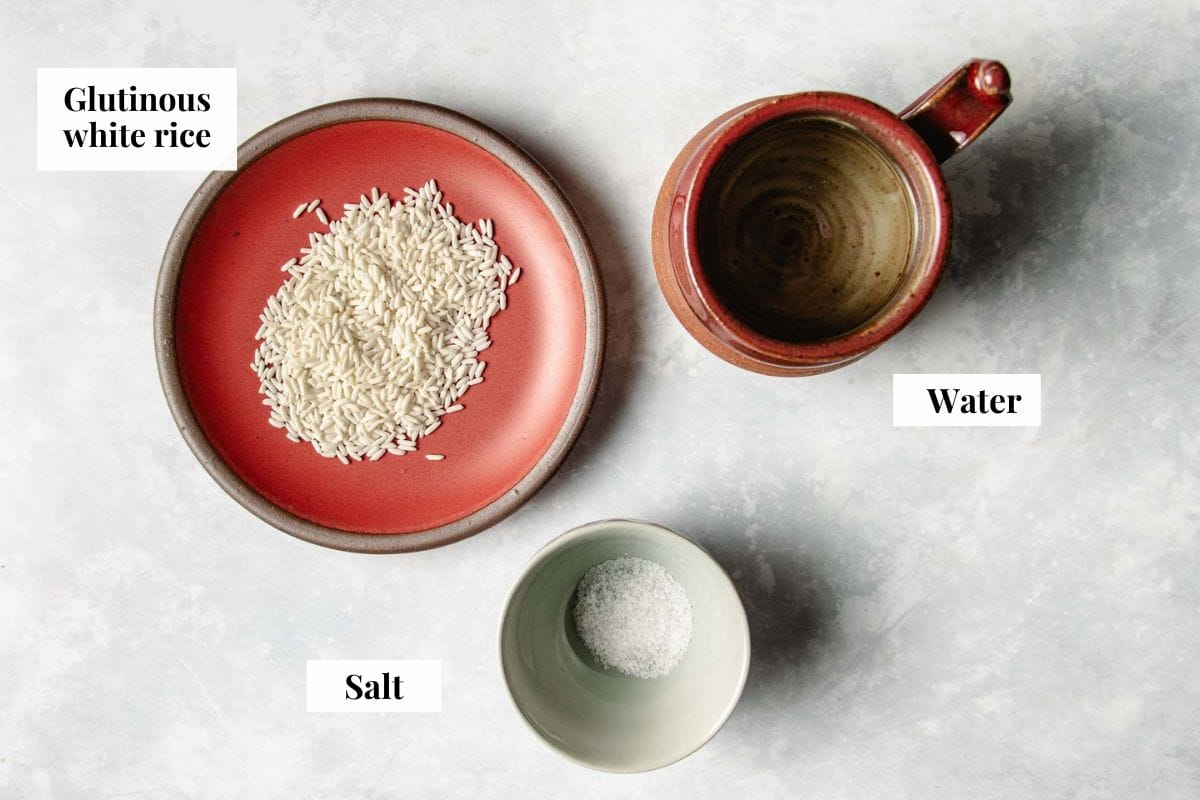
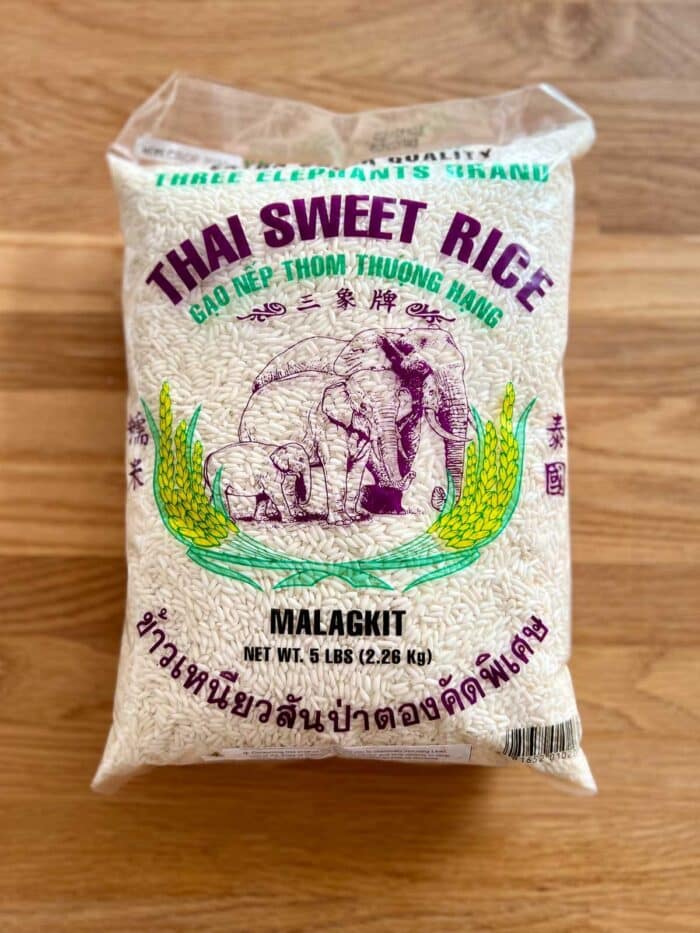
- Sticky Rice: Also known as sweet rice or glutinous rice, it’s the star of our dish. Despite its name, the rice grains are gluten-free. It’s different from sushi rice or white rice, known for its chewy texture and ability to absorb flavors beautifully.
- Room Temperature Water: Used to cook the rice evenly, ensuring each grain is perfectly soft and sticky.
- Coarse Sea Salt: Adds a subtle flavor that enhances the natural sweetness of the rice, balancing the taste.
Tools
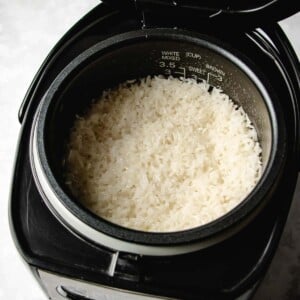
- Rice Cooker: A convenient appliance that cooks the rice evenly and keeps it warm after cooking. It’s essential for achieving the perfect texture without constant monitoring. I have a Japanese Sanyo rice cooker. Toshiba or Zojirushi are also great.
- Rice Paddle: Helps to fluff and serve the rice without squashing the grains, preserving their sticky texture.
- Large Sieve or Colander: Used for rinsing the rice thoroughly to remove excess starch, which is crucial for achieving the right stickiness.
- Measuring Cup: Ensures the precise amount of rice and water is used, which is critical for the perfect rice-to-water ratio.
- Food Weight Scale: Offers the most accurate way to measure the rice, ensuring consistency in texture and flavor every time.
How to make sticky rice in rice cooker without soaking
Now we know how cool sticky rice is, let’s make it! You won’t believe how easy it is to cook sweet rice in a rice cooker – no soaking needed. Just follow these steps, and you’ll have yummy rice in no time.
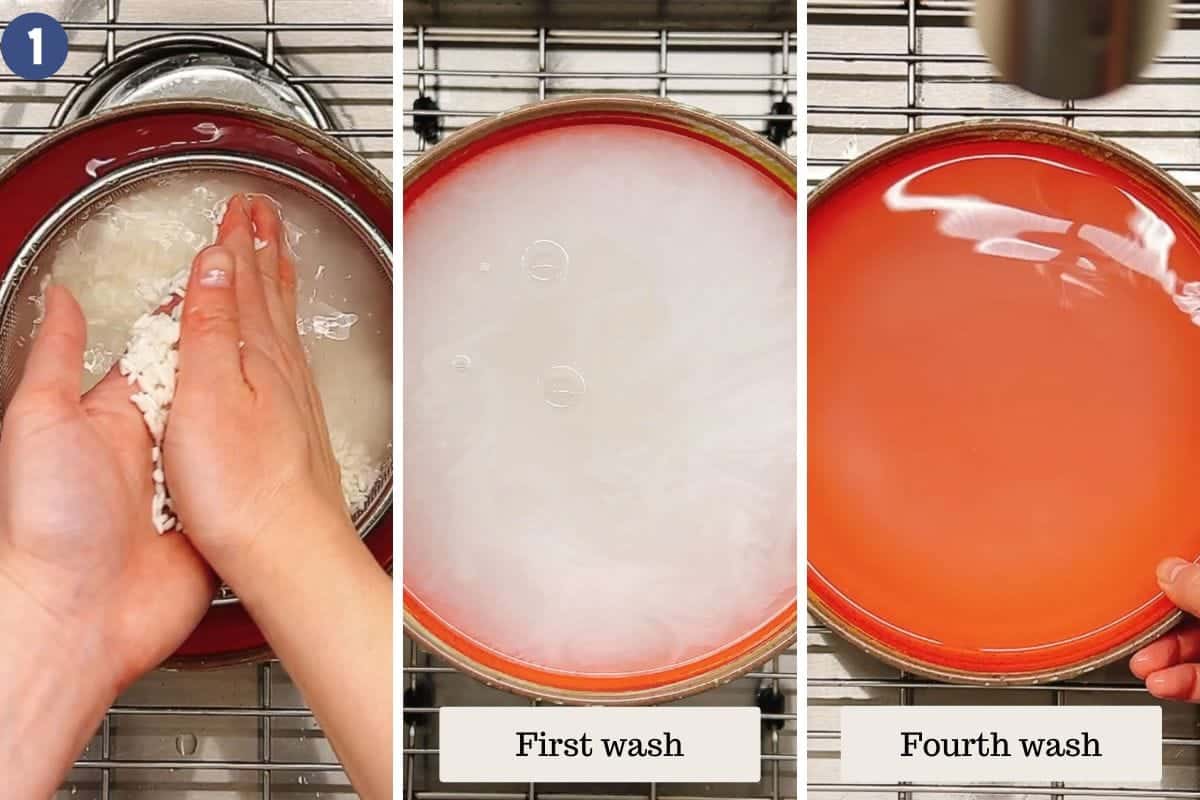
- Prep the Rice: Begin by giving your rice a good wash. Rinse it 3-4 times in a colander/strainer until the water is mostly clear. This step is crucial as it removes excess starch, ensuring your sticky rice is perfectly cooked without turning into a chunky mess.
- Mix It Up: Transfer your rinsed rice into the steaming rice cooker. Add the room temperature water and salt, then stir. Use your hands to level the rice, so it cooks evenly.
- Cook: Close the lid and choose the “white or mixed rice” setting, or “sweet rice” if your cooker has it. It usually takes about 40 minutes.
- Stir and Rest: After cooking, stir the rice with a paddle to bring the bottom rice to the top. Close the lid and let it sit for 15 minutes. This lets the rice absorb any excess moisture evenly.
- Serve or Store: Serve the rice immediately or follow our tips for storing and reheating to keep that perfect texture.
Ratio of water to rice for sticky rice in a rice cooker
When making sticky rice in a rice cooker, the amount of water you use is super important. No matter if your sticky rice is long grain or short grain, you’ll need to follow a simple rule: for every 1.5 parts of sticky rice, add 1.25 parts of water. This works perfectly for up to 6 cups of rice.
- For 6 cups of sticky rice: Use 5 cups of water. Make sure the rice is rinsed but not soaked, and the water is at room temperature.
- For 3 cups of sticky rice: You’ll need 2.5 cups of water.
- For 1.5 cups of sticky rice: Add 1.25 cups of water.
If you’re cooking more than 6 cups of rice or less than 1.5 cups, you might have to tweak the water a bit to get it just right. This guide helps make sure your sticky rice turns out awesome every time.
Troubleshooting Thai sweet rice
Sometimes, even with the best of intentions, our sticky rice might not turn out exactly how we want it. But don’t worry! Here are some quick fixes:
My sticky rice is undercooked
If you notice just a few grains are a bit too crunchy, here’s a simple fix: fluff up the rice with a fork or rice paddle, then close the lid of your rice cooker. Let the rice sit for another 15-20 minutes. The warmth still hanging out in the rice cooker will help those stubborn grains soften up.
My sticky rice is too soft
Oops, did the rice turn out a bit too mushy? That can happen if we add too much water. But no worries! If your sticky rice feels too soft, it’s likely because of the extra water.
The good news is, it’s still tasty. Letting it sit until it reaches room temperature will help it firm up. You can even use the softer rice to make something delicious like crispy rice sushi.
How to store, freeze, and reheat
Making sticky rice is fun and eating it is even better, but what about the leftovers? Don’t let them go to waste! Here’s how to store and reheat your sticky rice so it’s just as good as when it was fresh.
- Storage: Let your sticky rice cool down to room temperature. Then, scoop it into an airtight container and pop it in the fridge. If you do this, you can enjoy your sticky rice for another 2-3 days, and it’ll still taste great.
- Reheat: When you’re ready for round two with your sticky rice, you’ll notice it’s gotten a bit firmer in the fridge. No problem! Just put the rice in a microwave-safe bowl and sprinkle a little water on top. Cover it loosely and microwave on high for 1 minute. Check it, and if it needs more time, flip the rice from bottom up and give it another zap until it’s warm and chewy again.
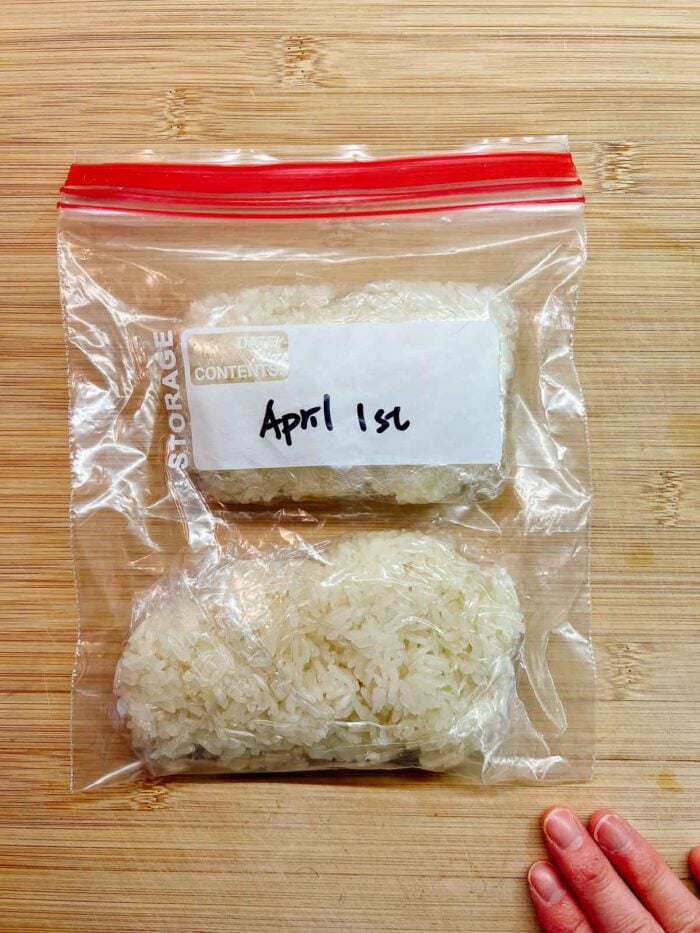
- Freeze: To freeze the cooked sticky rice, portion it out to individual serving quantities. Flatten it into rice packets, wrap tightly with cling wrap, and store in freezer friendly bags.
- Frozen sticky rice should last up to 2 months in the freezer. Follow the reheat step above but increase the water to 2 tbsp and increase microwave time, about 4-5 minutes total. Flip the rice halfway through.
Ways to use sticky rice
Sticky rice isn’t just a side dish; it’s a versatile ingredient that can transform into many delicious meals whether you’re in the mood for something sweet, savory, or crispy.
Dessert:
- For a sweet treat, Coconut sticky rice with mango combines the creaminess of coconut milk, the sweetness of ripe mango, and the unique texture of sticky rice for a heavenly dessert.
- Sticky rice pudding is another delightful option, offering a warm and comforting dessert, perfect for ending any meal on a high note.
Savory Dishes:
- Dive into the world of savory with make sweet or savory Chinese sticky rice dumplings (zhongzi or 粽子), where sticky rice meets a variety o fillings wrapped in bamboo leaves for a taste of tradition.
- Chinese sticky rice stuffing with sausage mixes the chewy texture of sticky rice with the rich flavors of Chinese sausage, creating a fulfilling and flavorful dish.
Crispy Rice Cakes:
- Crispy rice sushi takes the classic sushi experience to a new level, featuring a crispy sticky rice base topped with your favorite sushi ingredients for a delightful crunch.
Serve on the Side:
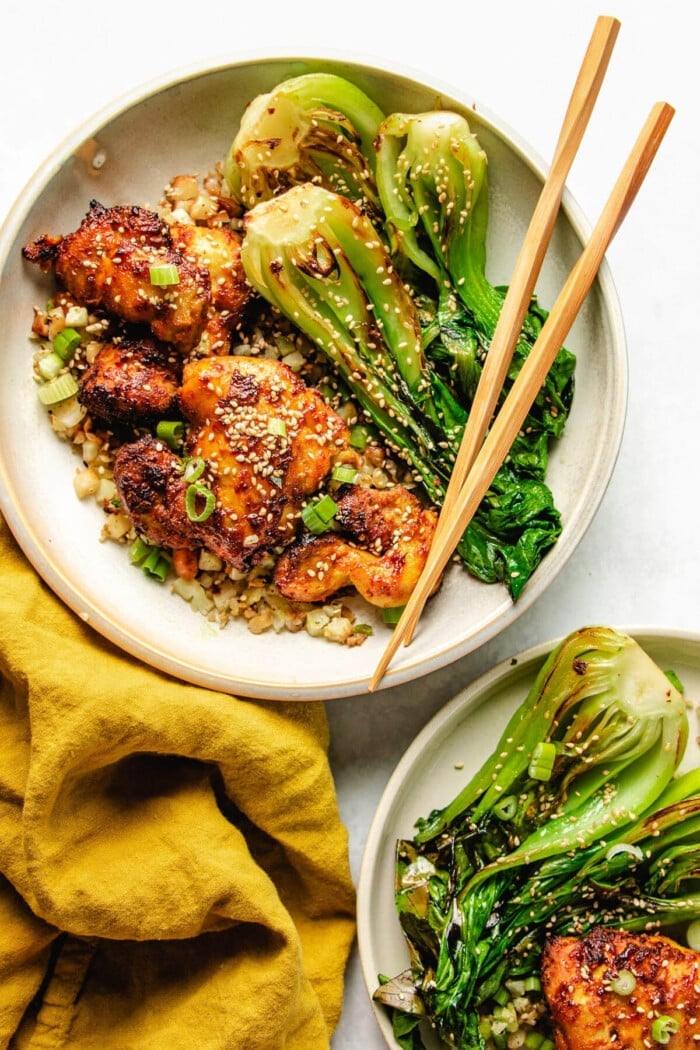
- For an authentic Laotian experience, serve sticky rice on the side with Thai larb (larb moo), Beef larb or Chicken larb. Take a small piece of sticky rice, shape it in your hands with a small indent, dip it into the larb to scoop up the meat and soak up the sauce, then enjoy.
Expert tips
- Wash the rice: Always rinse your sticky rice in cold water 3-4 times in a swish motion until the water runs mostly clear. This step is crucial for removing excess starch and preventing the rice from becoming too gummy.
- No Soaking Needed: When using a rice cooker, you can skip the soaking process required in traditional methods, making your cooking process quicker and more straightforward.
- Water-to-Rice Ratio: Stick to the 1.5 parts rice to 1.25 parts water ratio for perfect consistency. This ratio ensures your sticky rice is neither too hard nor too mushy.
- Level the Rice: After adding your rice and water to the rice cooker, use your hands or a spoon to level the rice. This helps the rice cook evenly, preventing some grains from being overcooked or undercooked.
- Flip the rice: Once cooking is done, open the lid and use a rice paddle to flip the rice from the bottom to the top. Then, close the lid again, allowing the rice to steam further. This ensures even cooking and perfect texture throughout.
- Let It Rest: Once the rice cooker indicates the rice is done, don’t rush to open it. Let the rice sit for an additional 15-20 minutes with the lid closed. The residual heat continues to cook the rice gently, ensuring a perfect sticky texture.
- Fluff Gently: Use a rice paddle to fluff the rice gently before serving. This helps to separate the grains slightly without breaking them, preserving the delightful chewiness.
- Store Properly: If you have leftovers, let the rice cool to room temperature before storing it in an airtight container in the fridge. This helps maintain its texture and flavor for up to 2-3 days.
- Reheat with Care: Add a little water when reheating sticky rice to bring back its soft and chewy texture. Cover loosely and microwave in short intervals, stirring between each, until it’s perfectly warmed through.
FAQs
No, you can’t make true sticky rice with regular rice. Sticky rice requires glutinous or sweet rice, known for its unique sticky texture when cooked, unlike regular rice varieties.
White rice is less sticky and more fluffy when cooked, while sticky rice, also known as glutinous rice, becomes very sticky and chewy, ideal for dishes that require a denser texture.
If your rice turns out sticky in the rice cooker, it’s often due to excess starch on the surface. Rinsing the rice thoroughly before cooking can help prevent this stickiness.
You can’t turn regular rice into sticky rice because they have different starch compositions. Sticky rice requires glutinous rice, which has properties that regular rice lacks to achieve that sticky texture.
Yes, you can make sticky rice without a rice cooker. The traditional method involves steaming soaked rice (soaked overnight) in a bamboo basket steamer. Alternatively, you can make sticky rice in microwave for a quicker option.
Sticky rice in rice cooker recipe
Ingredients
- 1.5 cup sticky rice also known as sweet rice or glutinous rice, 300 gram
- 1.25 cup room temperature water 296 gram, 10 fluid oz.
- ¼ tsp coarse sea salt
Equipments:
- Rice cooker
- Rice paddle
- Large sieve or colander
- Measuring cup
- Food weight scale
Instructions
- Wash and rinse the rice in a colander 3-4 times until the water runs mostly clear. This removes the excess starch so that the cooked rice grains will be clean, clear, and not clump into a chunk. After rinsing, drain well and shake off excess water.
- Transfer the rice into the rice cooker. Add the water and salt. Stir then use your hands to level the rice so they cook evenly.
- Close the lid and set the rice cooker function to “white or mixed rice” or “sweet rice”, if your rice cooker has that setting. Depending on the rice cooker brand, mine takes about 40 minutes to cook.
- Once the time is up, open the lid. The rice at the bottom of the rice cooker will cook faster than the top so use a rice paddle to flip the rice from the bottom up. Then close the lid again to let the rice sit for 15 minutes. The residue heat will help the rice grains to soak up excess moisture.
- Open the lid, use a rice paddle to scoop the rice to individual serving plates. If you prefer a firmer rice texture, keep the rice cooker lid open. As the rice cools down, the texture will firm up even more.
- To keep the rice soft and chewy as you serve, keep the rice loosely covered as sticky rice turns harder and tougher to chew once it cools down. Serve warm.
Notes
- Wash the rice: Always rinse your sticky rice in cold water 3-4 times in a swish motion until the water runs mostly clear. This step is crucial for removing excess starch and preventing the rice from becoming too gummy.
- No Soaking Needed: When using a rice cooker, you can skip the soaking process required in traditional methods, making your cooking process quicker and more straightforward.
- Rice cooker brands: I grew up with Japanese rice cookers and it’s the gold standard. I have a small rice cooker from Sanyo. Toshiba or Zojirushi are also great.
- To store: Let the rice cool to room temperature. Store in an airtight container in the fridge. Ues in 2-3 days.
- To reheat: The rice grains will become firmer after refrigeration. To return the grains to soft and chewy again, transfer the rice to a microwave safe bowl. Drizzle with 1 tbsp water then loosely cover the bowl. Microwave on high for 1 minute. The bottom of the rice will turn softer first than the top so flip the rice from bottom up and repeat the process to microwave 30 seconds to 1 minute additional until the rice grains turn soft and sticky.
- To freeze, portion it out to individual serving quantities. Flatten it into rice packets, wrap tightly with cling wrap, and store in freezer friendly bags.
- Frozen sticky rice should last up to 2 months in the freezer. Follow the reheat step above but increase the water to 2 tbsp and increase microwave time, about 4-5 minutes total. Flip the rice halfway through.
Nutrition
Nutrition information is automatically calculated, so should only be used as an approximation.
Made a dish and loved it? Please rate the recipe and leave a comment in the section below! It helps my blog grow organically, allowing me to continue sharing free and awesome content with you. Thank you!