This post may contain affiliate links. Please read our disclosure policy.
Microwave sticky rice is a game-changer for anyone craving this Asian culinary staple without the traditional hassle. This method simplifies the process, making it accessible with delicious results from start to finish in just 30 minutes!
If you’re hunting for more cooking hacks, give my guide on how to cook sticky rice in a rice cooker a try. It’s another fantastic, straightforward option for achieving flawlessly sticky, aromatic rice every time.
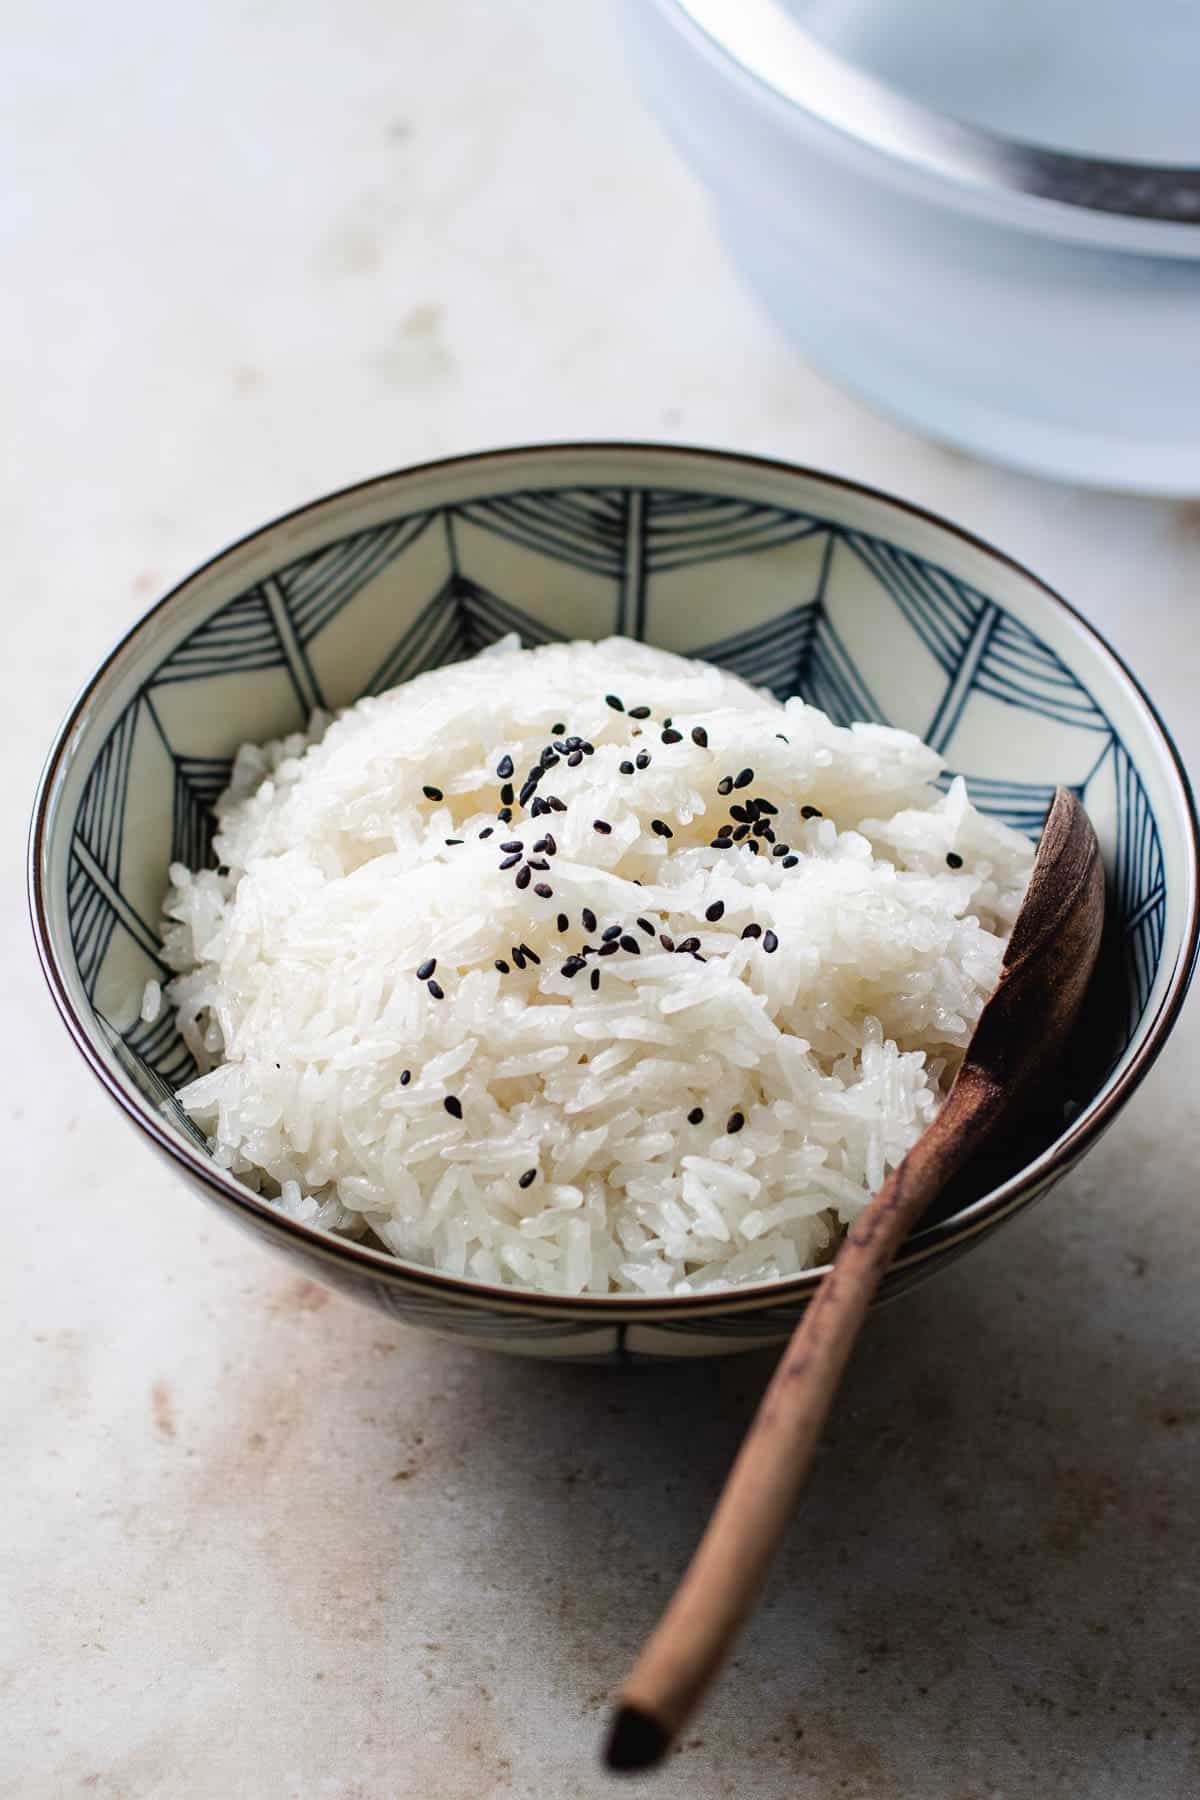
Table of Contents
Sticky rice vs. Sticky white rice vs. Sushi rice
Navigating the world of rice can sometimes feel like a culinary puzzle, especially when terms like sticky rice, sticky white rice, and sushi rice come into play. Let’s clear up the confusion in a way that’s easy to understand.
Thai Sticky Rice:
- Thai sticky rice, also known as glutinous rice or sweet rice, is unique. It’s not just about the texture; this type of rice actually becomes sticky when cooked, thanks to its specific starch content – amylopectin. It’s often used in Thai desserts and savory dishes alike.
Sticky White Rice:
- The term “sticky white rice” might sound like it’s referring to glutinous rice, but that’s not quite accurate. While medium grain and short grain white rice do have a stickier texture compared to long grain varieties (like basmati rice), they’re not “sticky rice” in the traditional sense.
- They get a bit clingy when cooked, but they don’t have the same distinct stickiness or the ability to be molded like glutinous rice.
Sushi Rice:
- Sushi rice is a type of short-grain rice that becomes sticky once it’s cooked, but it’s not the same as Thai sticky rice.
- The stickiness of sushi rice comes from the special vinegar mixture added to it after cooking, which also gives sushi its signature taste. Sushi rice is sticky enough to hold together sushi rolls but not in the same way that glutinous rice sticks together.
Ingredients and tools
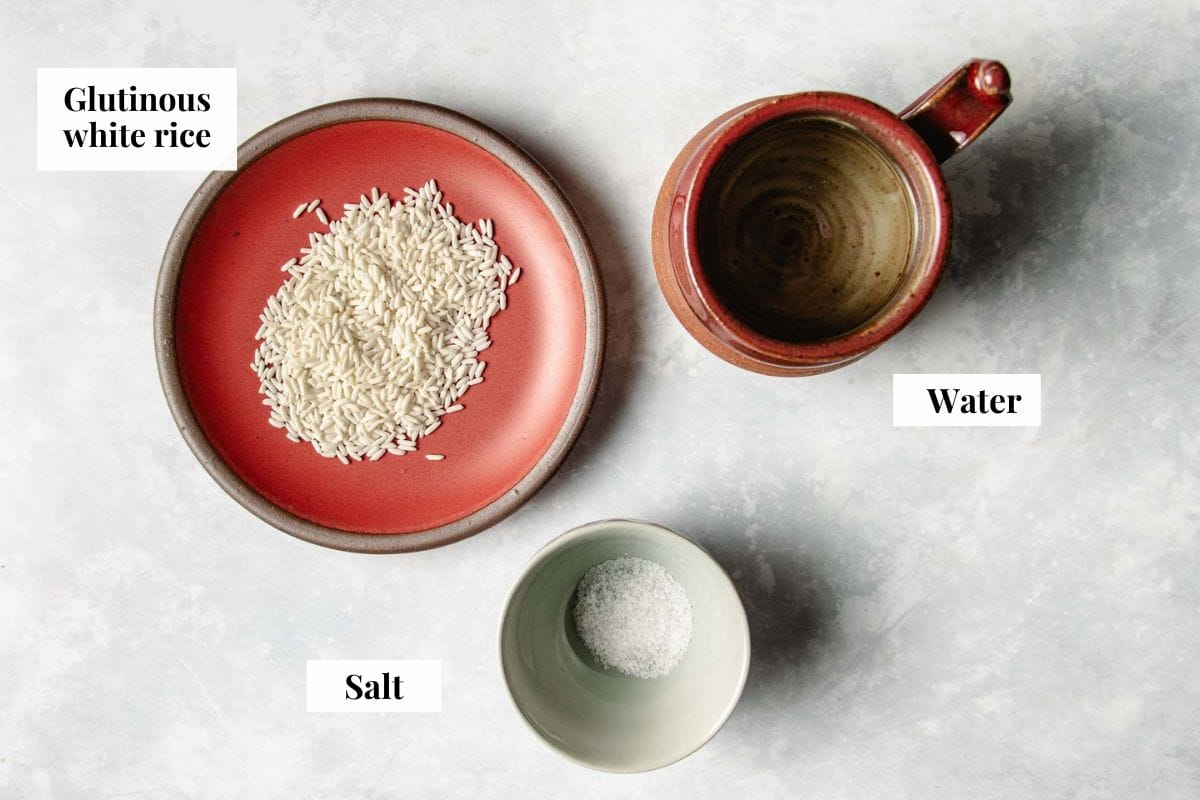
Ready to make sticky rice in the microwave? Let’s gather a few simple ingredients and some handy kitchen tools. With these things ready, you’ll be all set to cook up something delicious and sticky in 30 minutes from start to finish!
Save This Recipe
- Sticky Rice: Also known as sweet rice or glutinous rice, this is the star of the dish, known for its unique sticky, chewy texture after cooking.
- Hot Boiling Water: Used to soak and cook the rice, the hot water helps to soften and expand the grains, making them sticky and perfectly cooked.
- Coarse Sea Salt: Adds a subtle enhancement to the rice’s flavor, balancing the natural sweetness of the sticky rice.
Tools:
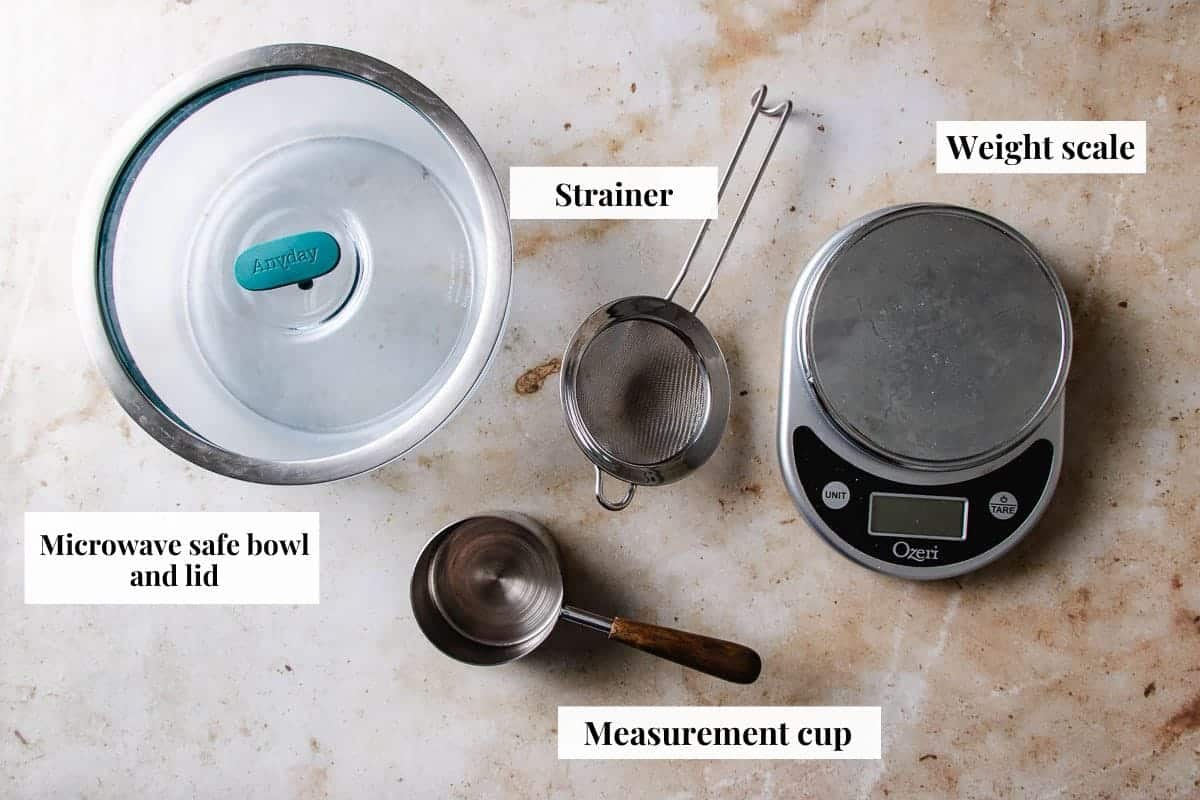
- Large Fine-Mesh Strainer: Used for thoroughly washing the rice, removing excess starch to ensure each grain is distinct and not too sticky.
- Measuring Cup: Ensures precise measurements of rice and water, crucial for achieving the perfect texture.
- Food Weight Scale: Helps in accurately measuring the rice by weight, ensuring consistency and the ideal rice-to-water ratio.
- Large Microwave-Safe Bowl with a Wide Flat Bottom: The wide, flat bottom microwave rice bowl allows for even cooking of the rice, while being microwave-safe ensures it can withstand the cooking process.
- Microwave-Safe Plate or cover: Acts as a cover for the bowl, trapping steam and heat for evenly cooked rice, while allowing a slight gap for excess steam to escape.
How to cook sticky rice in microwave
Ready to make some homemade instant sticky rice? Just follow these easy steps, and you’ll have delicious sticky rice ready in a snap.
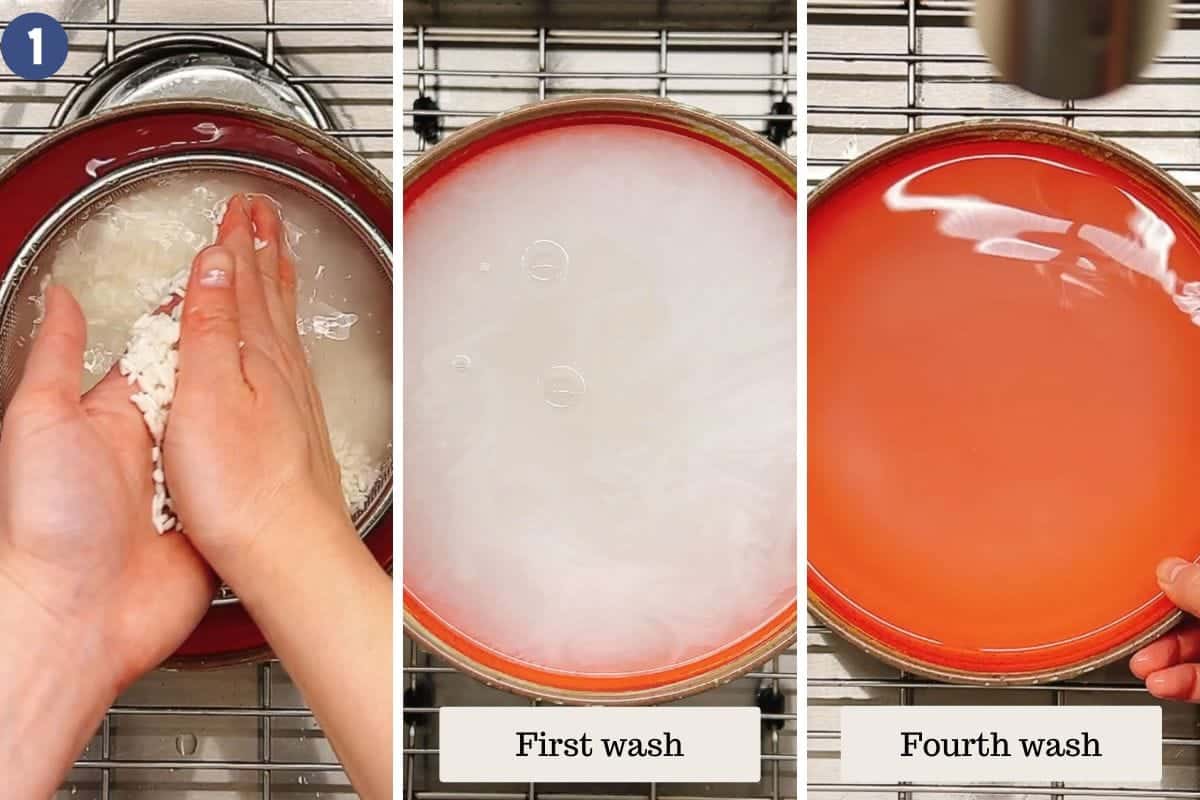
- Wash the Rice: Boil water in a pot. While waiting, wash the sticky rice in a strainer by swishing it around with your hands. Rinse 3-4 times until water is clearer. Drain well.
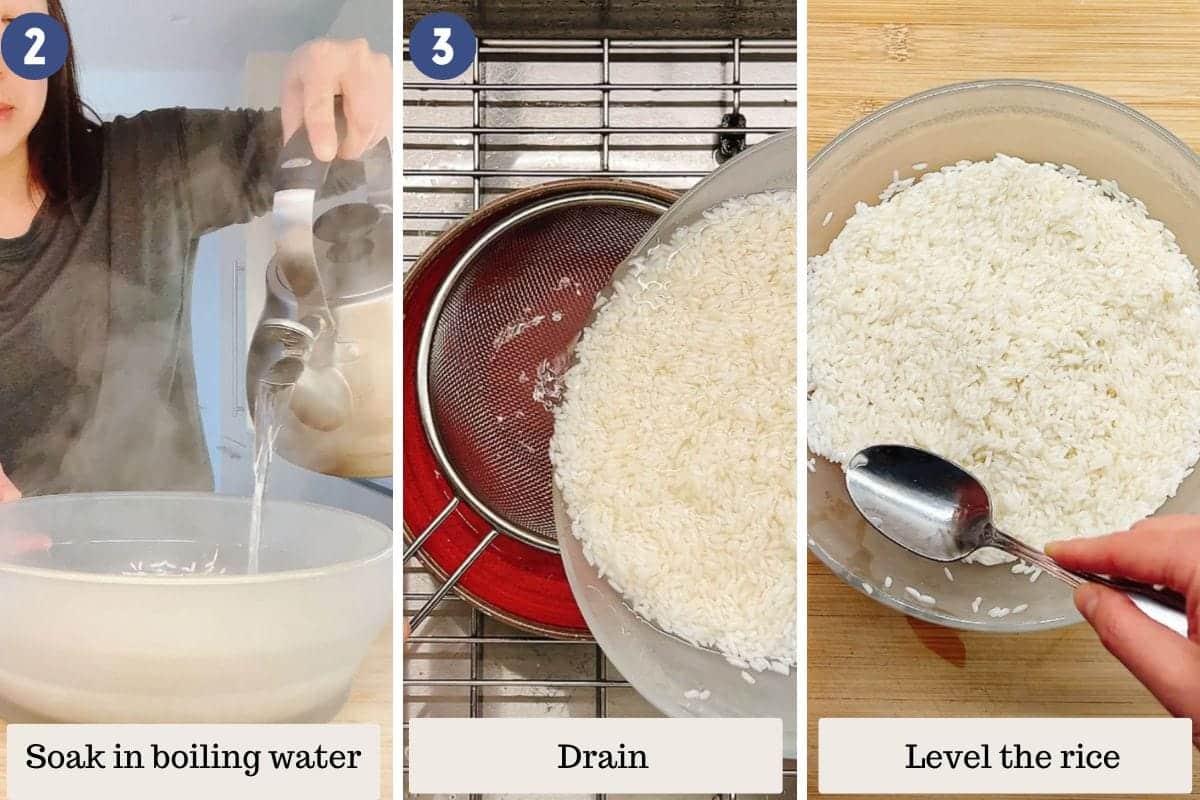
- Soak the Rice: Place the rice in a large microwave-safe bowl. Spread it evenly, then pour boiling water over it, about 1 inch above the rice. Cover the bowl tightly with a microwave-safe plate and let it steam for 20 minutes.
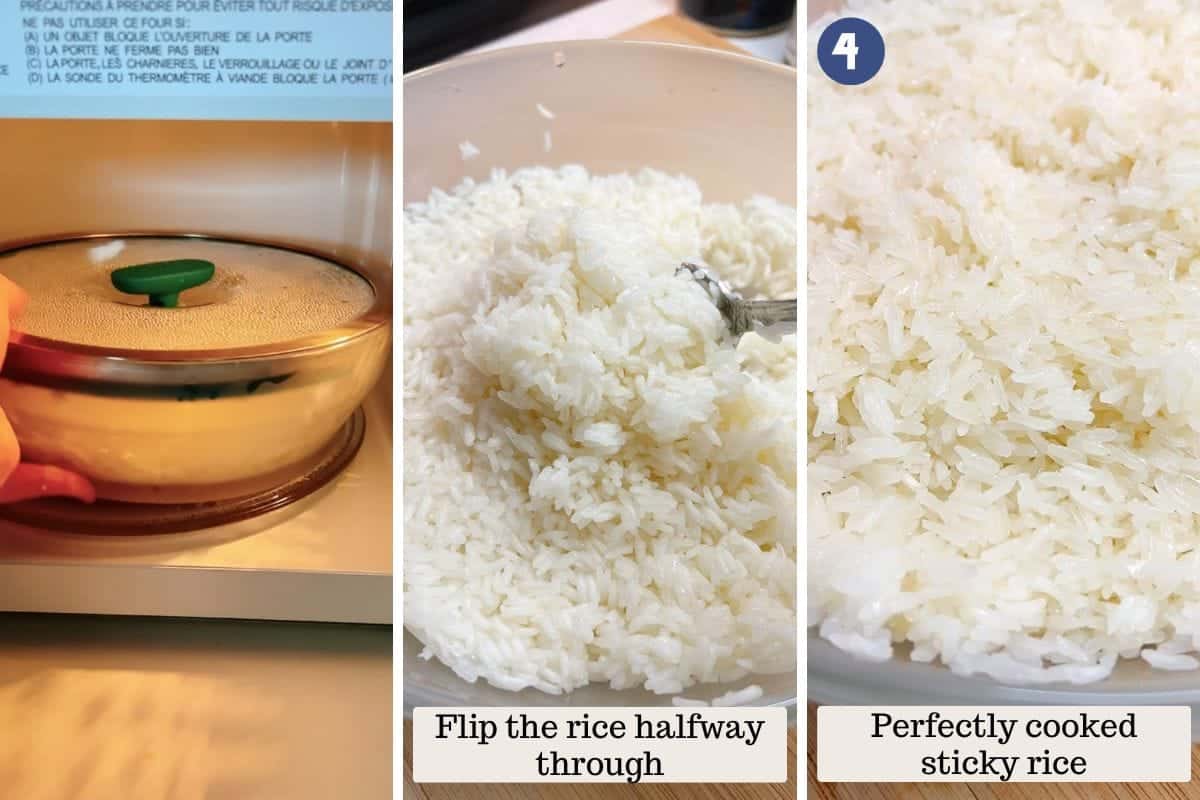
- Microwave the Rice: After 20 minutes, drain the rice and put it back in the bowl. Flatten the rice with a spoon, cover with the plate slightly ajar, and microwave on medium-high (700W) for 5 minutes. Stir the rice, flattening it again, and microwave for another 5 minutes.
- Let It Rest: Remove the bowl from the microwave carefully, keep it covered, and let it sit for 5 minutes. This helps keep the rice sticky, soft, and chewy. Fluff the rice before serving.
Tip 1: Rice quantity: You can adjust the rice quantity with more or less. But ensure to adjust the soaking time and cooking time accordingly. More rice = longer soaking time (add 10 more minutes) and cooking time and vice versa.
Tip 2: Microwave power setting: Medium-high is typically around 700W. A typical microwave on a high power setting is between 800W and 1200W. If your microwave settings are different, find a setting close to 700W. If you’re unsure, err on the side of lower power and increase cooking time slightly.
Troubleshoot
My rice is Undercooked
- Only a few grains: Got some grains feeling a bit tough, or wish your rice was softer? No worries! Just keep the rice covered right after cooking and let it hang out for another 10-15 minutes. It’s like giving the rice a little extra time to soak in a warm bath.
- The majority of the grains: If it feels like most of the rice didn’t get the memo to cook through (you know, still hard in the middle), smooth out the rice, sprinkle a bit of hot water on top, cover it up, and zap it in the microwave for another 4-5 minutes. Then, take a peek and see if it’s softened up.
My rice is Overcooked
Uh oh, did your rice turn mushy, looking more like a sticky blob than individual grains? No stress! It’s still delicious and perfect for making coconut sticky rice with mango or adding a unique twist to crispy rice sushi. Overcooked doesn’t mean game over; it just means a new recipe opportunity!
How to tell if the rice is cooked perfectly
Curious about whether your rice hit the sweet spot? Look for grains that are more see-through than white. Perfectly cooked sweet rice will be mostly translucent, with each grain standing out proud and separate.
How to store and reheat
Keeping your “rice to go” fresh and delicious for later is easy with the right storage and reheating tips. Whether you’re planning a quick meal or need a savory snack, these simple steps ensure your sticky rice stays perfect.
- Storage:
- Cooked sticky rice needs to be refrigerated to prevent foodborne illness.They are best to be consumed in 2-3 days. Let the rice cool to room temperature and store it in an airtight container in the fridge or divide them into individual rice packets.
- To make your own microwavable rice packets, lightly flatten the rice and wrap it tightly in saran food plastic wrap then store in sealed bags.
- Reheat:
- The rice will firm up after refrigeration. Put the rice in a microwave-safe bowl and sprinkle a little water on top. Cover it loosely and microwave on high for 1 minute. Check it, and if it needs more time, give it another zap until it’s warm and chewy again.
How to serve microwavable sticky rice
Keeping your sticky rice warm is key to preserving its perfect texture. In Thailand, sticky rice is often served in a bamboo steamer basket with a lid to keep it moist and warm.
At Home Serving Tips:
- Keep the rice in its microwave bowl covered with the lid, or wrap the serving bowl in food wrap to stay warm on the kitchen counter.
Dessert:
- Mango Sticky Rice: A divine dessert mixing creamy coconut milk, sweet ripe mango, and sticky rice.
Serve on the Side:
- With Laotian Larb: Enjoy sticky rice alongside Thai larb (larb moo), beef larb, chicken larb. with papaya salad or Thai beef salad (Nam tok neua). Mold a small piece of rice, make an indent, dip into the larb, and savor the flavors.
Savory Dishes:
- Chinese Sticky Rice Dumplings (Zhongzi): Experience tradition with sticky rice dumplings, filled with diverse ingredients and wrapped in bamboo leaves.
- Sticky rice stuffing: Combine sticky rice with the rich taste of Chinese sausage for a satisfying dish.
Crispy Rice Cakes:
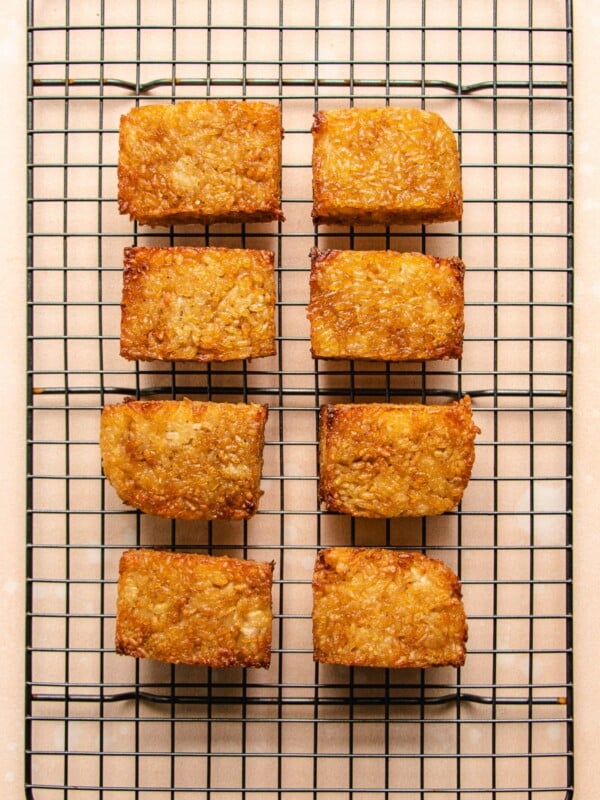
- Crispy Rice Sushi: Elevate sushi night with a base of crispy sticky rice topped with your favorite sushi toppings for an extra crunch.
Tips for success
- Rinse the rice: Washing the rice in several changes of water until it runs clear is crucial. It removes excess starch, ensuring the grains don’t stick together into a lump.
- Use Hot Boiling Water: It’s crucial to use hot boiling water, not just lukewarm, when soaking the rice. This helps to properly soften and expand the rice grains, setting the stage for that perfect stickiness.
- Water Levels Matter: When soaking the rice, make sure the water level is about 1 inch above the rice. This is key for the rice to absorb enough water and become perfectly sticky.
- Soak Time Adjustments: Adjust the soaking time based on the quantity of rice. More rice requires longer soaking (and vice versa), ensuring even hydration and cooking.
- Even Spreading: Before cooking, evenly spread the rice at the bottom of the bowl. This helps the rice cook uniformly, preventing undercooked or overcooked patches.
- Microwave Settings: Use a medium-high setting (around 700W) for cooking. If your microwave’s settings are different, aim for a setting that approximates this power to avoid over or undercooking.
- Stir Halfway Through: Stir and level the rice midway to ensure even cooking, since the bottom cooks faster than the top. This prevents under or overcooked grains.
- Let It Rest: Allowing the cooked rice to sit covered for 5 minutes after microwaving helps finish the cooking process and makes it perfectly sticky.
- Keep Warm for Serving: To maintain the ideal texture, keep the rice covered until ready to serve. This retains moisture and keeps the grains soft and sticky.
FAQs
To cook rice so it’s sticky, use glutinous or sushi rice, rinse it well, and ensure the correct water-to-rice ratio. Cooking methods like steaming or using a rice cooker are ideal.
Making sticky rice from regular rice is challenging due to different starch contents. For a stickier texture, use short-grain rice, rinse well, and cook with a bit less water.
Yes, microwave sticky rice wrapped in a banana leaf covered with a damp paper towel. This helps maintain moisture, ensuring the rice cooks evenly and stays soft.
Sticky rice can be found in Korean, Chinese, or Japanese grocery stores, as well as online. In Korean stores, it’s often labeled as “Sweet rice.” In Japanese and Chinese stores, look for it labeled as “glutinous rice” or “sticky rice.”
Microwave sticky rice recipe

Video
Ingredients
- 1.5 cups sticky rice also known as sweet rice or glutinous rice, 300 gram
- Hot boiling water
- ¼ tsp coarse sea salt
Tools:
- 1 Large fine-mesh strainer
- 1 Measuring cup
- 1 Food weight scale
- 1 Large microwave safe bowl with a wide flat bottom 7.25-inch (18 cm) wide
- 1 Microwave safe plate or lid to cover the bowl
Instructions
- Boil: Bring a pot of water to a hot rolling boil.
- Clean: In the meantime, wash and rinse the rice with your hands in a swishing motion, using a fine-mesh strainer 3-4 times until the water runs mostly clear. This removes the excess starch so that the cooked rice grains will be clean, clear, and not clump into a chunk. After rinsing, drain well and shake off excess water.
- Soak: Transfer the rice into a large microwave safe bowl with a wide flat bottom. Use your hands to level the rice then pour the hot boiling water over the rice to about 1 inch above. Immediately cover the bowl with a lid tightly and steam for 20 minutes.
- Drain: After 20 minutes, drain the rice through a sieve and discard the water. A small amount of water left inside of the bowl is totally okay as long as the majority of the soaking water is removed.
- Microwave: Transfer the rice back to the microwave safe bowl. Quickly level the rice grains with the back of a spoon so they cook evenly. Cover it with a microwave-safe lid with a slight gap to allow steam to escape during cooking. Microwave on medium-high powder (700W) for 5 minutes.
- Fluff and microwave again: Use an oven mitts to carefully transfer the bowl out. It will be hot. The rice at the bottom will cook faster than the top so use a spoon to stir the rice from the bottom up and level the rice again. Cover the bowl and send it back to the microwave on medium-high powder (700 W) for 5 additional minutes.
- Serve: Carefully transfer the bowl out. Keep the lid closed and let it sit at room temperature for 5 minutes before opening the lid. To keep the rice perfectly sticky, soft, and chewy, keep the lid closed during serving to maintain the moisture and temperature.
Notes
- How to tell if the rice is cooked? Fluff the rice with a rice paddle and taste the rice. There should still be some bites to the rice that’s not overly mushy and you can see the individual rice grains clearly. The texture should be perfectly sticky, soft, yet chewy.
- If some of the rice grains seem not fully cooked or if you prefer the rice with a softer texture, cover the bowl with the lid while the rice is still hot and let it sit for 10-15 more minutes.
- If the majority of the rice grains aren’t fully cooked (i.e. hard in the center), level the rice, pour a little hot water over the rice, cover the bowl and send it back to the microwave for 4-5 minutes and check again.
- Microwave bowl size – it’s important to use a large microwave safe bowl with a wide flat surface so that the rice grains are cooked evenly and fast. If the bowl is too small, the heat is hard to pass through the middle and top portion of the rice.
- Rice quantity: You can adjust the rice quantity with more or less. But ensure to adjust the soaking time and cooking time accordingly. More rice = longer soaking time (add 10 more minutes) and cooking time and vice versa.
- Microwave power setting: Medium-high is typically around 700W. A typical microwave on a high power setting is between 800W and 1200W. If your microwave settings are different, find a setting close to 700W. If you’re unsure, err on the side of lower power and increase cooking time slightly.
Nutrition
Nutrition information is automatically calculated, so should only be used as an approximation.
Made a dish and loved it? Please rate the recipe and leave a comment in the section below! It helps my blog grow organically, allowing me to continue sharing free and awesome content with you. Thank you!
