This post may contain affiliate links. Please read our disclosure policy.
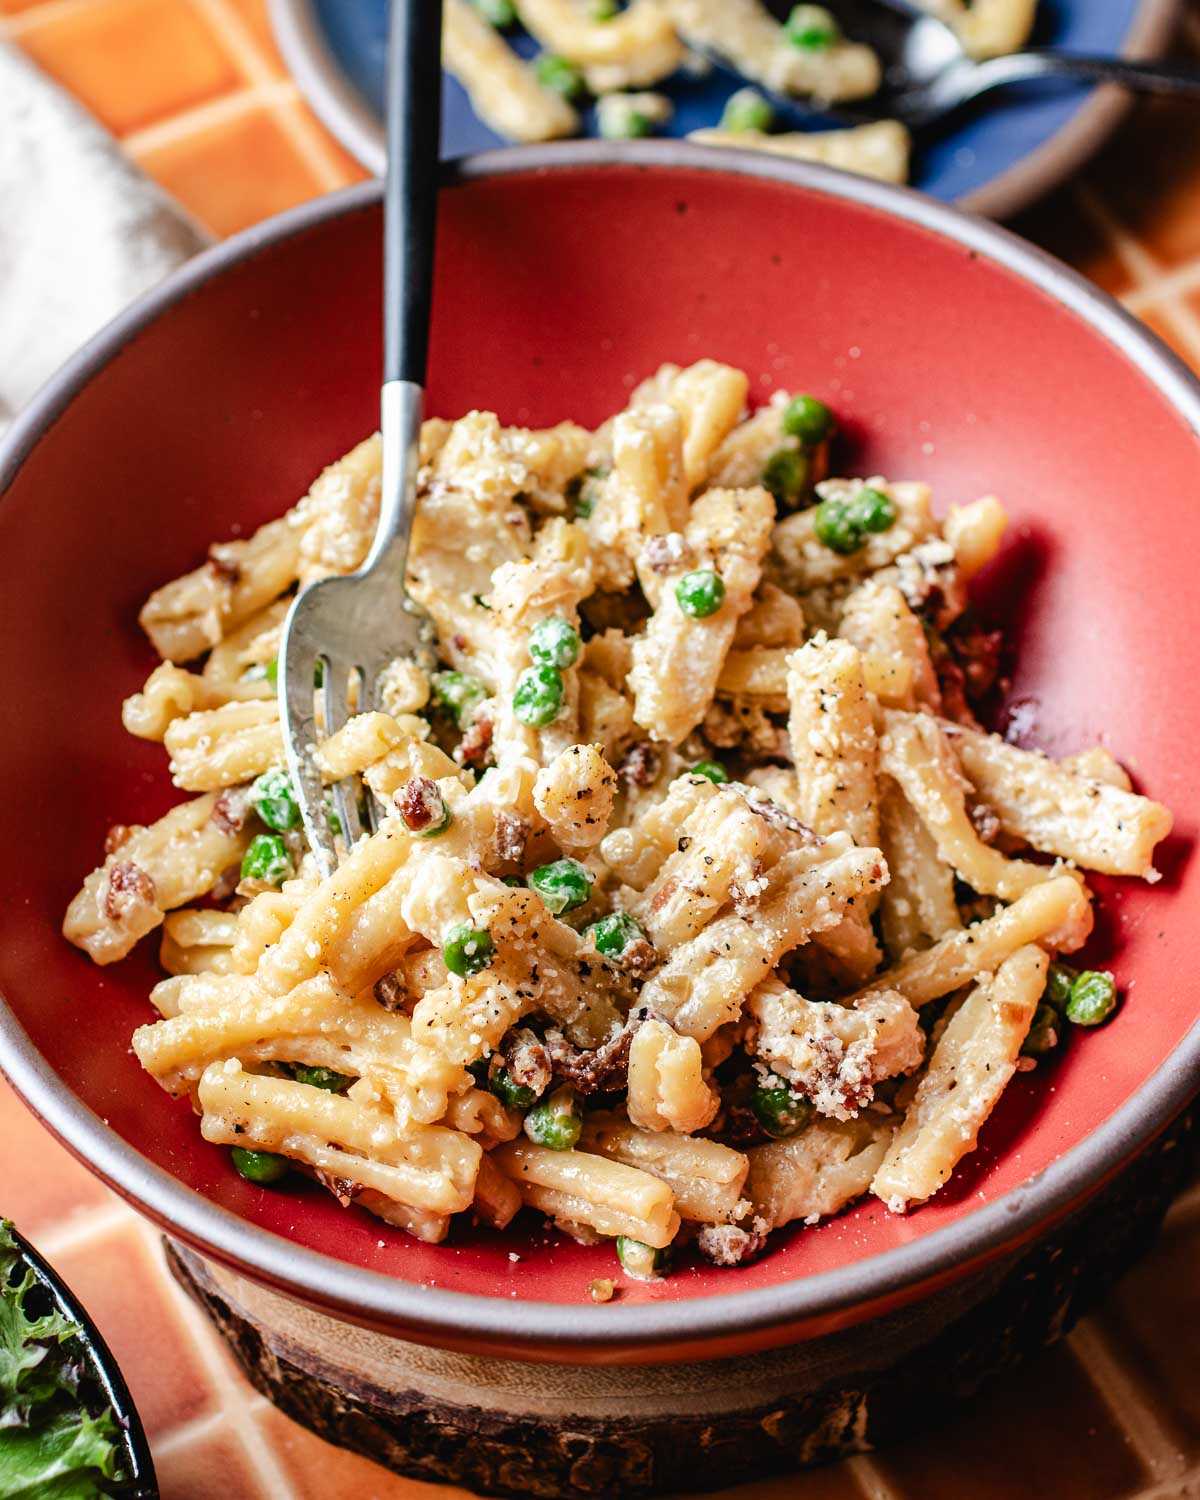
This miso butter pasta is silky, savory, and just saucy enough to coat every bite. It brings together butter, miso, and a splash of cream for a balanced sauce that feels rich but not heavy.
It’s beginner-friendly and made with simple pantry ingredients. Quick enough for a weeknight dinner, yet polished enough to serve when you want something a little special.
Why You’ll Want to Try This Version

I’ve always loved East-meets-West flavors. Miso and butter is one of those combinations that just works — rich, savory, and deeply satisfying.
When I create a recipe, I focus on two things: does it taste really good, and can a home cook make it without overthinking it? This pasta came from testing how to keep the sauce moist and balanced, without turning heavy or too salty.
It’s simple, but the details matter. And once you get them right, the texture stays creamy and balanced every time.
Main Ingredient Notes
- Pasta: Use a short, ridged shape like casarecce, fusilli, or rigatoni so the sauce clings well. Because this pasta is slightly saucier, shorter shapes are also easier to toss without splattering.
- Miso Paste: White or yellow miso works best for a balanced flavor. My favorite is Maruman Shiro Miso. Miso adds a savory, slightly salty umami richness to the miso butter sauce. If using red miso, start with less — it’s stronger and saltier.
- Unsalted Butter: Helps balance the saltiness of the miso and keeps the sauce smooth. Unsalted butter gives you better control over seasoning.
- Half-and-Half or Heavy Cream: Half-and-half keeps the sauce light and silky. Heavy cream makes it richer and thicker. Choose based on how indulgent you want the final dish to feel.
Why the 1:1 Miso Butter Ratio Works
For this pasta, equal parts miso and butter create the most balanced flavor.
After testing different balances, this ratio just felt right — savory and rich without overpowering the noodles.
Miso alone is too sharp and salty. Butter alone is too flat. Together, they give the noodles enough depth.
That ratio can change depending on the dish. For example, when I use miso butter for baked trout, I use more butter than miso. But for pasta, 1:1 works best.
How to keep the sauce silky
The key is to keep the heat low once the butter melts.
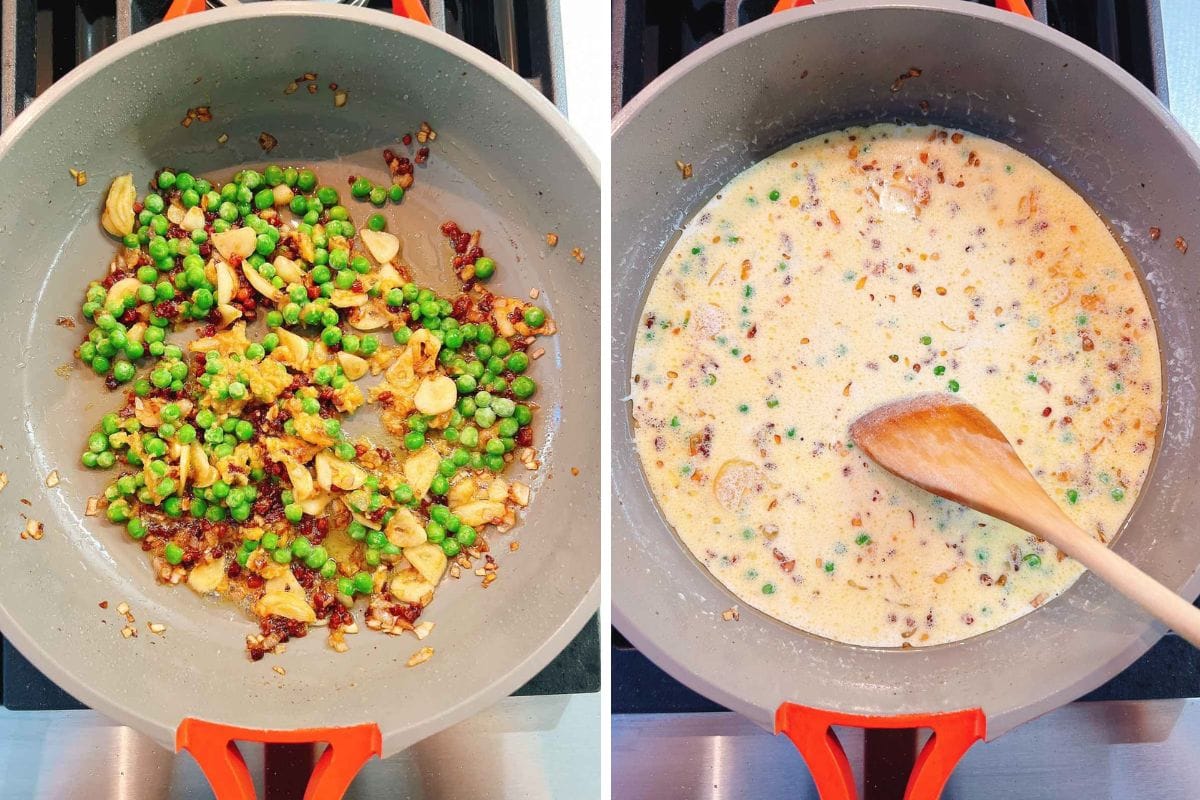
Stir the miso into the melted butter and dissolve it as much as possible before adding cream. It won’t be perfectly smooth yet — that’s fine.
After adding the cream, keep the heat gentle and stir until smooth. When tossing with the miso butter noodles, add a small splash of pasta water only if needed to loosen the sauce.
Why the miso butter sauce looks thin at first
The sauce may look slightly loose in the pan, and that’s intentional.
Once the pasta is added and tossed, the starch released from the noodles helps the sauce thicken and cling. If you reduce the sauce too much before adding the pasta, the finished miso pasta can turn dry instead of moist.
Aim for a sauce that looks just slightly looser than you think it should — it will tighten naturally as you toss.
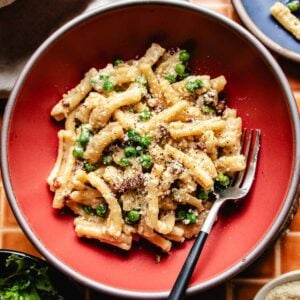
Miso butter pasta recipe
Video
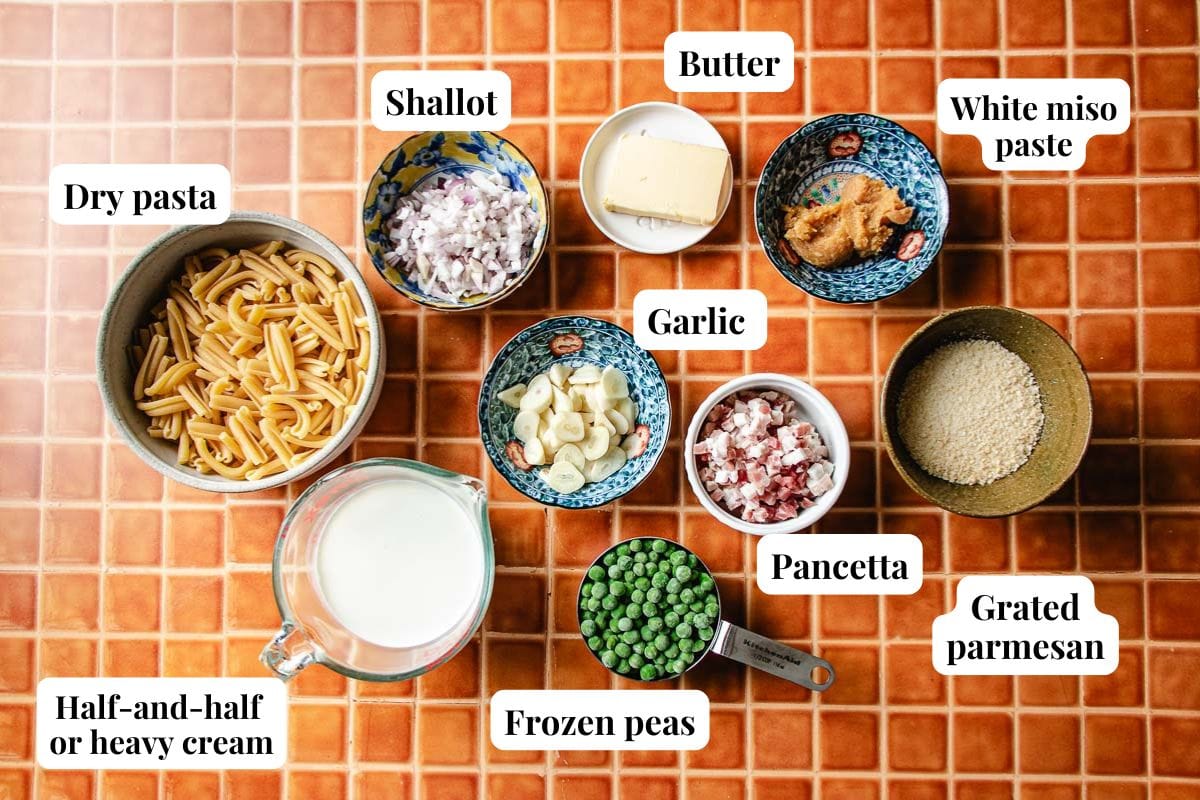
Ingredients
- 7 oz dry pasta of your choice I use casarecce shape
- 2 oz pancetta diced
- 1.7 oz shallot finely chopped (1 medium)
- 1 oz garlic thin-sliced (6 large)
- 2 tbsp unsalted butter or ghee
- 2 tbsp yellow or white miso paste
- ½ cup petite frozen peas
- 1 cup half-and-half or heavy cream
- Pinch coarse sea salt or to taste
- Grated Parmesan for serving
- Freshly ground black pepper
Instructions
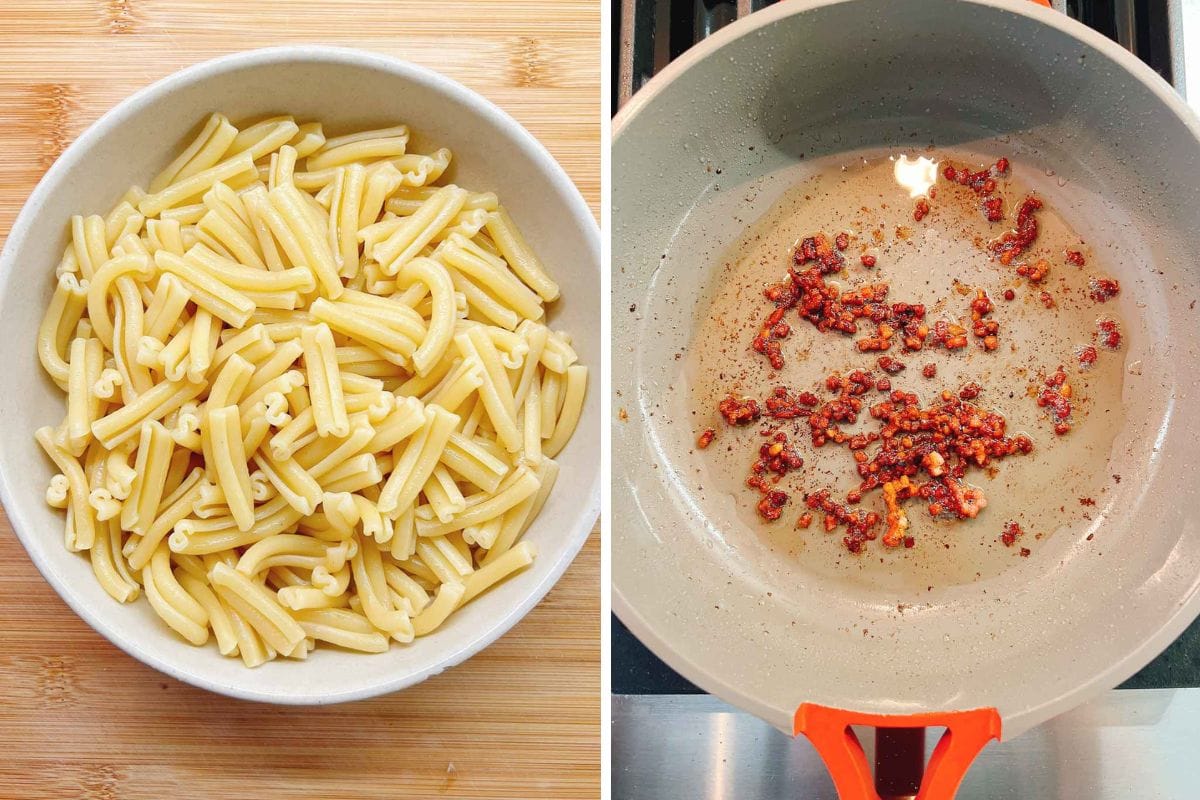
- Cook the pasta: Bring a pot of salted water to a boil and follow the package instructions to cook the pasta until al dente. Reserve ¼–½ cup of the pasta water before draining.

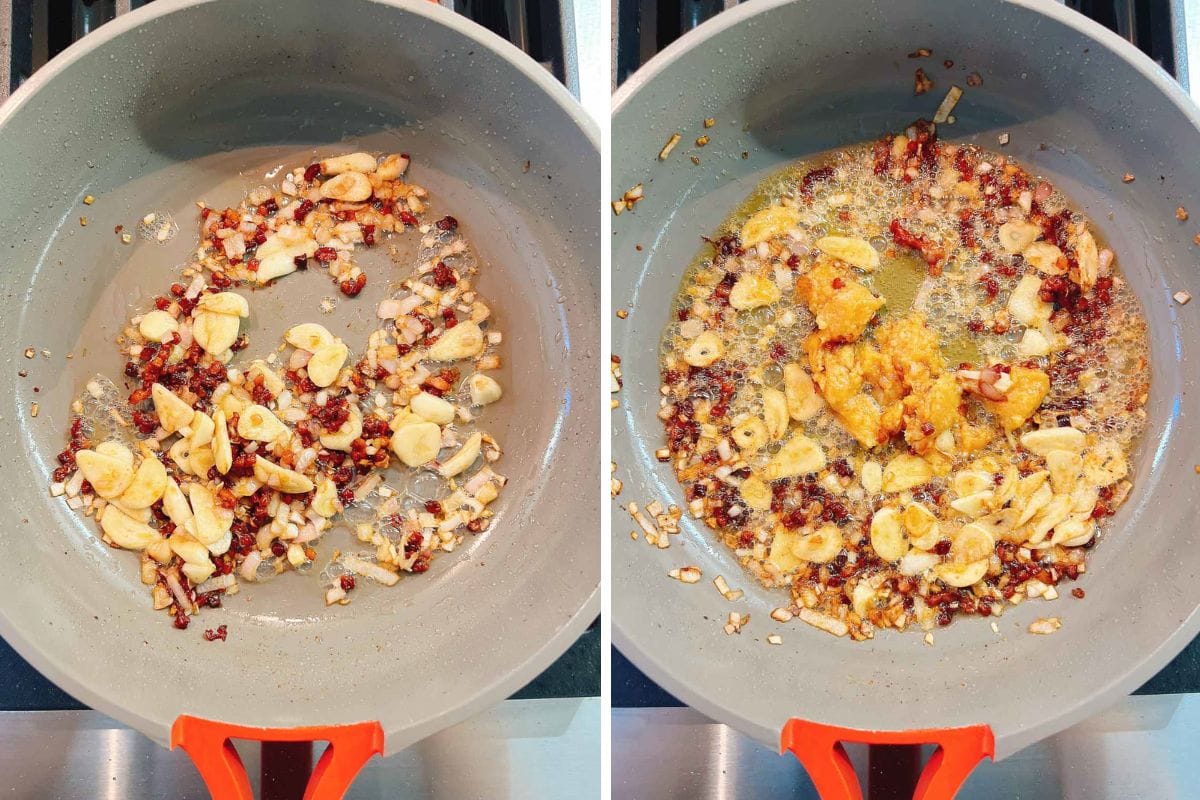
- Render the pancetta: Add diced pancetta to a large cold skillet. Turn the heat to medium and cook until the fat renders and the pancetta turns lightly crisp, about 5-6 minutes.
- Sauté the aromatics: Add the shallot and the garlic to the pan over medium heat and saute until fragrant, about 2 minutes. Season with a pinch of salt.
- Add butter and miso: Reduce the heat to low. Add the butter and let it melt, then stir in the miso paste to combine with the aromatics, 1 minute.
- Add the peas: Add-in the petite peas and warm them through briefly. They should stay bright and tender.
- Add milk cream: Pour in the half-and-half. Keep the heat low and gentle, stirring until the miso paste is fully dissolved. Do not let the mixture boil or the dairy may curdle.
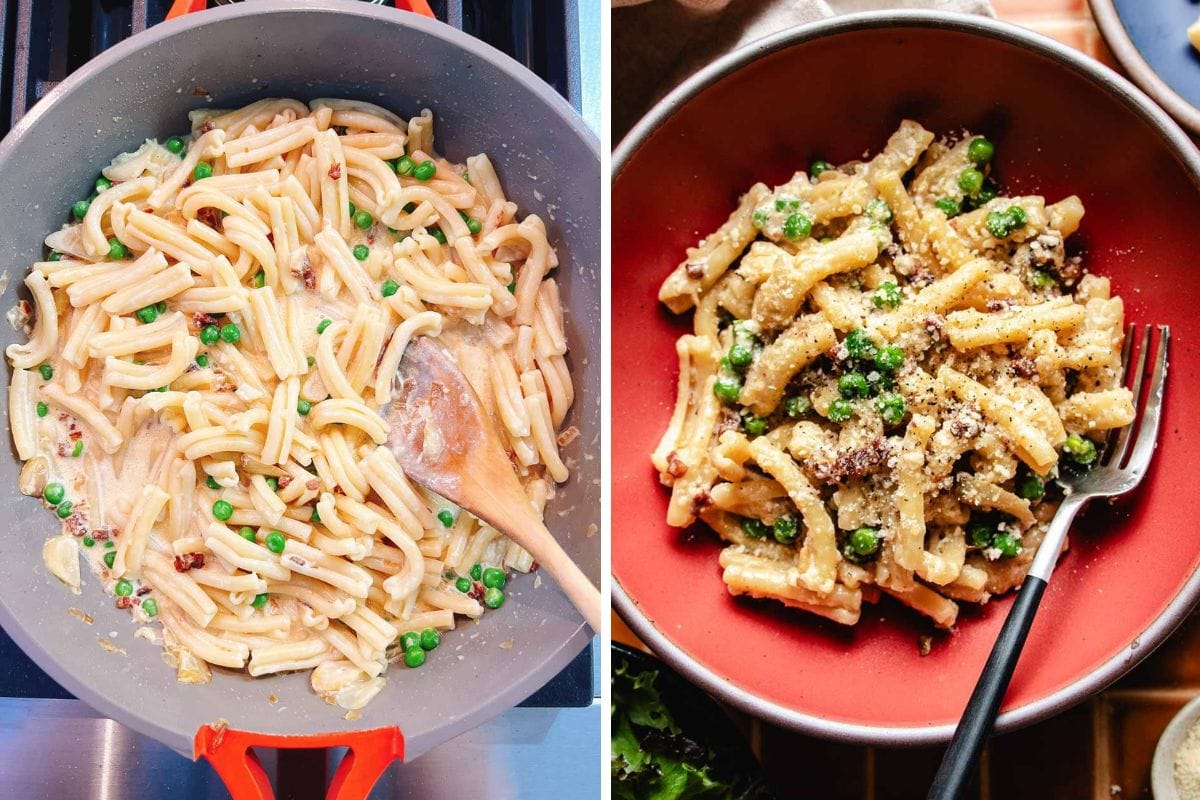
- Combine with pasta: Add the cooked pasta directly to the skillet. Toss well so the sauce coats the noodles evenly. If needed, add 2–4 tablespoons of reserved pasta water to loosen the sauce and keep it silky.
- Add the parmesan: Turn off the heat. Sprinkle in the Parmesan and stir. The sauce will thicken slightly after adding the cheese.
- Finish: Transfer to a serving bowl. Add freshly ground black pepper and serve warm with extra grated Parmesan on the side.
Notes
- The 1:1 ratio of miso to butter gives this miso butter pasta its balanced flavor.
- The amount of miso butter should scale with the pasta. If you increase the pasta quantity, increase the miso and butter proportionally.
- The sauce may look thin at first. Once tossed with the pasta, the noodles release starch, which helps thicken the sauce. Avoid reducing the sauce too much in the pan or the pasta may turn dry instead of silky.
- Storage: Store in a sealed container in the refrigerator. Best enjoyed within 4 days.
- Reheat: This pasta is best enjoyed fresh, when the sauce is silky and glossy. If reheating, warm gently on a stovetop with a splash of milk or water to loosen the sauce.
Nutrition
Nutrition information is automatically calculated, so should only be used as an approximation.
More ways to customize this miso butter pasta
Once the miso butter sauce is ready, you can build around it. Here are a few reliable add-ins and when to use them:
- Shrimp (26–30 count, peeled and deveined)
Season lightly with salt. Sauté the shrimp in the pan before starting the sauce, about 1–2 minutes per side, until just cooked through. Remove and set aside. Add them back at the end when tossing the pasta so they don’t overcook. - Diced mushrooms (button or cremini)
Cook the mushrooms after the pancetta, before adding the butter. Let them brown and release their moisture fully. This prevents the sauce from becoming watery. - Baby spinach
Add a handful at the very end, after tossing in the pasta. The residual heat will wilt it gently without overcooking.
What pairs well with creamy miso pasta
This miso butter pasta is rich and savory, so lighter sides and simple proteins balance it beautifully.
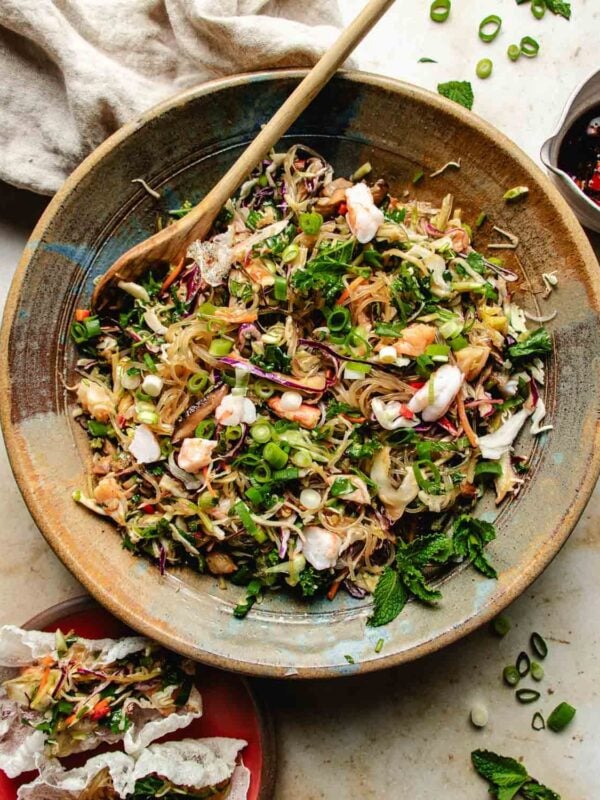
- Refreshing salads: A crisp, bright salad helps cut through the richness. Try Napa Cabbage Slaw, Cucumber Chickpea Salad, or Bok Choy Salad for something fresh and crunchy.
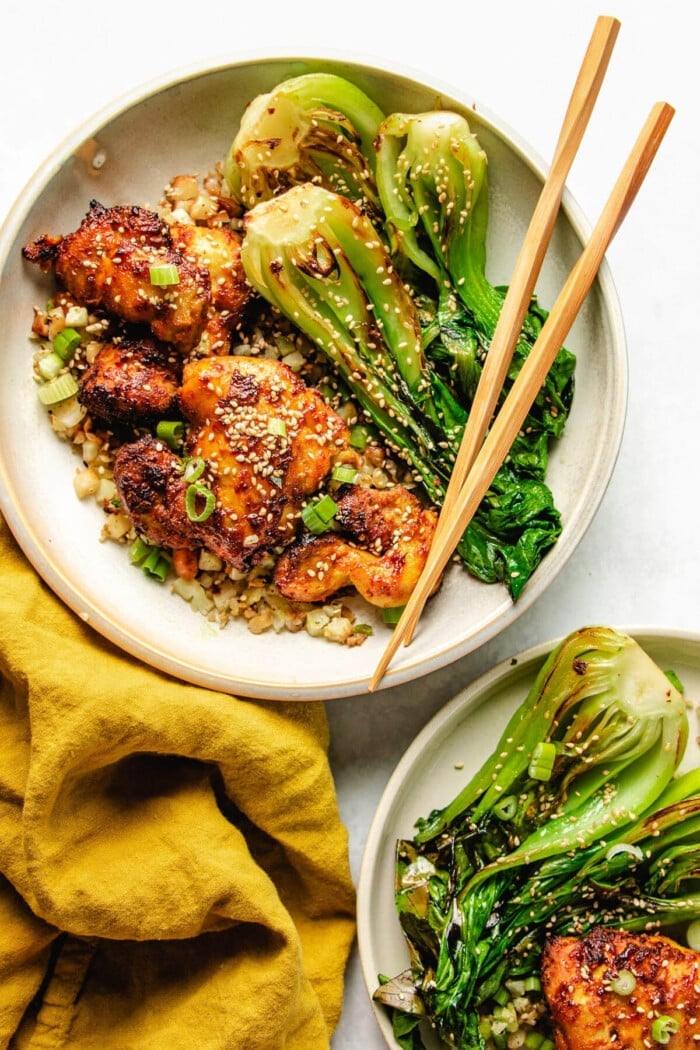
- Simple protein pairings: Keep it straightforward with Air Fryer Trout, Honey Garlic Chicken Thighs, or Crispy Eggplant Bites for a satisfying, well-rounded meal.
FAQs
Yes. Use ghee instead of butter and swap the cream with an unsweetened almond creamer like Califia. The flavor will be lighter but still smooth.
The miso likely wasn’t fully dissolved before adding the cream. Once you stir the miso into the melted butter, keep stirring continuously with a wooden spoon until it smooths out as much as possible. When the cream is added, continue stirring gently until fully smooth.
Add a small splash of cream or pasta water and toss again to rebalance the miso butter sauce. If needed, mix in a bit more plain cooked pasta to balance the seasoning.
More miso butter recipes to try
If you love the savory depth of miso butter, here are more ways to use it:
- How to Make Miso Butter: Learn the base recipe so you can use it on vegetables, seafood, or even toast.
- Baked Trout with Miso Butter: A simple oven-baked trout finished with a rich miso butter glaze.
- Sautéed Asparagus with Miso Butter: Tender-crisp asparagus tossed in warm miso butter for an easy side dish.
- Sautéed Swiss Chard with Miso Butter: Soft, silky greens balanced with savory miso and butter.
Made a dish and loved it? Please rate the recipe and leave a comment in the section below! It helps my blog grow organically, allowing me to continue sharing free and awesome content with you. Thank you!


This is such a smart and delicious recipe — the pasta was so delicious! thank you ChihYu for another winner
Awww I’m so glad you gave the recipe a try. So fast! Thank you so much and I’m so happy to hear. 🙂