This post may contain affiliate links. Please read our disclosure policy.
Making sushi rice at home doesn’t have to be complicated. This rice cooker method gives you perfectly sticky, seasoned sushi rice with simple steps and no fancy tools.
I’ll show you exactly how I make it—using real rice-to-water ratios, classic sushi vinegar seasoning, and a few key tips to help you get it right every time, even if your rice cooker doesn’t have a sushi setting.
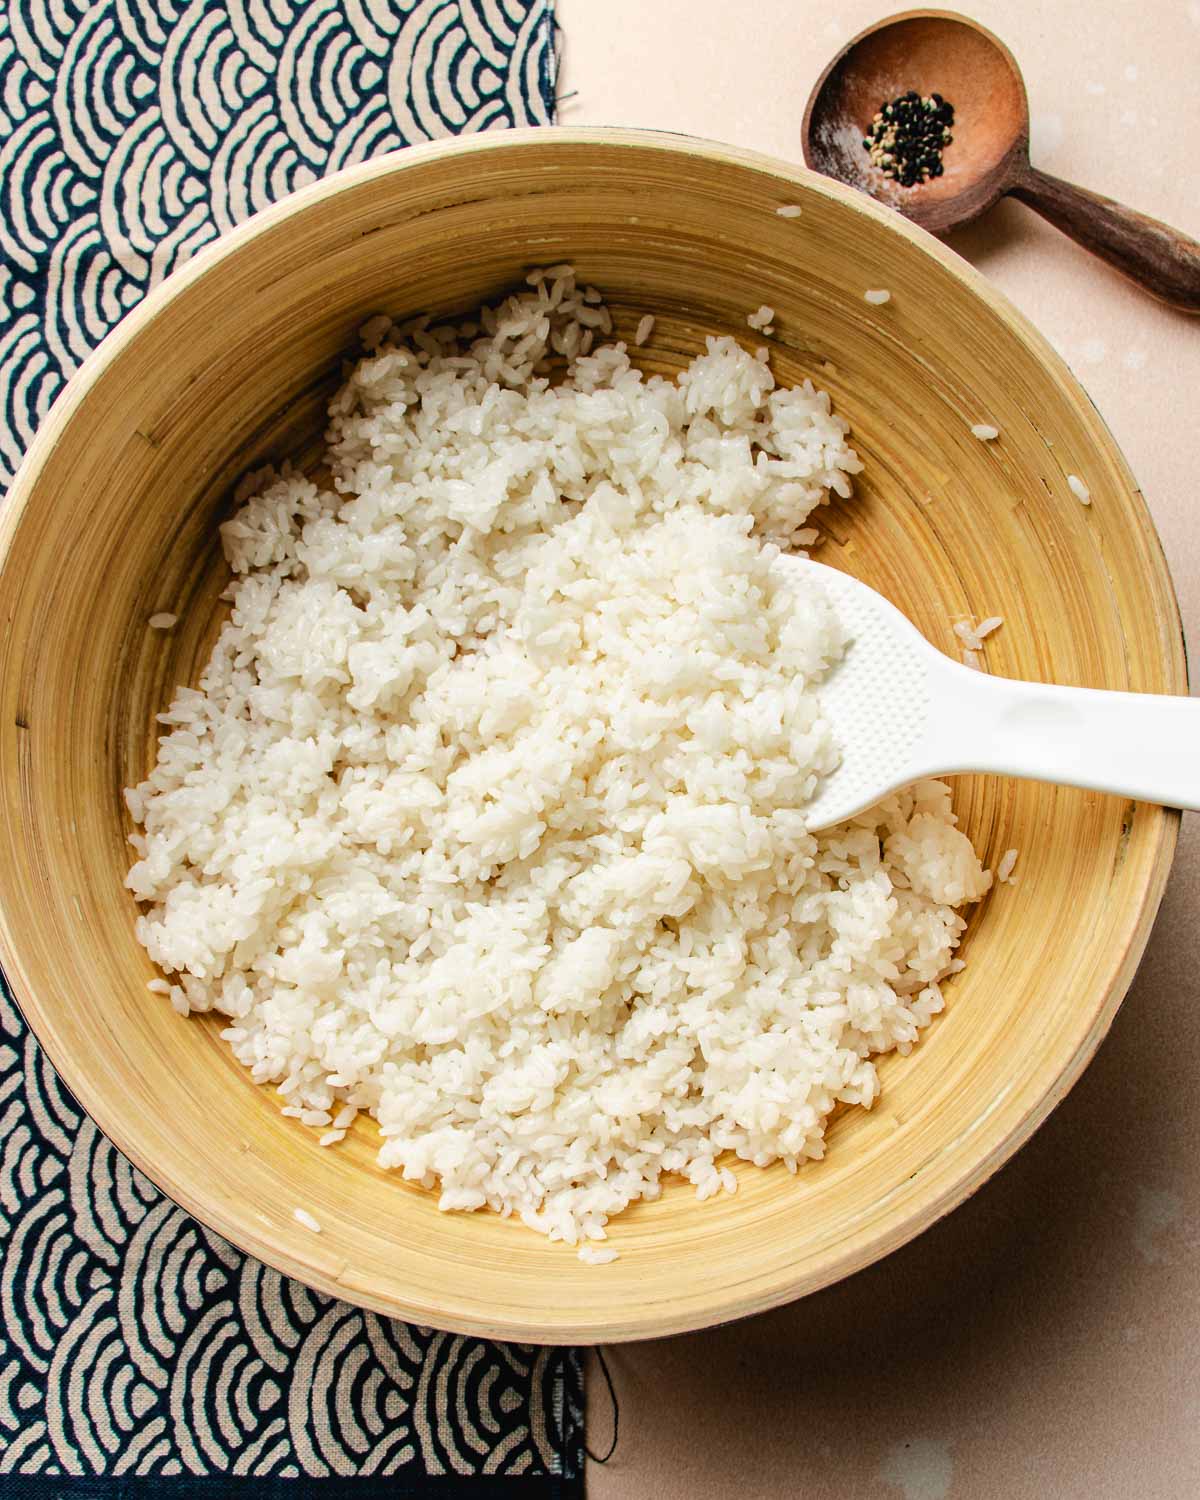
Table of Contents
Ingredients and Tools

Ingredients
- Short grain white rice – Japanese-style short white grain rice is key. It cooks up sticky and slightly chewy—perfect for sushi.
- Rice vinegar – Adds that signature tangy flavor. I use unseasoned rice vinegar so I can control the sugar and salt.
- Sugar – Balances the acidity of the vinegar. You can also use coconut sugar if you prefer.
- Salt – A small pinch helps round out the flavor. I use coarse salt, but any kind works in a pinch.
Tools
- Rice cooker – Any basic model works. If yours has a “sushi rice” setting, great! If not, the regular white rice function is just fine.
- Rice cooker measuring cup – This is smaller than a standard U.S. cup (about 180 ml). Be sure to use the cup that comes with your rice cooker.
- Large non-reactive bowl – For mixing the rice and seasoning. I use a wooden salad bowl, but glass or ceramic also works. Avoid metal bowls—they can react with the vinegar and affect flavor.
- Rice paddle or wooden spoon – Helps mix the rice without smashing it.
- Cheesecloth or clean kitchen towel – To cover the rice and keep it from drying out.
Tip
Did You Know?
“Sushi rice” isn’t actually a type of rice—it’s a seasoned preparation. In Japanese, it’s called shari or sushi-meshi, and it refers to short grain white rice that’s been seasoned with rice vinegar, sugar, and salt.
In Western grocery stores, bags labeled “sushi rice” usually just contain plain short grain white rice, which still needs to be cooked and seasoned to become real sushi rice. So when we say “sushi rice,” we’re talking about the finished, flavored rice—not the grain itself.
How to make sushi rice in a rice cooker
Let’s break it down! These are the exact steps I follow every time I make sushi rice at home—with a few notes on why each one matters.
- Rinse the rice until the water runs mostly clear

- Don’t skip this! Rinsing removes excess starch that can make your rice overly sticky or even gluey. I rinse the rice three times in a fine mesh strainer set over a bowl to catch the water. Swirl gently with your hand each time and drain. The goal isn’t perfectly clear water—just mostly clear with a noticeable difference from the first rinse.
- 👉 Why it matters: Excess starch makes the grains clump too much. A good rinse leads to cleaner-tasting rice with better texture.
- Use a 1:1 rice-to-water ratio

- I measure both the rice and water using the rice cooker cup that comes with the machine (180 ml per cup). For 1.5 cups of uncooked rice, I use 1.5 cups of water. If your rice cooker has water level markings, ignore them for sushi rice. Stick to the 1:1 ratio for this method.
- 👉 Why it matters: Plain white rice cooked in a rice cooker is usually softer and more moist, since it’s meant to be eaten as-is. Sushi rice, on the other hand, needs to hold its shape. A slightly firmer texture gives you sticky grains that won’t turn mushy once you add the vinegar seasoning.
- Let the rice steam after cooking (don’t open it yet!)
- When the rice finishes cooking, leave the lid closed for at least 15 minutes. This final steaming step helps the moisture distribute evenly throughout the rice, so the top isn’t dry and the bottom isn’t overly soft.
- 👉 Tip: If you open the lid too soon, steam escapes too quickly and the rice won’t finish properly. The texture can turn uneven or gummy.
- Warm and dissolve your sushi vinegar
- While the rice is steaming, I combine the vinegar, sugar, and salt in a small microwave-safe bowl and microwave it for 30 seconds on medium. Then I stir until everything dissolves. If I’m doubling the recipe or making a larger batch, I gently heat the mixture on the stovetop instead.
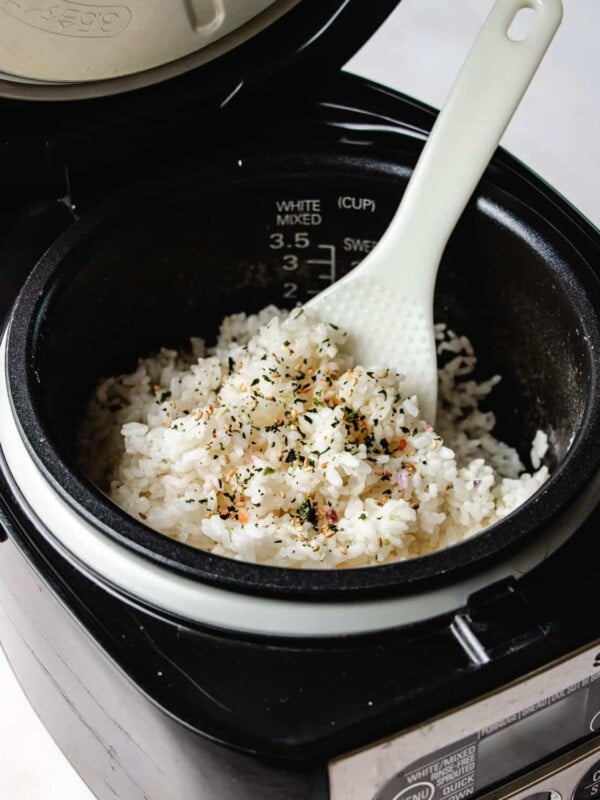
- Mix the seasoning into hot rice using a cutting motion
- Transfer the hot rice into a lightly moistened wooden or non-reactive bowl (wood, glass, or ceramic are best—metal can react with vinegar). Drizzle the vinegar mixture evenly over the rice.
- Then use a rice paddle to mix with a slicing motion at a 45° angle. It helps coat every grain without mashing the rice. If you have a small fan, use it while mixing to cool the rice and give it a nice glossy look.
- 👉 Why it matters: Mixing the vinegar in while the rice is hot helps the grains absorb the flavor. Fanning encourages the starch to set and makes the rice shiny.
- Keep it covered and use at the right temperature
- After mixing, cover the bowl with a damp cheesecloth to keep the rice from drying out. Let it rest until it’s lukewarm—not hot, not cold. That’s the perfect temperature for shaping sushi rolls, making hand rolls, or serving in bowls.
- 👉 Tip: Sushi rice that’s too hot will fall apart, and cold rice will turn hard and dry. Lukewarm is just right—it holds together, stays tender, and tastes the way it should.
Quick Tip
Sushi Vinegar Ratio
I use the classic 4:2:1 ratio for balanced sushi vinegar—just the right mix of tangy, sweet, and savory. For every 1 tablespoon of rice vinegar, add 1½ teaspoons sugar and ¾ teaspoon salt. Warm and stir the mixture until dissolved, then fold it into hot rice for the best flavor and texture.
FAQ & Troubleshooting
It’s best not to. The rice cooker pot is coated and delicate—scraping and mixing vinegar into hot rice can damage the nonstick surface over time. Also, transferring to a wide bowl gives the rice room to cool and makes it easier to mix without mashing the grains.
That usually means the rice lost too much moisture. Sushi rice should be covered with a damp cloth or cheesecloth after seasoning to stay soft and sticky. If left uncovered, it cools too fast and turns dry or crusty around the edges.
Korean short grain white rice or Taiwanese short grain rice (Penglai rice) are the best substitutes. Arborio rice can work in a pinch, but the texture won’t be as clean or sticky.
How to use sushi rice
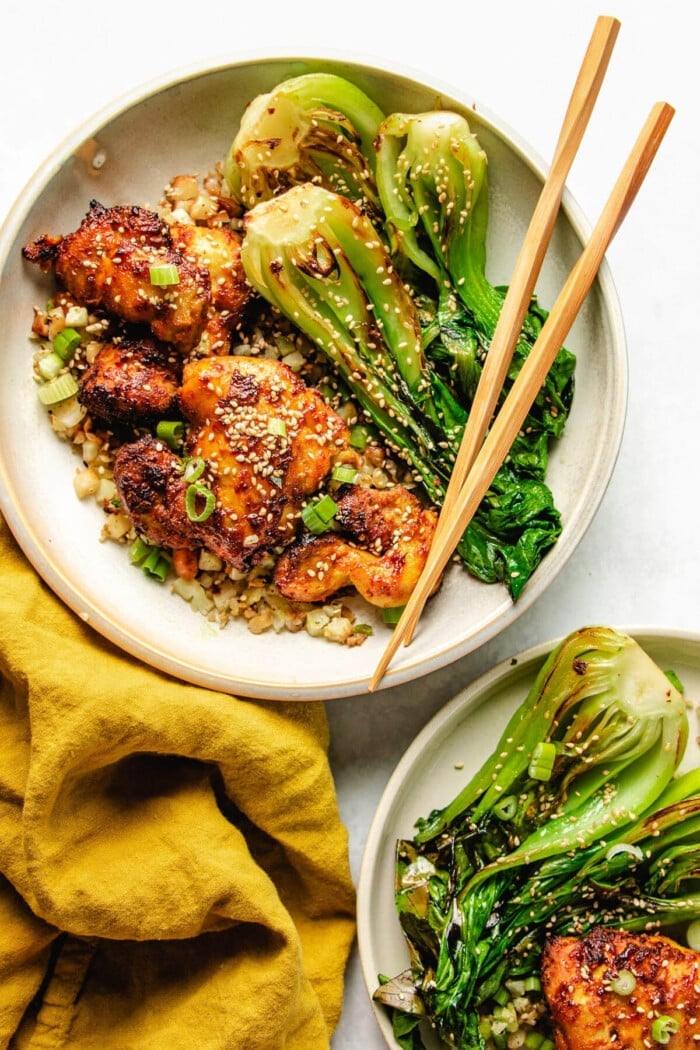
Now that you’ve got perfectly seasoned sushi rice, here are a few fun and delicious ways to use it:
- Bang Bang Shrimp Sushi Hand Roll – Wrap seasoned sushi rice, crispy shrimp, and veggies in a sheet of nori rolled into a cone.
- Low Carb Temaki Hand Roll – Just like a classic hand roll, but without the rice—perfect for lighter bites.
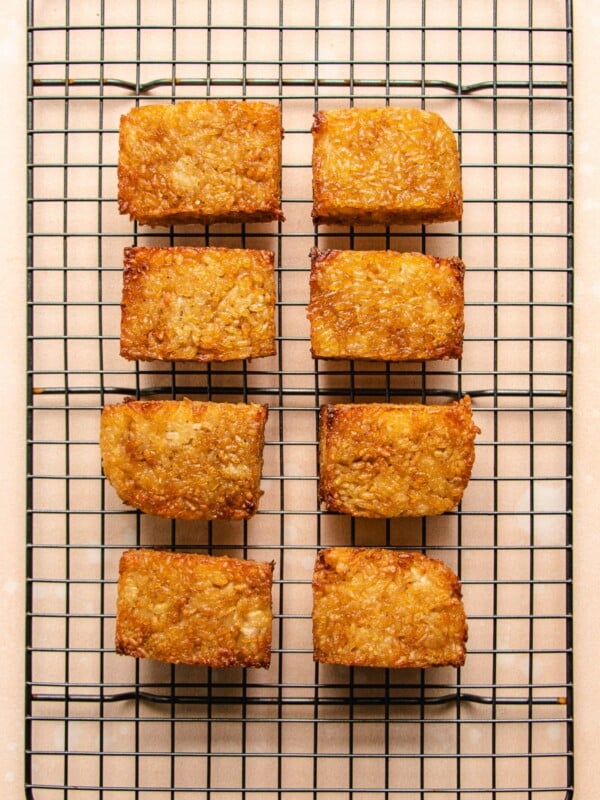
- Crispy Rice Sushi – Pan-fry sushi rice into crispy golden squares and top with spicy salmon or tuna, shrimp, or avocado.
- Crispy Rice (Base Recipe) – Make a batch ahead to use as a crunchy base for appetizers, toppings, or sushi bakes.
- Spicy Shrimp Rolls – Roll up sushi rice, crispy shrimp, cucumber, and spicy mayo for an easy sushi roll at home.
How to cook sushi rice in a rice cooker

Ingredients
- 1.5 rice cooker cup short-grain white rice about 270g
- 1.5 rice cooker cup water about 270 ml
Sushi Vinegar Seasoning (classic 4:2:1 ratio):
- 1 tablespoon rice vinegar Unseasoned (plain)
- 1.5 teaspoon sugar or coconut sugar
- 3/4 teaspoon coarse salt just a small pinch
Instructions
Rinse the Rice
- Add the rice to a fine mesh strainer placed over a large bowl to catch the water. Rinse under cold water and gently swirl the rice with your hand. Drain and repeat this process three times, or until the water runs mostly clear. This removes excess starch and keeps the rice from turning gummy.
Measure and Cook
- Transfer the rinsed rice to your rice cooker. Add 1.5 rice cooker cups of water (equal to 270 ml).
- If your rice cooker has a “sushi rice” setting, use that. Otherwise, just press start and cook as usual using the standard white rice function.
Steam After Cooking
- Once the rice cooker beeps, don’t open the lid. Let the rice steam in the sealed pot for 15 minutes. This helps the grains finish cooking evenly and improves the final texture.
Make the Sushi Vinegar
- While the rice is steaming, combine rice vinegar, sugar, and salt in a microwave-safe bowl. Microwave on medium power for 30 seconds, then stir to dissolve the sugar and salt completely.
- This classic 4:2:1 seasoning ratio is simple and balanced—just enough to flavor the rice without overpowering it.
Season the Rice
- Lightly moisten the inside of a large wooden or non-reactive bowl (like glass or ceramic). This helps prevent the rice from sticking to the bowl.
- Transfer the hot rice to the bowl and drizzle the sushi vinegar evenly over the top.
- Use a rice paddle to gently mix using a cutting and folding motion at a 45° angle. This evenly distributes the seasoning without crushing the grains. If you have a small fan, use it while mixing to help cool the rice and give it a beautiful sheen.
Cover and Rest
- Once seasoned, cover the rice with a damp cheesecloth to keep it moist. Let the rice rest until it’s lukewarm—slightly warmer than room temperature.
- This is the ideal temperature for making sushi, hand rolls, or bowls. The rice should be soft, tender, and slightly sticky—but not hot or cold.
Use Promptly
- Sushi rice is best used within the first hour after seasoning while it’s fresh, warm, and at its best texture.
Notes
- Storage & Reheating Tips:
- To Store: Let the rice cool completely to room temperature, then transfer to an airtight container. Store in the fridge and use within 1 to 2 days for the best quality.
- To Reheat: Sprinkle a bit of water over the rice and cover with a damp paper towel. Microwave in 20–30 second bursts until just warm. The texture won’t be as fluffy as fresh, but it’s still great for rice bowls or sushi bakes.
- Sushi Vinegar Tip:
- If you’re making a larger batch of sushi rice and need to double (or more) the seasoning, you can warm the vinegar mixture on the stovetop instead of the microwave.
- Simply combine the vinegar, sugar, and salt in a small saucepan and gently warm over low heat, stirring until the sugar dissolves—do not boil. This method is helpful when scaling up and ensures everything blends smoothly.
Nutrition
Nutrition information is automatically calculated, so should only be used as an approximation.
Made a dish and loved it? Please rate the recipe and leave a comment in the section below! It helps my blog grow organically, allowing me to continue sharing free and awesome content with you. Thank you!