Paleo Easy Kimchi Recipe
Paleo Easy Kimchi Recipe with napa cabbage and crunchy carrots fermented in sweet apple and pear sauce. This gluten-free and Whole30 Paleo Kimchi recipe has spicy, non-spicy, AIP, and vegan kimchi versions. It’s quick, easy, and crunchy delicious!
If you are a homemade kimchi lover, you’ll also love my cucumber kimchi!
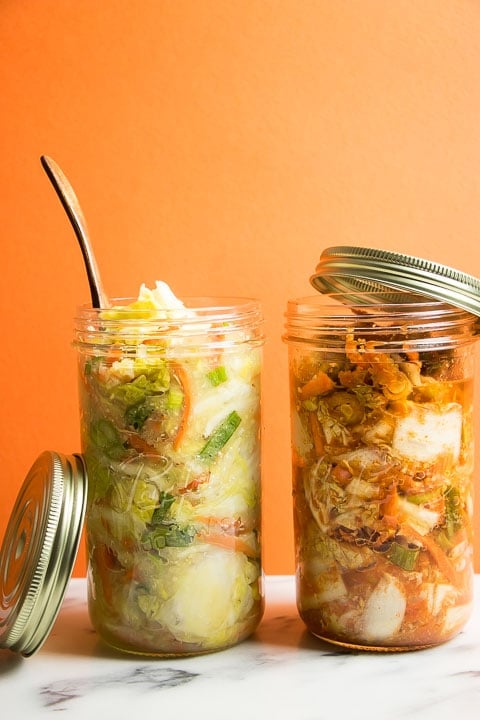
Paleo Easy Kimchi Recipe
I’ve always been a kimchi lover. In Taiwan, you can find white kimchi (a non-spicy version) more often than the red kimchi (slightly spicier version). Kimchi is often served (at least in Taiwan) as a side dish to go with beef noodle soup, stir-fry dishes, or savory meat sauce over a bowl of rice. It balances any main dishes and gives a refreshing touch to any savory meal.
I absolutely adore both spicy and non-spicy versions but personally I have a slightly stronger preference for the red kimchi (i.e. regular kinds). To be honest, I never felt that kimchi is spicy – although it’s made with Korean red pepper powder (gochugaru) – a good jar of fermented kimchi is well-balanced between fruity, tart, salty, and a hint of sweet and spicy taste.
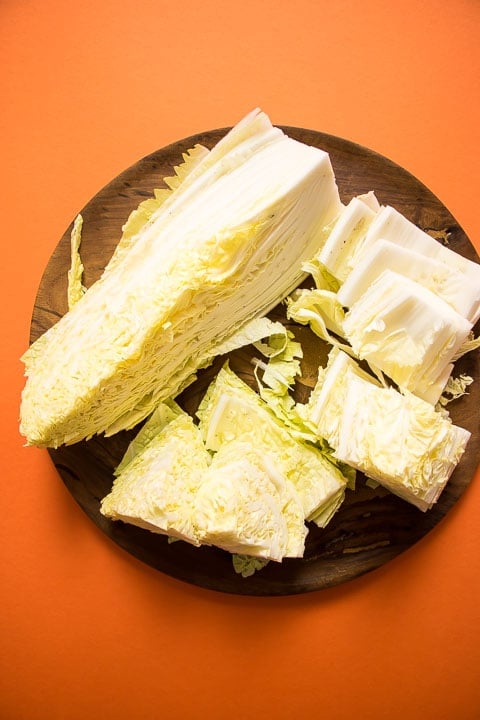
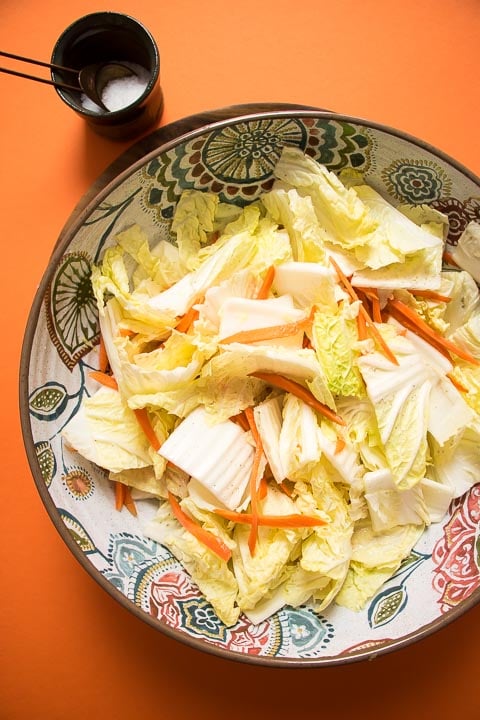
How to make easy kimchi
While it might sound intimidating to make kimchi at home, check out the ingredients below and you’ll see how easy it is to make homemade kimchi that’s free of gluten, rice, and soy.
- 1 whole napa cabbage
- Apple (prefer Fuji Apple)
- Pear (prefer Korean or Asian pear but Bosc pear will do)
- Fresh ginger root, garlic cloves, yellow onion, and scallions
- Korean red pepper powder – gochugaru (skip for non-spicy kimchi)
- Red Boat fish sauce (skip for vegan kimchi)
Check out the video below on how to make Paleo Easy Kimchi Recipe !
Gently rub coarse salt into the cabbage and set aside for 3-4 hours to allow the salt to pull water out of the cabbage. The process is similar to my Korean Chilled Zucchini Slices.
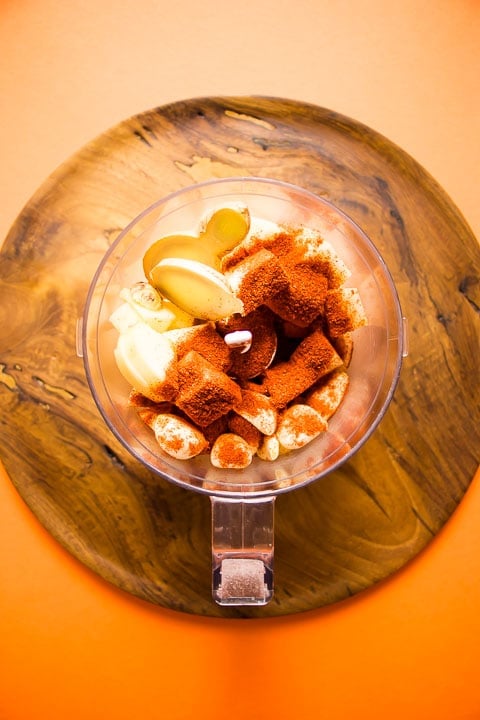
Blend all the yummy fruit – apple and pear – with aromatics in a food processor or mini blender until smooth. This will be your kimchi marinade ingredients.
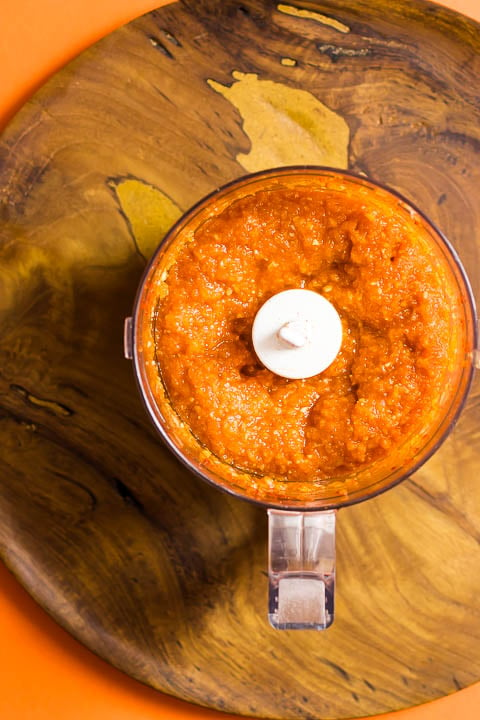
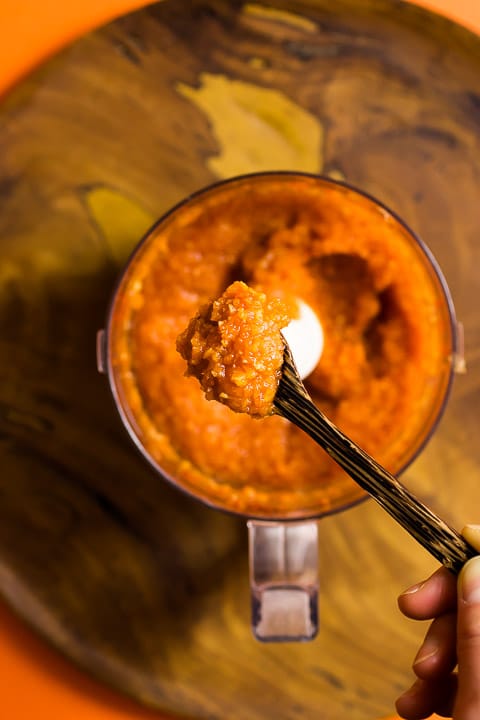
Gently rub and marinade onto each leaves and pack them relatively tight into large mason jars with 1-inch gap at the top so that it gives the kimchi some room to ferment without spilling over.
The weather and the temperature of your house will play a role in how fast and slow your cabbage ferments. If it’s really hot and humid, I recommend storing the kimchi jars in the fridge after 2 days of fermentation at room temperature. If it’s cold and dry out, store the jars in the fridge after 3 to 4 days fermentation at room temperature.
You want to make sure that the cabbages are submerged under the brine so it won’t turn moldy. I use a clean spoon gently press the cabbage down once per day until it ripens to my liking (about 3 days later).
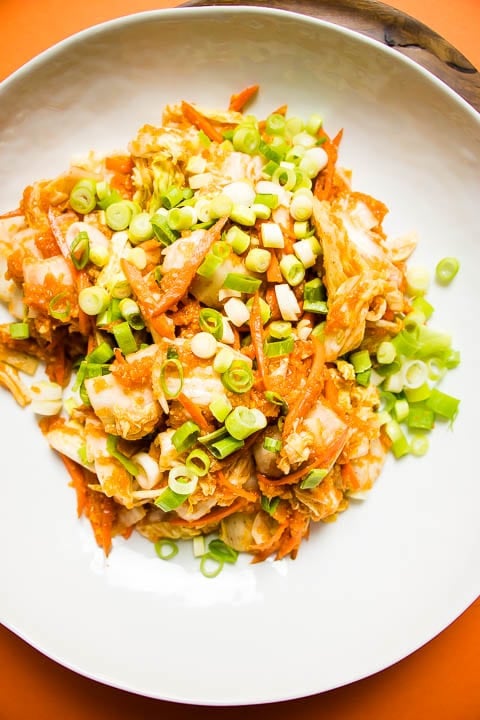
If you aren’t sure how many days to ferment your kimchi, give it a taste test. It should be well-balanced between fruity, tart, a little bit salty, sweet and spicy. YUM !!!
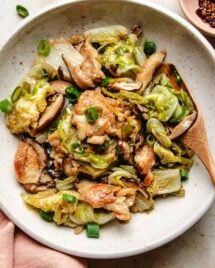
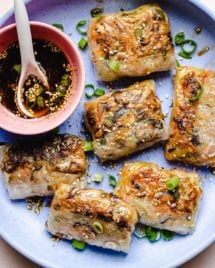
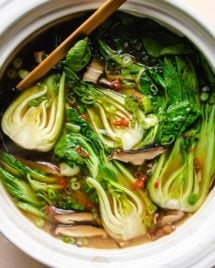
I’ll be sharing different ways to use Paleo Easy Kimchi Recipe in the coming weeks. The possibilities are endless. So be sure to check back here often for more crunchy yummy probiotic goodness !
So my friends this Paleo Easy Kimchi Recipe is –
Crunchy
Refreshing
Fruity
Tart
Naturally sweet
Hint of salty and spicy
Paleo, Whole30, Gluten-free
& can be made Vegan, AIP + non-spicy
If you give this Paleo Easy Kimchi Recipe a try, let me know ! Leave a comment and rate the recipe. And don’t forget to take a picture and tag it #IHeartUmami on Instagram. I’d love to see what you come up with. XOXO !
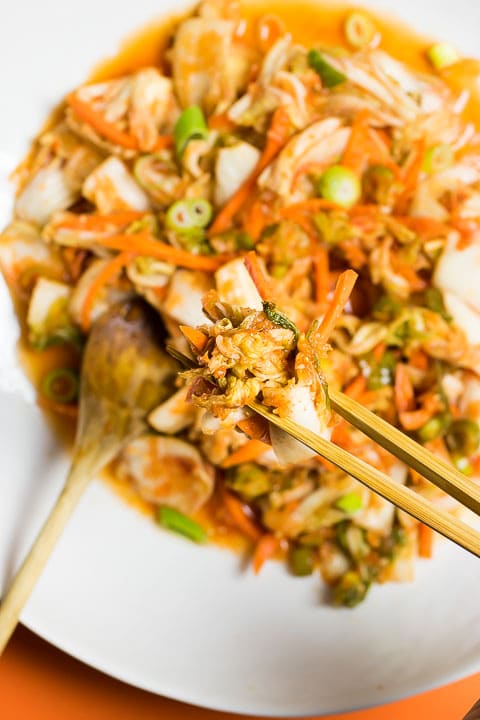
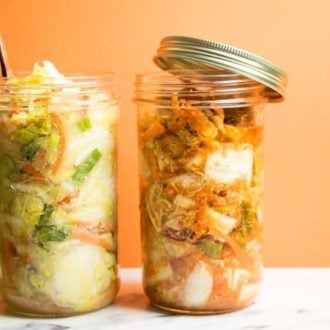
Paleo Easy Kimchi Recipe
.Ferment ~ 3 days. More info below..
Makes about three 32 oz (1 liter) jars of kimchi
Video
Ingredients
- 1 whole napa cabbage, , about 3.7 lbs
- 1 to 1.5 cups matchstick thin sliced carrots
- 3 tbsp coarse sea salt
Kimchi sauce:
- ¾ cup diced yellow onion
- 1 bosc pear, or half 1 whole Asian pear, cored, and skin removed
- Half 1 whole red apple, (gala, fuji, cored and sin removed)
- 6-7 large garlic cloves
- 1 tbsp roughly sliced ginger root
- 1 tbsp Red Boat fish sauce*
- 1 to 1.5 tbsp Korean red pepper powder, Gochugaru (or 1/2 to 1 tbsp cayenne pepper. See notes)
- 1.25 cups diced scallions
Good tool to have:
Instructions
- Cabbage & Carrots: Quarter the cabbage then dice to about 2-inch sections. Julienne carrots to matchstick thin. Rinse well and set aside to drain.
- Salt: In a large mixing bowl, sprinkle 3 tbsp salt over cabbage and carrots and gently use your hands to rub the salt-in. Let them sit for 3 to 4 hours in a shady and cool area until the leaves are wilted. Rinse under cold water. Use your hands to gently squeeze out the liquid. Set them aside in an extra large bowl.
- Kimchi marinade: Blend items under “kimchi sauce” from onion to pepper powder in a food processor until smooth. Combine cabbage, carrots, and scallions with the marinade. Mix and coat well (you can either use your hands with a glove or two wooden spoons to toss).
- Pack: Place kimchi in glass jars with lid. Try to pack them down to close air pockets. Leave 1 inch at the top for air and gases. This will prevent it from spilling during fermentation process. Make sure the vegetables are covered with marinade on top. You can also place a large tray underneath to hold the jars and to prevent it from spilling.
- Ferment: Seal the containers and store in a nice, shady, and cool area at room temperature for 2 to 3 days. After 24 hours, open the jar and pack it down with a clean spoon. Do this once per day until you are happy with the taste. You may notice some bubbling and this is perfectly normal. The longer you ferment, the stronger the flavor will develop. Once you move them to the fridge it will slow down the fermentation process. Best finish in 1 month.






I had no idea how easy kimchi is to make! I love it and really need to do this at home!
I never knew it could be so simple to make! Great recipe and love the addition of pear.
Thanks so much, Stacey ! Really adore this easy kimchi recipe. So so good !
Kimchi is on my TO MAKE list. Your tutorial and excellent instructions will make this possible! Since I don’t have any of the Gochugaru yet, I will use cayenne/paprika as you suggested.
Would you suggest 1:1 as a ratio for this ingredient? THANKS!
Looking forward to getting this made and into tummy!!
Thanks, Carol ! Personally I felt Cayenne is spicier than Gochugaru, so I’d use a bit less unless you already know you like spicy food ! :))
I love the apple and pear in here, so much fun. I actually am not sure that I’ve ever had white kimchi (the non-spicy version), only the red one. I look forward to making your absolutely beautiful recipe!
Thanks Megan !
This sounds so yummy! My husband has been asking me to make kimchi, so I’m going to give this one a shot.
Awesome ! It has a lovely fruity taste and we absolutely love it !
Love it! I make my kimchi almost the same way, with apple and pear, except I prefer daikon over carrots. I like how apple and pear give the sweetness!
Totally ! They are so good, are’t they? :))
I love kimchi and you make it look so easy.Can’t wait to try it out.
YUM! I love kimchi. Your recipe looks delish. I love that you added pear to it.
Thanks so much Katja !
Love a good kimchi! I often make it at home but hardly ever use pear, which I think is in the traditional version, right? It’s a great substitution to sugar. I’ll have to try this recipe next time I am fermenting.
I love adding apple and pear. It’s quite common in Korean cooking using these two fruit. They add natural sweetness to the fermented vegetables. So delicious !
I’ve so wanted to try making kimchi at home so this is perfect timing. I buy it at Whole Foods but so much cheaper to make at home!
What a wonderful sounding recipe. I love that you can prep them ahead in jars to take for work lunches etc, great idea!
I have always been eager to try making my own kimchi….this DOES look easy!! And the flavors!! Yum!
I always eat so much Kimchi when I have Korean… can’t wait to make my own!
Thanks for the tutorial! Looks totally do-able!
Kimchi is a staple in our house and I love to make my own as well! Looks so crunchy and delicious.
I tried making kimchi ones and failed miserably. I probably just didn’t use the proper ingredients. Yours sounds delicious!
Love this recipe! I used to think making Kimchi was such a hard task, I will definitely be trying your version!
I am so obsessed with kimchi and never even considered making it! Thank you for the recipe and video!
Do you think it would ferment faster if the chunks were smaller? I’m a small/no chunk kinda person, so I would love to know if it works less chunky?
Hi Lindsey ! Thanks for your message. Yes you can absolutely dice them a bit smaller. The longer your ferment the vegetables the softer and smaller they will be. But in general, yes smaller chunks would work too !
Kimchi is my husband’s FAVORITE. He could eat huge amounts of it all day long lol. I love it too, but have to eat much smaller amounts because I can’t tolerate much spicy heat. Your version sounds delicious!